In this article, we will explain how to use the mail queue manager feature in the WHM.
Talking the “Mail Queue Manager” feature in the WHM gives you the option to view, delete, or attempt to deliver queued emails that have not been sent out yet. It helps troubleshoot mail delivery problems, like when your email queue is full. If you see many emails from one account quickly queuing up, it could mean a hacked account is spamming.
Let’s start the guide.
- Log into WHM.
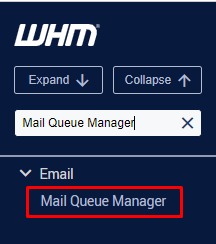
- Search for “Mail Queue Manager”
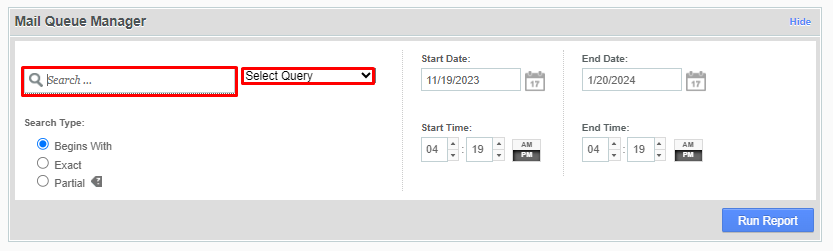
- Once you’re on the “Mail Queue Manager” page, you’ll see a section with a search field. Use it to filter search results based on specific criteria. Choose query from the dropdown menu on the right hand side. The options are-
- Search Sender: Look for emails from a specific sender.
- Search Recipient: Find emails sent to a specific recipient.
- Search Message-ID: If you have a unique ID for a message, filter based on that for troubleshooting.
- No filter: Removes any search criteria restrictions, allowing free searching.
- Under the search field, find the “Search Type:” The three options are as follows-
- Begin With
- Exact
- Partial
Note- To select a search type, use the radio button on the left of the option. Keep in mind, that “Begin with” and “Exact” are faster than “Partial,” but “Begin with” and “Exact” usually give more accurate results.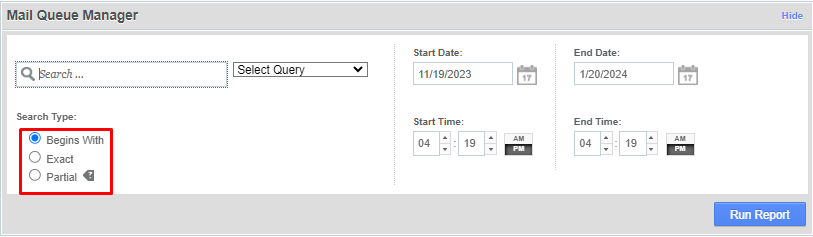
- To the right of the search field, you’ll find two sections to set a date range for search results. For instance, under “Start Date,” choose 11/19/2023, and in “End Date,” select 1/20/2024. This will show results only from November 19, 2023, to January 20, 2024. Below the date fields, there are time fields. You can use a similar pattern to adjust results based on the time when the specific issue occurred.
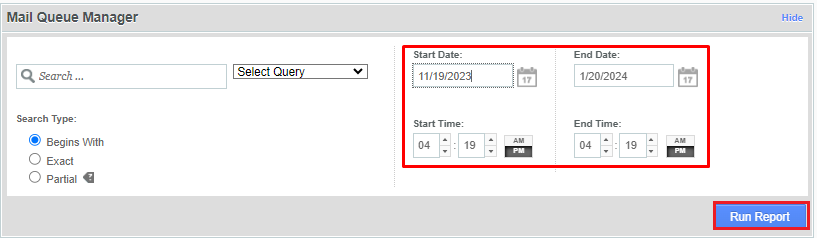
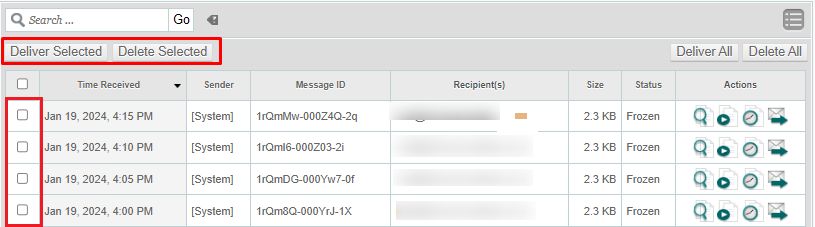
- Choosing the criteria and other search options, click the “Run Report” button at the bottom right of the “Mail Queue Manager” section. Once you click “Run Report,” the second section below the “Mail Queue Manager” will show results. Here’s what the information includes-
- Time Received: Shows when the email arrives at the destination server.
- Sender: Displays the sender who tried to send the message.
- Message-ID: The unique ID for the sent message.
- Recipient(s): Shows who the mail was meant for.
- Size: Displays the size of the email.
- Status: Shows the current status; if it’s queued up, it will be “Frozen.”
- Actions: Options in this column include “Delete Message,” “Deliver Message,” and “Return to Mail Queue.”

- To send a message, check the box on the left side of the table next to the emails you want, then click “Deliver Selected” above the “Time Received” column. Here you can remove emails from Mail queue.
- If a message can’t be delivered, the mail server tries a few times. If it keeps failing, the message becomes “Frozen.” This helps save server resources, as constant delivery attempts can be resource-intensive. The system will stop trying to deliver the frozen message until you manually unfreeze it.

To do that, click the icon on the right side of the magnifying glass in the “Actions” column.
That wraps up our guide on the “Mail Queue Manager” feature in WHM. It’s a useful tool to control your queued and frozen messages. If you need help with this tool, contact our Technical Support Team through the ticketing system in your client area. They’re available 24/7 to assist you.