This article explains how to add a customer in the Reseller Plesk Panel. Adding a customer in the Reseller Plesk Panel enables efficient management, resource allocation, customised services, streamlined billing, and enhanced security for individual clients within a hosting environment.
Follow the steps:
- Log in to Plesk.
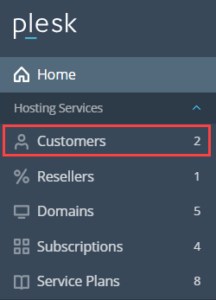
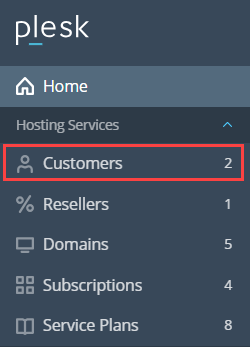
- Select the Customers sub-option under the Hosting Services section.
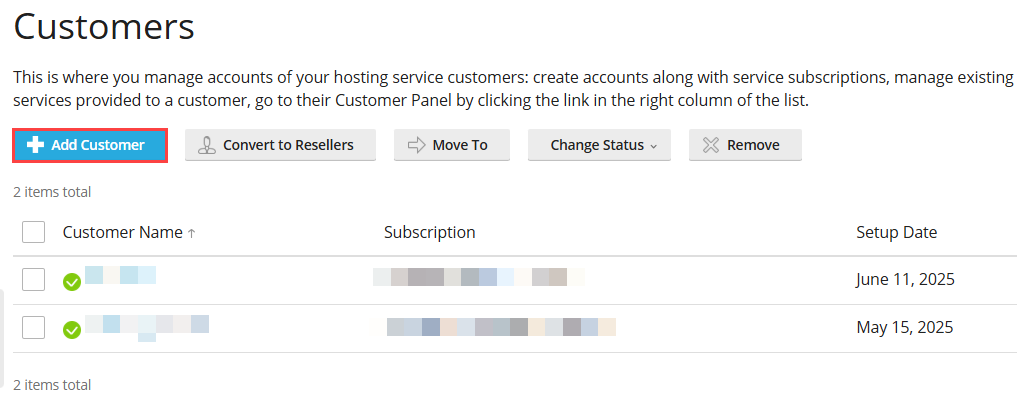
- Click on the Add a customer button.
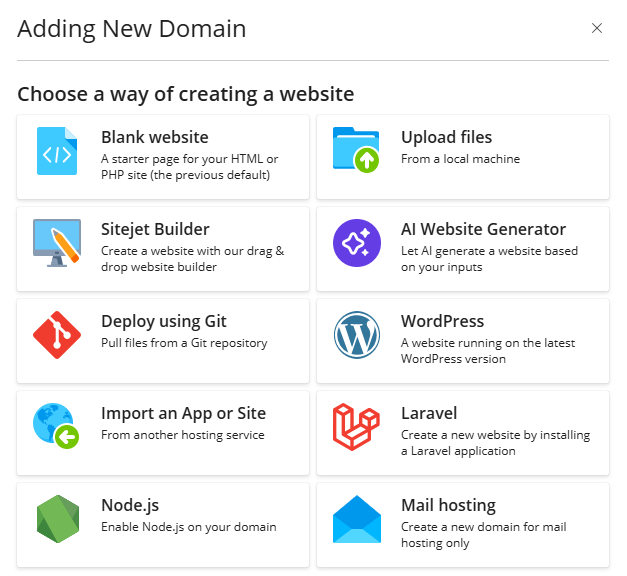
- Click Blank website.
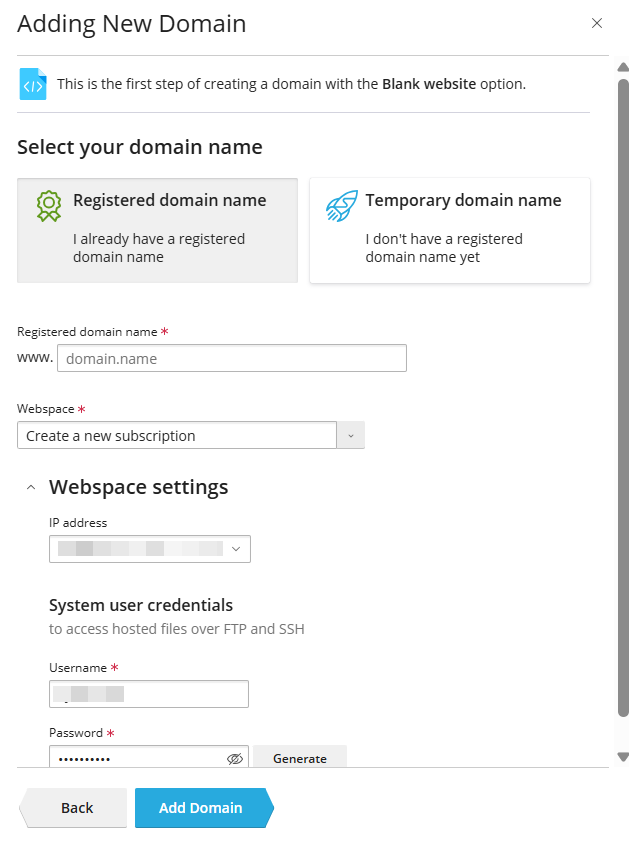
- Under Select your domain name, choose one of the following:
- Registered domain name: if you already own a domain.
- Temporary domain name: if you do not have a domain yet.
- In the Registered domain name field, enter your domain (e.g., example.com).
- Select Webspace
From the Webspace dropdown, choose:- Create a new subscription (recommended for a new website), or
- Select an existing subscription if applicable.
- Configure Webspace Settings. Under Webspace settings, select the IP address (shared or dedicated, depending on availability).
- Set System User Credentials
- Enter a Username for FTP/SSH access.
- Set a Password or click Generate to create a strong password.
- Add the Domain. Review the details and click the Add Domain button to complete the process.
This article explains how to add a customer in the Reseller Plesk Panel. Should you require any assistance, feel free to reach out to our support team.