This guide explains how to create a database dump using phpMyAdmin in Plesk.
Follow the steps:
- Log in to your Plesk control panel.
- Go to Websites & Domains and select the required domain.
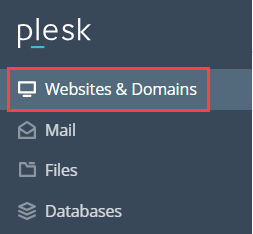
- Click on Databases.

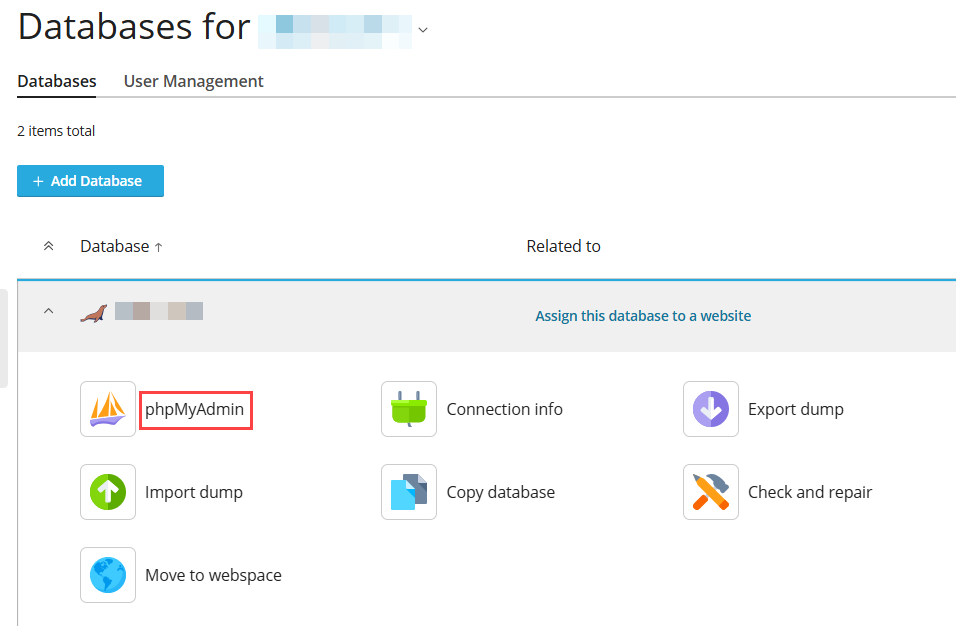
- Click phpMyAdmin next to the database you want to back up.
- Once phpMyAdmin opens, make sure the database name is selected in the left sidebar (not an individual table).
- Click the Export tab from the top menu.

- Choose the Quick export method.
- Select SQL as the format.

- Click Go to download the database dump file.
- Save the downloaded
.sqlfile to a secure location on your local system.
This way, you can create a database dump using phpMyAdmin in Plesk. If you encounter any problem in this process, feel free to seek assistance from our support team. They are available 24×7.