The “Transfer Tool” in WHM lets you move multiple accounts from another server. It’s versatile, supporting migrations from Plesk, DirectAdmin, Ensim, and cPanel/WHM.
In this tutorial, we will mainly cover transfers from a cPanel/WHM server, the product we support. This method ensures a 100% accurate migration with no missing content. Let’s begin!
- Log into WHM.
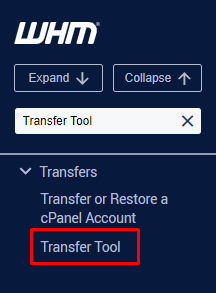
- Type “Transfer Tool”
- Before we start, here are some important points to note when using this feature:
- Please avoid shutting down, rebooting, or restarting any services during the transfer.
- Don’t initiate a transfer during a system update, as it may cause the update to fail.
- If domains use a DS record and have DNSSEC enabled, remove it before migration and re-add it afterward.
- The transfer tool won’t transfer DNS zone templates; the destination server will apply default DNS records.
- Ensure both servers can communicate on port 2087 and the openSSH port (usually 22, but check for custom ports).
- Now that you know a bit about this tool, let’s move on. When you go to the “Transfer Tool” page, you’ll see the “Remote Server Information” section first. It has two fields:
- Remote Server Address: Put the IP address or fully qualified domain name (FQDN) of the remote server in this field.
- Remote SSH Port: Enter the SSH port of the remote server here. Normally it’s 22, but if that doesn’t work, ask your remote service provider for the correct port.
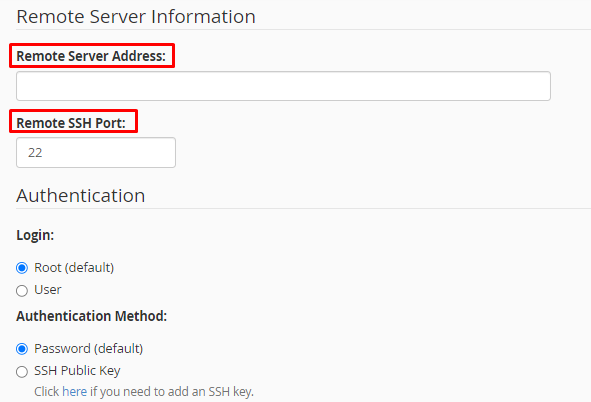
- Moving on to the “Authentication” section, you’ll be asked for the following-
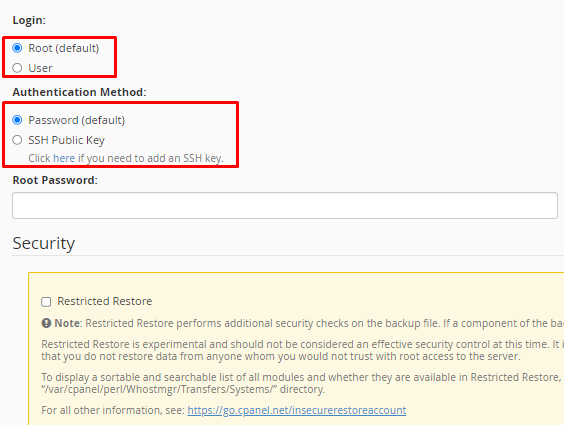
- Login: By default, the radio button will be set to the “root” user. You can choose a different user on your remote server. If you select “User,” a text field will appear below for you to type in the username.
- Authentication Method: By default, “Password” is selected. If you choose “SSH Public Key,” a dropdown will appear for you to select the public key, and the “Root Password” text field will change to “SSH Key Passphrase.”
- Moving on to the “Authentication” section, you’ll be asked for the following-
- When you choose the “User” and “SSH Public Key” options, this section will look like the description below.
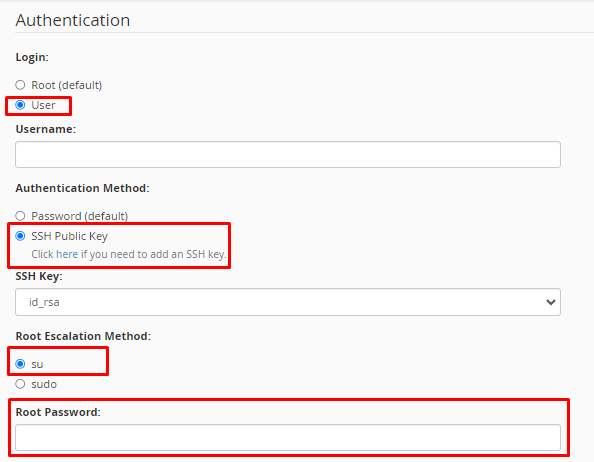
- In this example, there’s a new feature called “Root Escalation Method.” If you choose the “su” option, a “Root Password” field will appear for entering the server’s root password. If you select the “sudo” option, the “Root Password” field will vanish, and only the “Username Password” field will be visible. Keep in mind that the user on the remote server must have “sudo” privileges; otherwise, the connection between the two servers won’t be established, and the transfer process will not proceed.
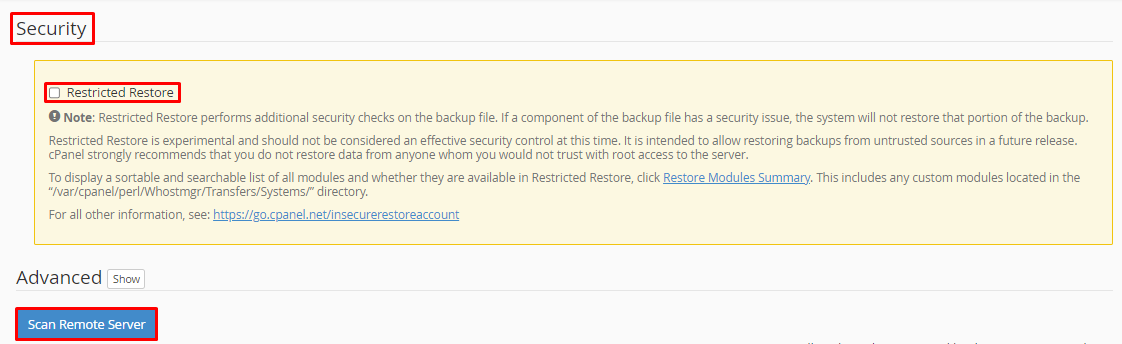
- As you scroll down the page, you’ll find the “Security” section. It has one checkbox option: “Restricted Restore.” Currently, it’s experimental and not a reliable security control method. Its purpose is to enable restoring backups from untrusted sources. We strongly advise against transferring and restoring account backups from providers you don’t trust. If you want to scan the Server, click on “Scan Remote Server.”
- The final section on this page is the “Advanced” section. To see more details, click on the “Show” button on its right side.
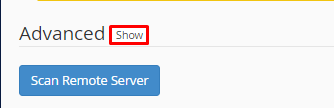
- Clicking the “Show” button will reveal various options. Let’s go through each one:
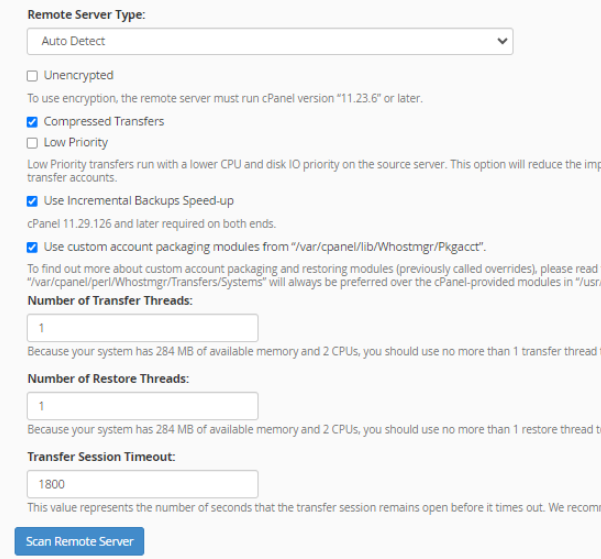
- Remote Server Type: Choose the control panel of the remote server from the drop-down menu. Options include “Auto Detect,” “WHM & cPanel,” “DirectAdmin,” “Ensim,” and “Plesk.”
- Unencrypted: If unchecked, it encrypts the transfer session. Checking it makes the session unencrypted. We don’t recommend selecting this option.
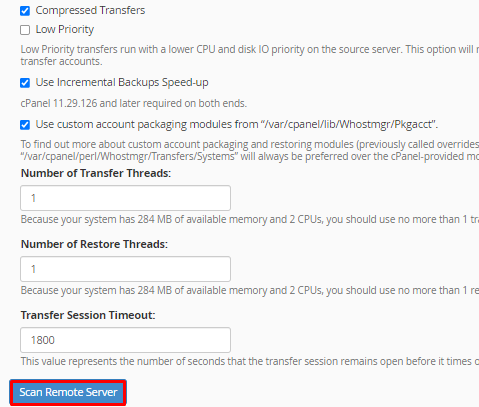
- Compressed Transfers: Marking this checkbox compresses files during the transfer process.
- Low Priority: If checked, the transfer uses fewer CPU and disk resources, reducing speed.
- Number of Transfer Threads: Specify the number of CPU processes for the transfer session, up to 5.
- Number of Restore Threads: Specify the number of CPU processes for the restore session, up to 5.
- Transfer Session Timeout: Define the number of seconds before the transfer session times out.
- Clicking the “Show” button will reveal various options. Let’s go through each one:
- As you scroll down the page, you’ll find the “Security” section. It has one checkbox option: “Restricted Restore.” Currently, it’s experimental and not a reliable security control method. Its purpose is to enable restoring backups from untrusted sources. We strongly advise against transferring and restoring account backups from providers you don’t trust. If you want to scan the Server, click on “Scan Remote Server.”
- Once you’ve chosen your options, set login details, and authentication info, click the “Scan Remote Server” button at the bottom of the page.
After completing this task, kindly wait for a few moments to ensure the process is successfully finished.
Planning to migrate multiple cPanel accounts?
Simplify migrations and manage client websites efficiently with a reseller hosting solution built for WHM users.
Simplify migrations and manage client websites efficiently with a reseller hosting solution built for WHM users.
If you’re using FTP and want to transfer WHM Backup to a remote server then check out our guide on How to Transfer WHM Backup to a Remote Destination via FTP for Step-by-Step Instructions