In this tutorial, we will explain to you how to add a machine to the management server in Acronis Cyber Protect. Backup, modern AI-based anti-malware, antivirus, and endpoint protection management are all combined into one solution with Acronis Cyber Protect Cloud.
Steps to manually add machines to the management server in Acronis Cyber Protect:
- Log in to your Acronis account.
- Select the “Devices” option and click on the “All Devices” sub-option from the left-hand side of the screen.

- You will enter the all devices page.
- Click on the “+Add” button.

- Select the “Linux” option.
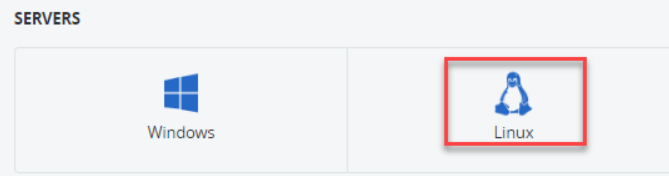
- Upon selecting Linux, your local PC downloads a file.
CyberProtect_AgentForLinux_x86_64.bin - Before starting agent installation, install the package Kernel Devel using the command below:
yum install kernel-devel - Now the file needs to be uploaded to the server.
- To start the installation process, execute the above file using the command:
./CyberProtect_AgentForLinux_x86_64.bin
- The installation wizard opens up after executing the file.
- Select Agent for Linux.
- Then click on the “Next” button.

- Click on the “Continue” button.
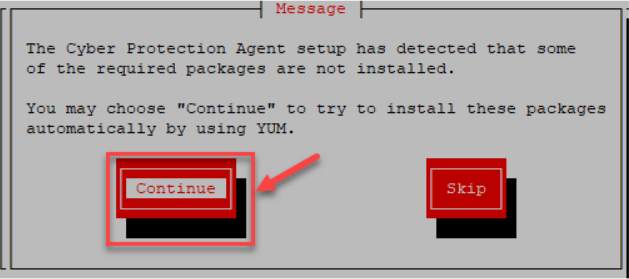
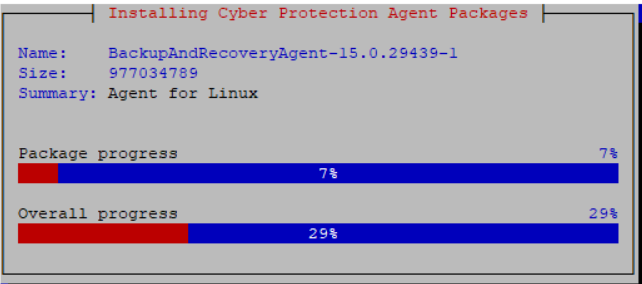
- The installation process starts.
- After installation, select the “Register the machine” button.

- It will generate the registration code.

- Select the “Devices” option in the Acronis portal.
- Click on the “Add” button.
- Scroll down and find the “Registration via Code” option and click on the “Register” option.
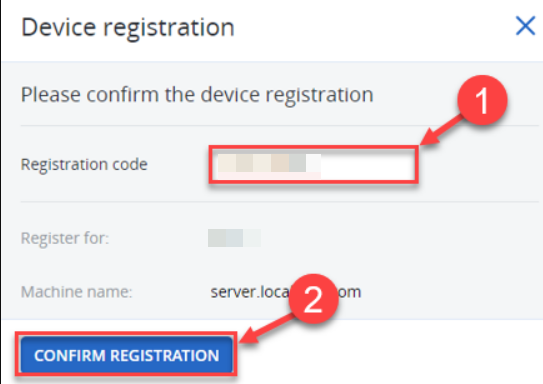
- You will get a success message.
This way, a machine is added to the management server in Acronis Cyber Protect. If you face any difficulty, get in touch with our support staff, and they will help you out.