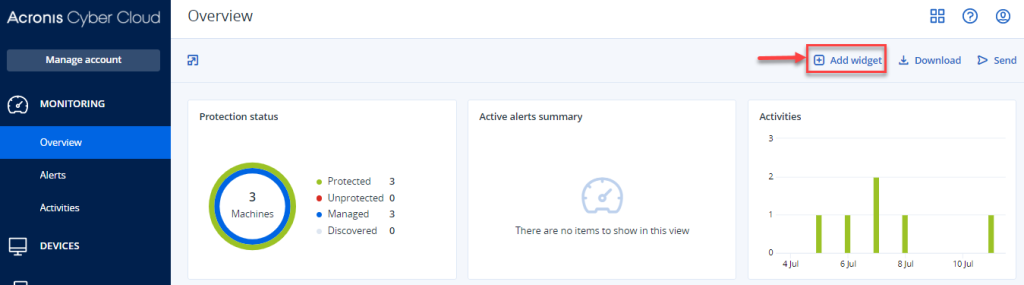
Numerous editable widgets that provide an overview of your protected infrastructure are available on the Overview dashboard. More than 20 widgets, displayed as pie charts, tables, graphs, bar charts, and lists, are available for selection. They have elements that can be clicked on to look into and solve problems.
In this article, we will explain to you how to add, edit, reorder and delete widgets in Acronis.
Before proceeding to add, edit, reorder and delete Widgets in Acronis. Make sure you have Log in to the Acronis portal.
To Add a Widget:
- An icon “Add Widget” can be found on the right side of the screen once you have logged in. Click on it.
- You will enter into a new window and will get a list of all widgets. Simply click on the Widget, and it will get added to the main dashboard as shown in the image given below.
To edit a Widget:
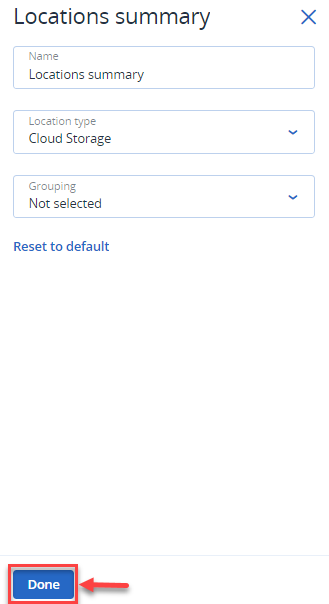
- Click on the “pencil icon” to edit the widget on the right-hand side of the screen.
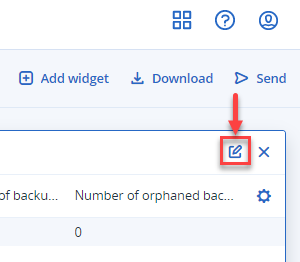
- Make the changes and click on the “Done” button. Your changes will be reflected.
To reorder a Widget:
To reorder a widget, simply select it and drag and drop it.
To Delete a Widget:
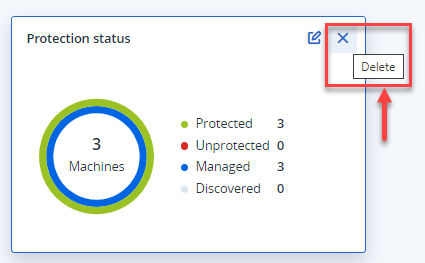
- Click on the “Delete” icon on the right side, as shown in the image given below.
In this way, you can add, edit, reorder and remove a widget in Acronis.
Hope you understood and liked our article. You can contact our support staff for any queries.
Looking for better backup control? Check out our guide on editing default backup options in Acronis!