In this article, we have explain how to install WordPress on a Windows server using Plesk Onyx WordPress Toolkit. By using this method you can easily install WordPress.
Follow these steps:
- Begin by logging into your Plesk Account.
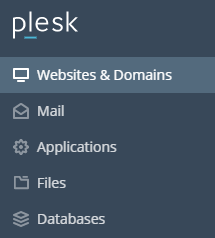
- Click on Websites and Domains located in the left-hand panel.
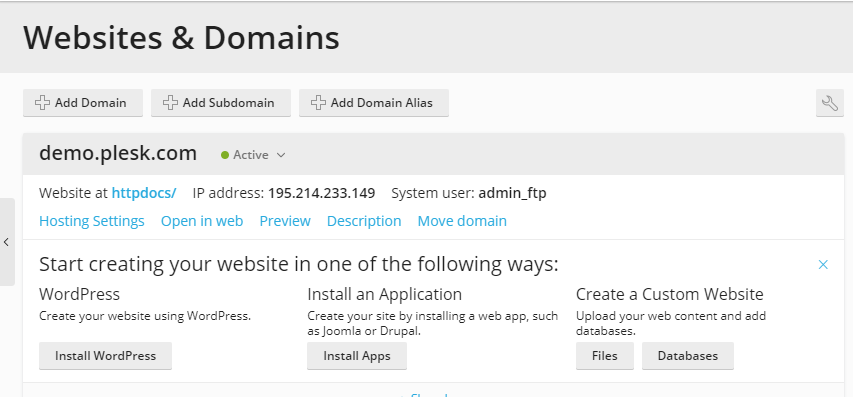
- When the Websites & Domains screen opens , click the Install WordPress button.
- When you click Install WordPress a pop-up screen appears where you can fill in the information that needed to set up the installation.
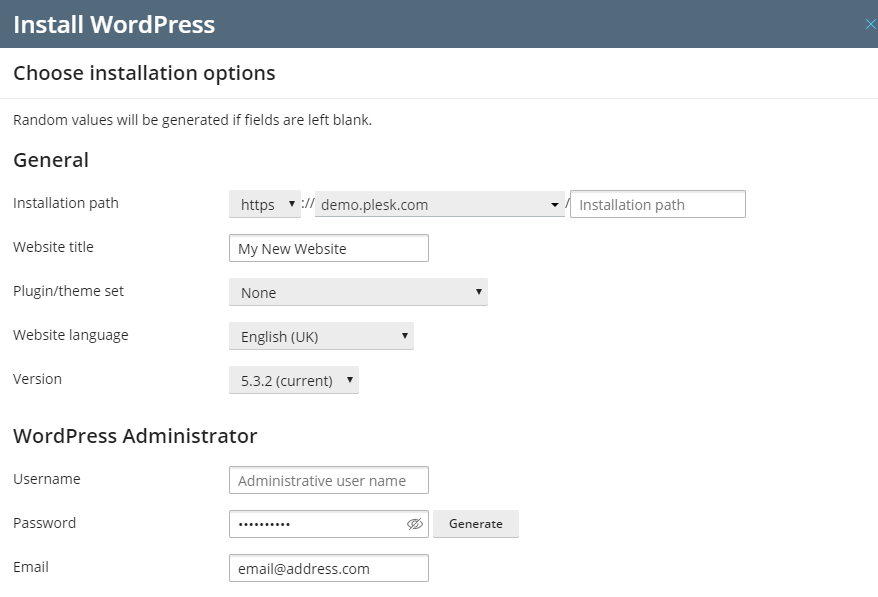
- In the Installation path details. This tells Plesk which folder you want WordPress to be installed into.
- In the Website Title box, type in the name of your website.
- The Plugin/theme set dropdown gives you the option to install a range of plugins or themes at the same time as installing WordPress. This is optional.
- The Website language should be set to the default language you want your WordPress instance to display in.
- The Version dropdown gives you the option to install current or legacy versions of WordPress.
- In the WordPress Administrator section, you can create the username and password for your WordPress Admin and provide an Admin email address.
- Once completed, scroll down to the Database and Automatic Update Settings.
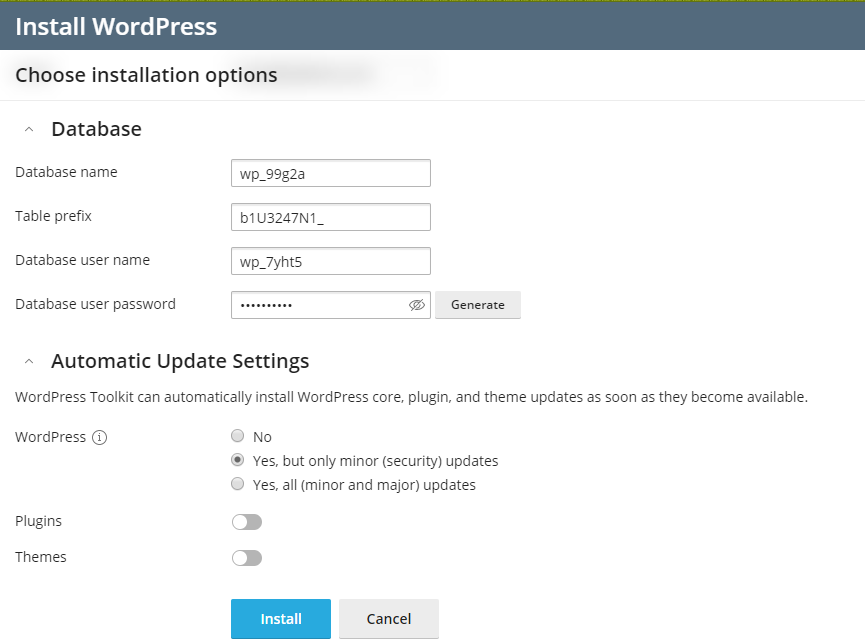
- Plesk’s WordPress Toolkit will automatically assign a database name, table prefix, database username, and database user password for you. However, you can change it in the database settings if you wish.
- The Automatic Update Settings are the default update settings for the instance of WordPress you are installing. These can be used to automatically install WordPress core, plugin and theme updates as soon as they are released. You can change the default auto-update settings here.
- Finally, click the Install button to complete the installation. Once the installation is complete, the WordPress login screen for your new site will appear.
From here, you can manage your new website.
That’s it!! with above steps you can easily Install WordPress Using Windows Plesk Panel.
