This guide explains how to add CAPTCHA protection to a WordPress site.
Here is how to add CAPTCHA protection to your WordPress site using the Google Captcha (reCAPTCHA) plugin-
- Log in to your WordPress dashboard as an administrator.
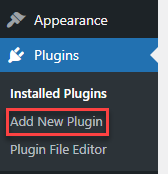
- Go to “Plugins” > “Add New.”
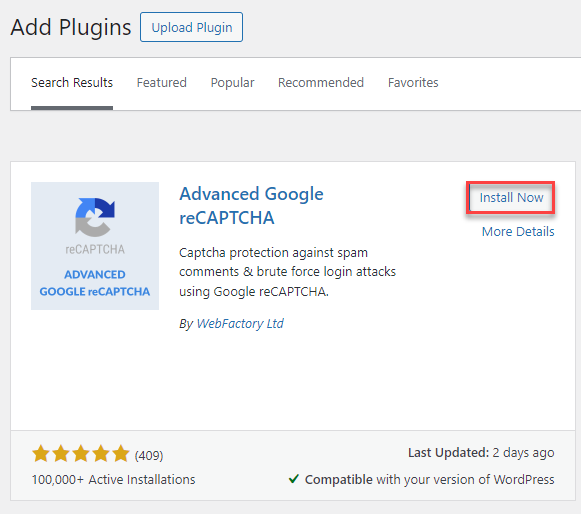
- Search for “Google Captcha” in the search bar.

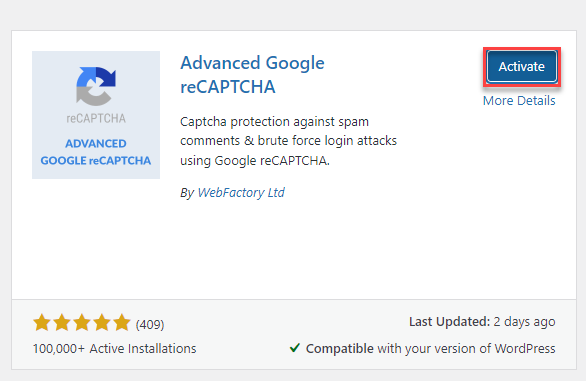
- Install and activate the Google Captcha (reCAPTCHA) plugin.
- After activation, go to “Installed Plugins” to confirm.
- Click on “Settings” for the Google Captcha (reCAPTCHA) plugin.
- You will need to create a public and private key for Google Captcha. Click on the registration link provided under Authentication and follow the instructions.
- Once you receive your keys from Google, enter the public and private keys into the respective text boxes.
- Customise the plugin settings as per your preferences under “Options.”
- Click “Save Changes” to apply the settings.
- CAPTCHA protection is now active on your site. To verify, visit your WordPress site’s front page and click on the comment link for a post. You should see a CAPTCHA displayed in the submission form.
Was not it useful to you?
To further enhance the security of your WordPress site, you can also set up password protection on WordPress pages.
If you require further assistance, contact our support staff at your earliest.