This guide explains how to add Akismet to a WordPress contact form. Adding it to a WordPress contact form is a straightforward process that can be accomplished in just a few steps. Although the specific steps might vary slightly depending on the contact form or plugin you are using, the general process remains consistent.
Let us follow the general guidelines for adding Akismet to a WordPress contact form-
Akismet offers free usage for non-commercial sites to combat spam comments and malicious contact form submissions.
- Install and activate the Akismet plugin-
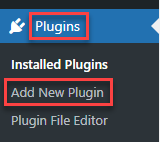
- Log in to your dashboard.
- Select the “Plugins” option and click the “Add New” button.
- You will enter a new page, Search for the Akismet plugin using the search tool.
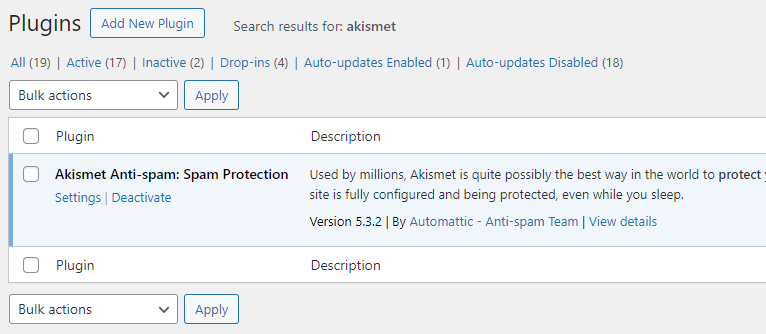
- Once you find the plugin, click on “Install” > “Activate.”
- Once the plugin is active, navigate to “Settings” > “Akismet Anti-Spam.” Within the settings section, you will encounter a field prompting you to enter an API key.
- To acquire this key-
- Visit the Akismet website and register for an account.
- Upon registration, you will gain access to the Akismet dashboard.
- Proceed to the “My Account” tab and select “Add Subscription” to obtain the API key.

- Upon proceeding to the next page, you will have the opportunity to select the plan that suits your needs. The Personal plan operates on a pay-what-you-want model, allowing you to sign up for free and utilize it for a single website. It is important to note that eligibility for this free plan is contingent upon not running ads, selling products, or promoting a business through your website.
- Once your subscription is confirmed, you will receive access to an API key, conveniently located in the “My Account” tab. Copy this key and navigate back to the “Settings” > “Akismet Anti-Spam” screen within the WordPress dashboard. Then, simply paste the key into the designated API Key field.
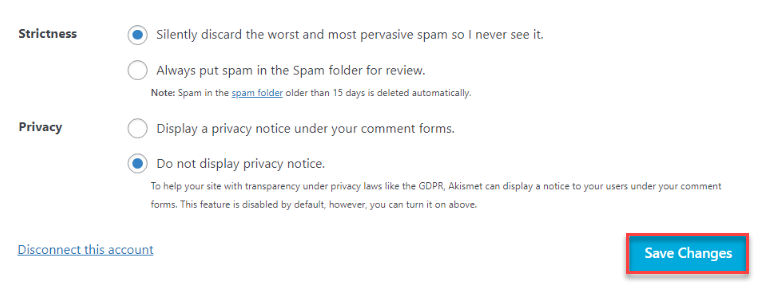
- Click on “Save Changes,” and you are done.
By default, Akismet will intercept comment spam and redirect it to a queue for your review within the dashboard. If you intend to integrate Akismet with a contact form, an additional step is required.
- Integrate Akismet with your contact form-
- WordPress lacks built-in contact form functionality, requiring users to rely on plugins. Integration with Akismet depends on the contact form plugin you are using. Many popular plugins, such as Formidable Forms and WPForms, offer built-in support for Akismet. Simply enable the Akismet spam protection setting for each form within the plugin.
- Some plugins, such as Gravity Forms, need Akismet add-ons for spam protection. Contact Form 7 and Ninja Forms require code snippets for Akismet support. However, all methods are relatively simple.
- Configure Akismet’s anti-spam settings-
- Akismet offers a straightforward setup, ideal for those seeking simplicity. It grants control over managing contact form spam.
- By default, flagged comments are sent to a review queue in the dashboard. Alternatively, you can configure Akismet to discard spam entirely.
- Access the option under “Settings” > “Akismet Anti-Spam” in the dashboard. Look for it in the “Strictness” section.
- Akismet effectively distinguishes between spam and legitimate messages, offering the option to discard contact form spam confidently.
- To ensure message preservation, select the “Always put spam in the Spam folder for review” setting.
Important note – Akismet stores spam comments for only 15 days, after which they are automatically deleted. Regularly review the queue weekly or at least bi-weekly to avoid missing any important messages.
Hope you liked our article. For the latest KBs, visit our KB section regularly. In addition, for extra assistance; seek help from our technical support team.