In this article, we will discuss how to configure client access.
Follow the steps to configure client access –
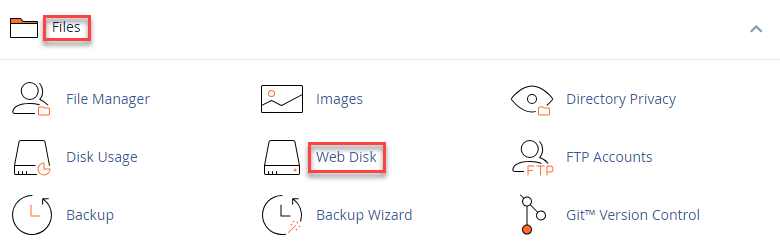
- Log in to cPanel account.
- Under the “Files” section click on the “Web Disk” sub-option.
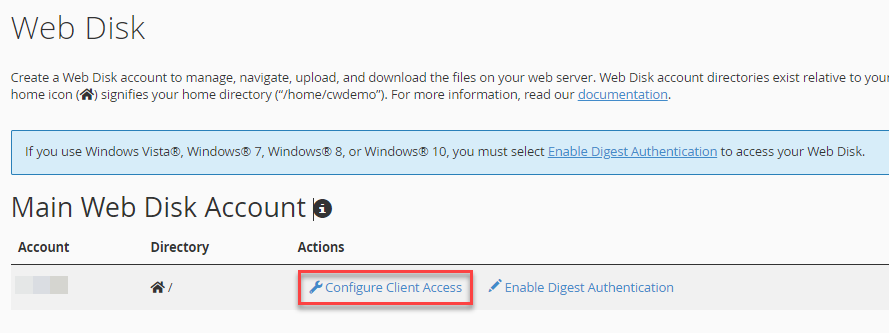
- Click on the “Configure Client Access” option under “Actions”.
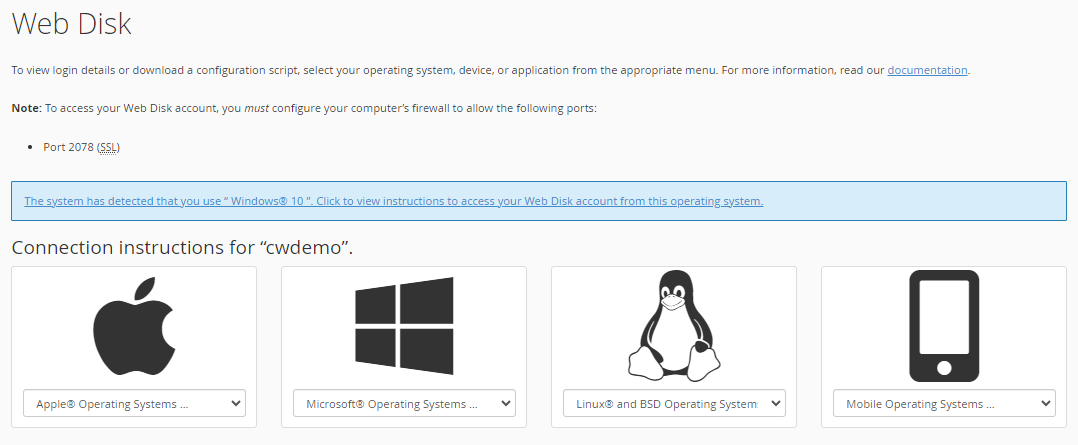
- Select the Operating system.
- Click on the “Download configuration script” button.
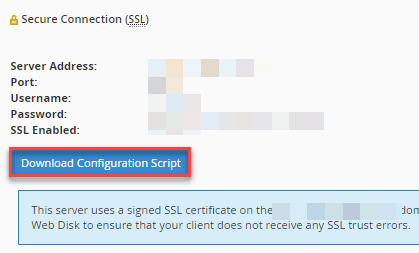
- Save the file to your local PC.
This way, you can read website files on your PC. Adding files directly from your local drive to your website is also possible. Hope you liked our article and that it was of great use to you.
Also Read: How to Access the WHM Account of your Reseller Client
