In this tutorial, we will explain to you how to use the Background Process Killer in WHM. Well, with Background Process Killer, you may ask WHM to look for processes that your users should not be running in a normal Web Hosting environment every day.
Clarify impact: Add a note that enabling this feature will automatically kill listed processes, which may affect applications relying on them.
Best practices: Suggest only adding processes that are known to be problematic (e.g., unauthorized scripts, resource hogs).
Security note: Mention that this feature helps reduce the risk of malicious background scripts consuming server resources.
Follow the steps:
- Log in to WHM.
- Select “System Health” from the menu bar.
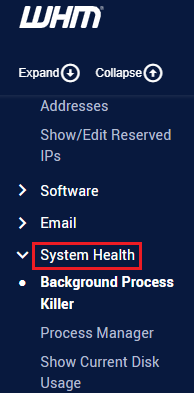
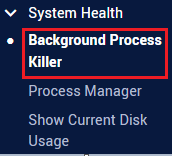
- Click on the “Background Process Killer” sub-option.
- Select the processes. Double-check the names of any applications you don’t want running on your server; it is recommended to check all of them because allowing users to run IRC bots and servers frequently results in denial-of-service assaults.
- Under“Trusted Users”, enter the usernames of the accounts that should be allowed to run the selected processes. Enter one username per line.

Note: Root, MySQL, named, Cpanel, and users with UIDs lower than 99 are already trusted and do not need to be added to this list. - Finally, click on the “Save” button.

- You will receive a success message as given below.

This was the end of the discussion. In this technique, you can easily use the Background Process Killer in WHM.
If you want to monitor running processes, check out our guide on How to view the currently running processes on the server for performance management.
For more information, contact our support staff at any time.