This guide illustrates how to enable leech protection for a directory using cPanel. This feature allows you to stop your customers from giving out or widely posting their passwords to a restricted area of your site.
Let us follow the steps:
- Log in to cPanel.
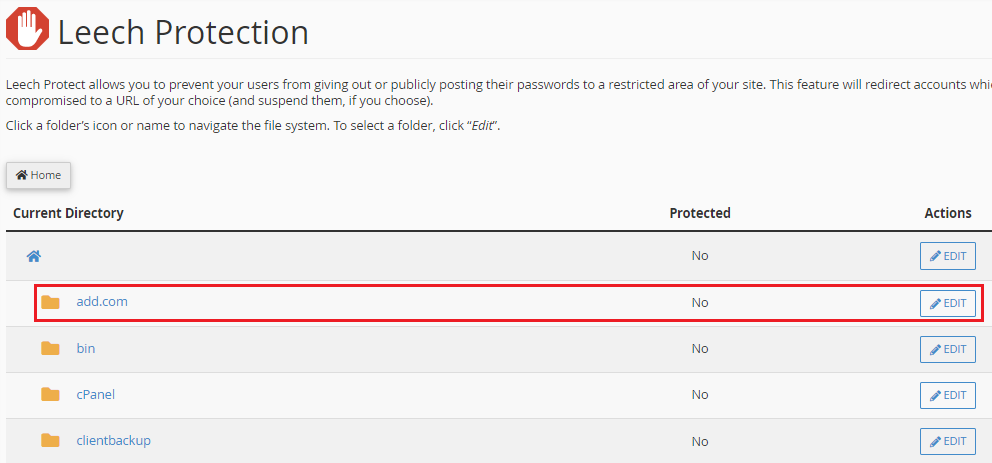
- Select the “Leech Protection” option from the “Security” category.

- Select and open the directory you wish to protect.
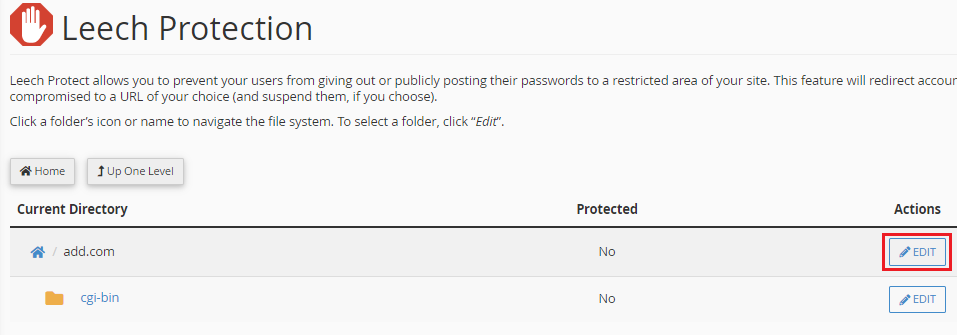
- Select the “Edit” button.
- Enter the number of logins allowed per user in two hours.

- When a user’s account is hacked, type a URL to redirect them to another web page.

- Select the check box to send the email alerts.
- Type the e-mail address provided in the box.

- Disable the compromised accounts. Users who activate leech protection will have their passwords disabled and their accounts suspended by cPanel. Reset their passwords to reactivate their accounts.

- Click on the “Enable” option.

- You will get the message that Leech Protection has been enabled.

We hope you liked our article. Get in touch with our support team at any time. For affordable web hosting plans, please visit our website and initiate a live chat.