In this article, we will explain how to Enable/Disable Greylisting in WHM.
Follow these steps to Enable or Disable Greylisting in WHM:
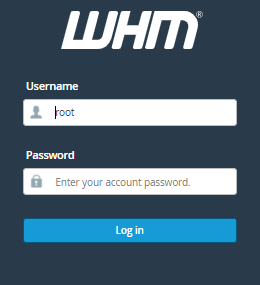
- Log into “WHM”.
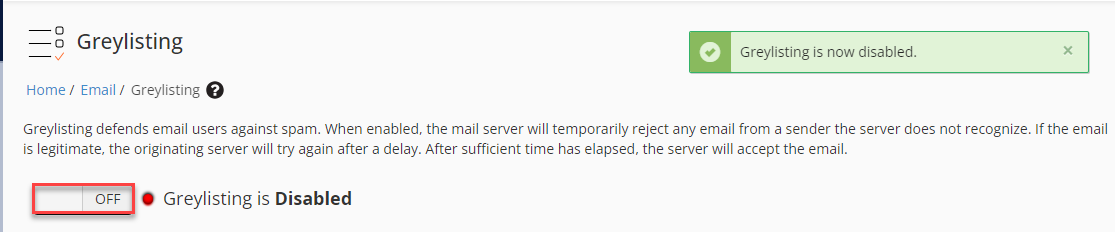
- Search for the “Email” section, and click on “Greylisting”.

- Click on the ‘OFF’ button in order to disable Greylisting.
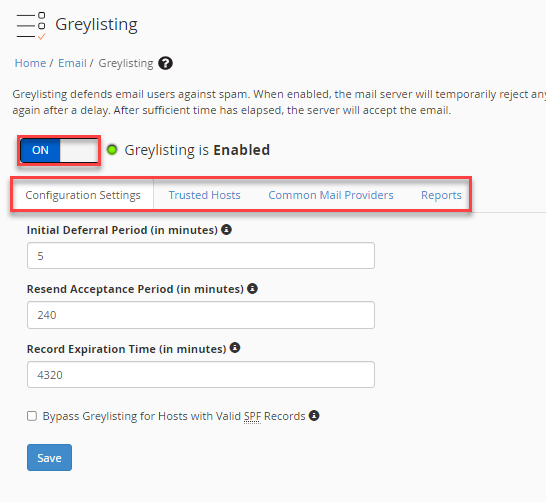
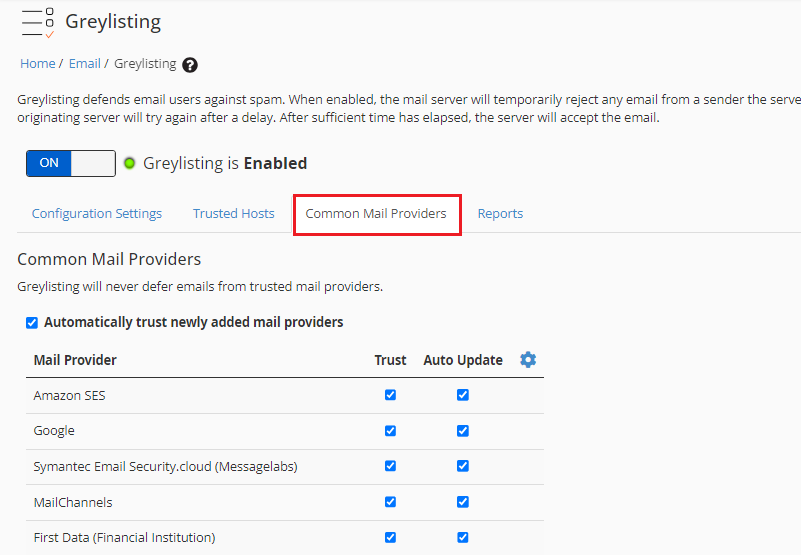
- By clicking on enabling Greylisting, we will get some options like “Configuration Settings”, Trusted Hosts, Common Mail Providers, and Reports.
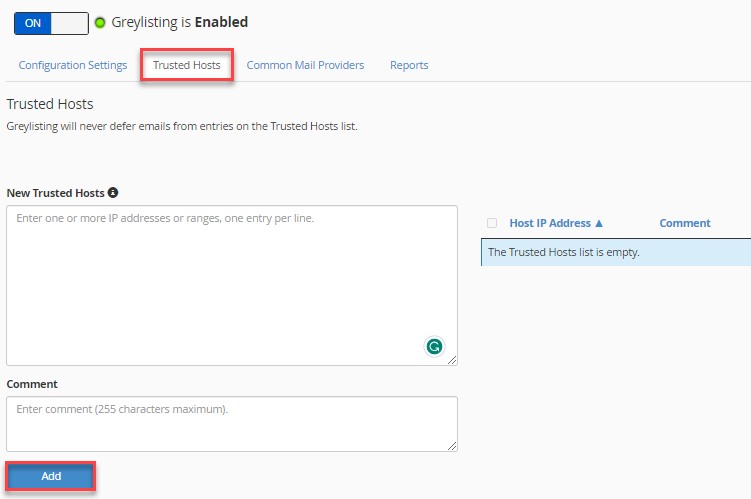
- Click on the “Trusted Hosts”, to add the IP address (or range) of the host. We can also add a comment for each entry. Click on the “Add button” to add the hosts.
- Click on “Common Mail Providers”. Here we can see a list of common mail providers. By default, each common mail provider is trusted and automatically updates. If we are having problems with a common mail provider, then we can un-check the box. Click on the “Save button” after updating the changes.
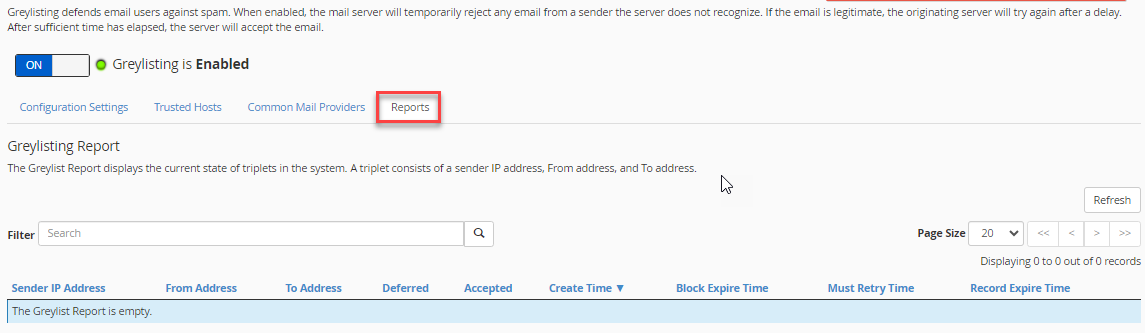
- Click on “Reports” and you can see emails that have been delayed based on the sender’s IP address, from address, and to address.
In this way, you can enable or disable Greylisting in WHM.