If you wish to upload data files to your website, you must first configure the FTP settings on your server. You’ll need to enable FTP access to do so. In this tutorial, you will learn how to enable FTP access in WHM.
Follow these steps:
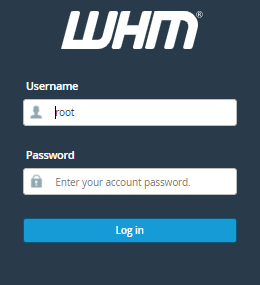
- Log into WHM as “Root User”.
- Choose “Service Configuration” from the menu.
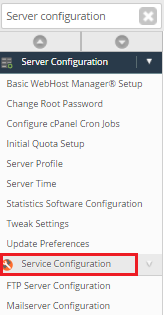
- Select an FTP server by clicking the “FTP Server Selection” icon.

- To allow FTP accounts, select either Pure-FTPD or Pro-FTPD. You can make your decision after reading the Advantage of FTP Servers.
- To activate, click the Save button.

WHM will start the FTP server installation process. The installation and conversion of the FTP servers will take some time, but after they are finished, a success message will show.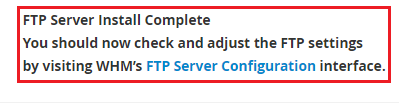
That’s it!!
Also Read : How to Add and Configure an FTP Account in cPanel