This article explains how to create and manage Autoresponders in cPanel. They allow you to set up automatic email replies and are useful for vacation messages, confirmation emails, or notifying senders that their message has been received.
Let us follow the guide:
- Log in to your cPanel account.
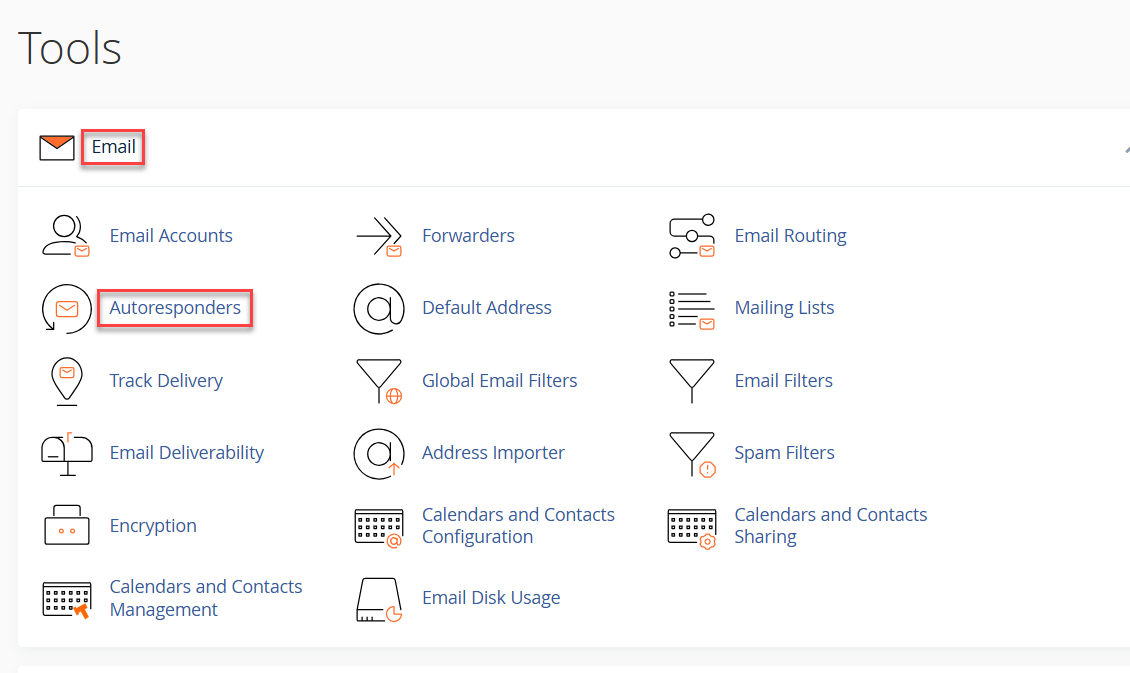
- Under the “Email” section, click “Autoresponders”.
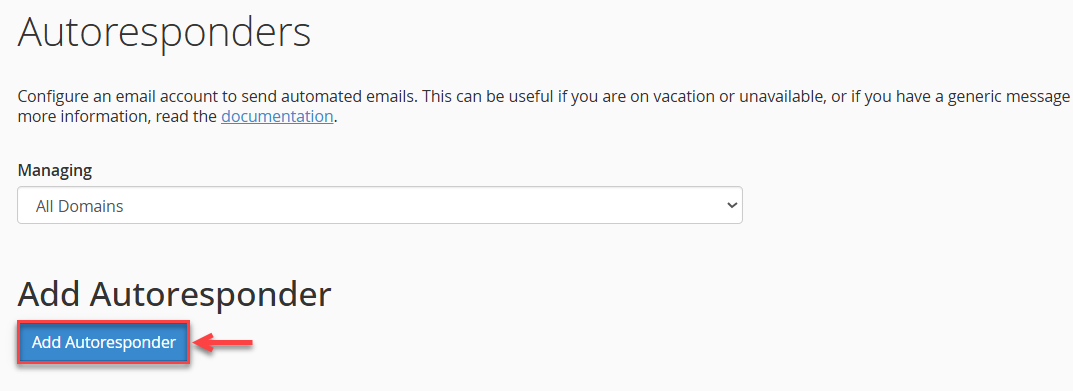
- Click “Add Autoresponder”.
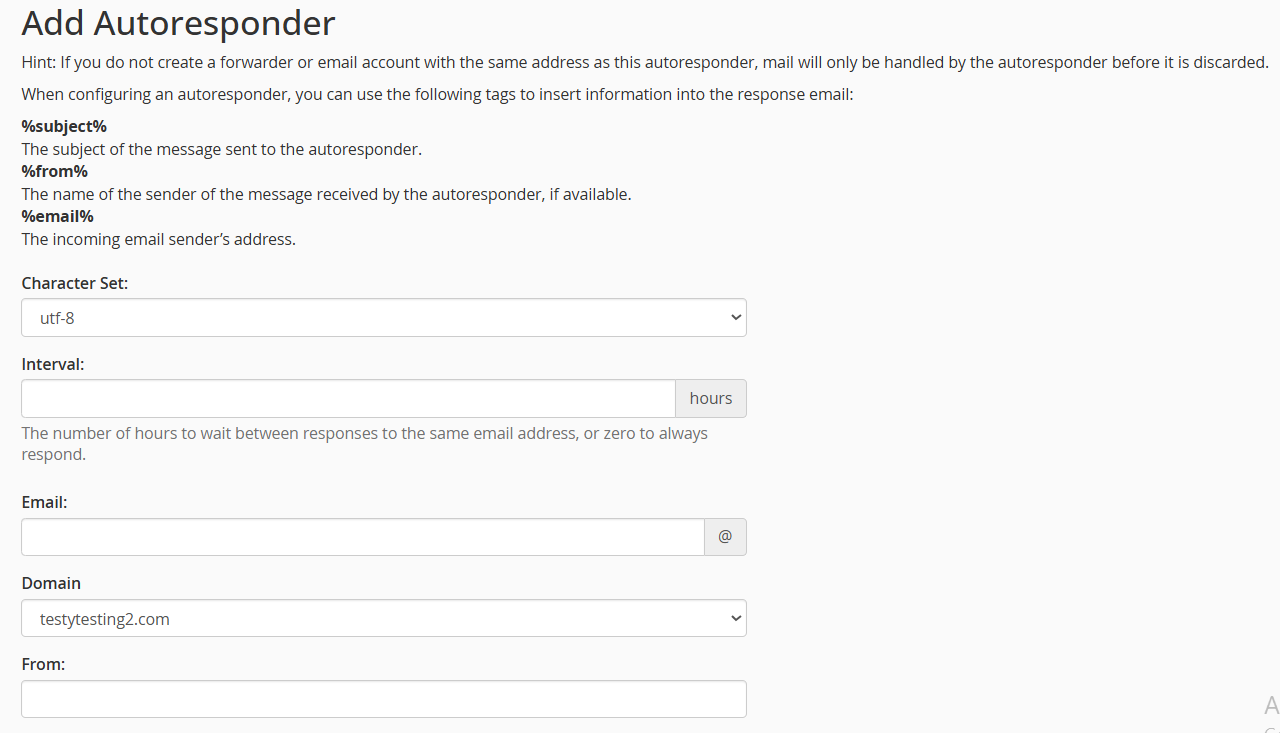
- Configure the following details:
- Character Set: Leave as default (UTF-8) unless you need another.
- Interval: Enter the number of hours to wait before sending another response to the same sender.
- Email: Type the address for which you’re setting the autoresponder.
- From: Add the sender’s name that should appear in the auto-reply.
- Subject: Enter the subject line for your message.
- Body: Write the message content. (You can use plain text or HTML).
- Start/Stop: Set when the autoresponder should begin and end.
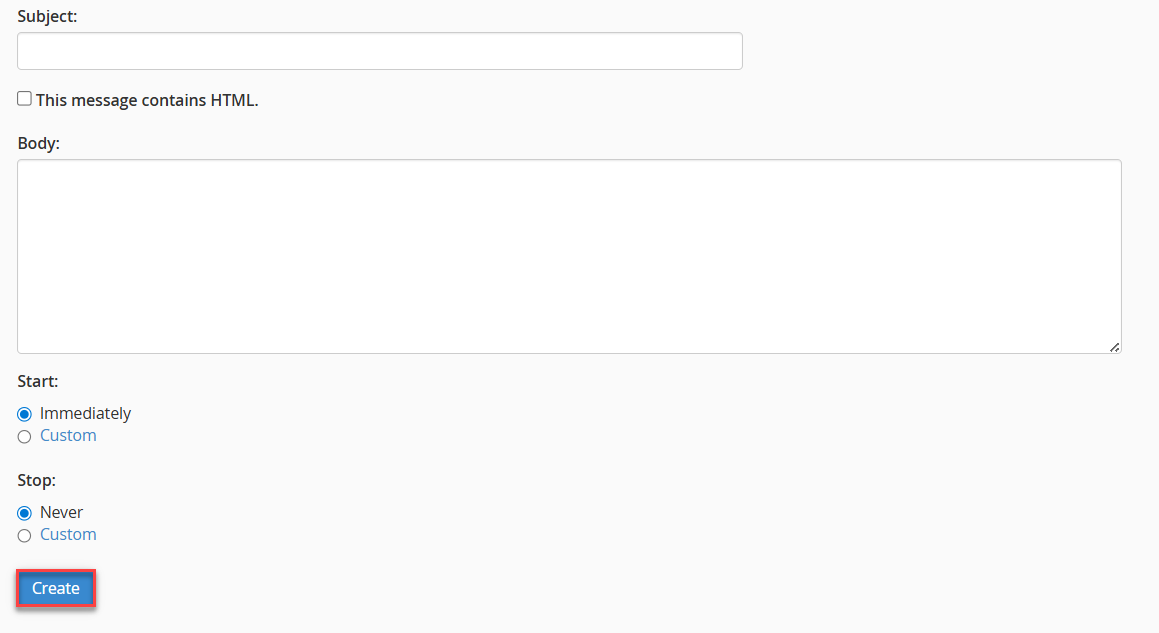
- Click on the “Create” button to save as shown in the image above.
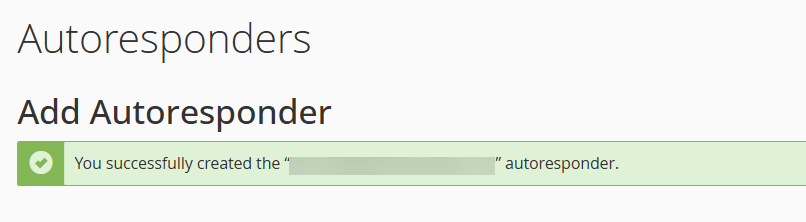
- You will receive a success message.
- Then, to manage Autoresponders, go back and you will see a list of existing rules.
- You will find two options, namely: “Edit” and “Delete”.
- You can edit whenever needed and also delete when no longer required.

This way, you can ensure professional, automatic communication while you’re unavailable.
Want to manage default addresses too? Learn How to set or update default address for a domain