Procedure:
- Log in to WHM.
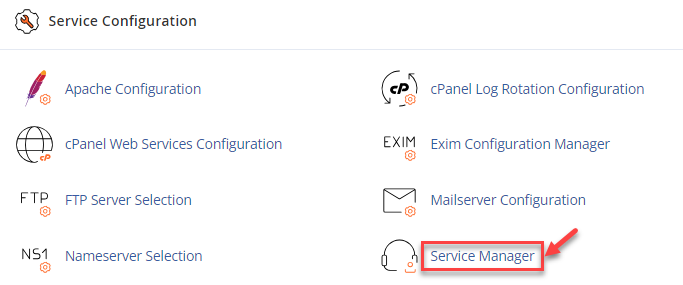
- Navigate to the “Service Configuration” section and click on the “Service Manager” option.
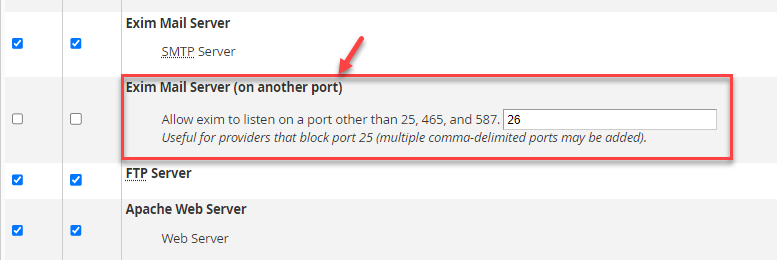
- Find the option Exim Mail Server (on another port) and enable it by selecting the corresponding radio button.
- Enter a custom SMTP port that is not 25, 465, or 587, such as 26, 2525, or 588, if you require an additional listening port for SMTP authentication. Standard SMTP ports 25, 465, and 587 are already handled by Exim and do not need to be configured in this field.
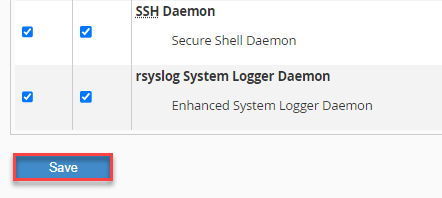
- Scroll down and click “Save” to apply the changes.
Important: Ensure that the newly added TCP port is opened in both local and external firewalls to allow inbound traffic to the server.
That is it! Do not hesitate to contact our support team for assistance. Also Read: How Can I Check My SMTP Server Address?