In this article, we will explain to you how to add an IP to a white list in Imunify360’s Firewall. An institution’s previously set security policies are used to monitor and filter incoming and outgoing network traffic through a firewall, a network security device.
Let us see how to add an IP in Imunify360:
- Log in to WHM.

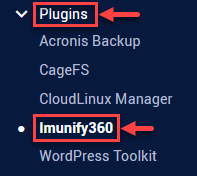
- Click on the “Plugins” option.
- Click on the “Imunify360” sub-option.
- Select the “Firewall” tab.
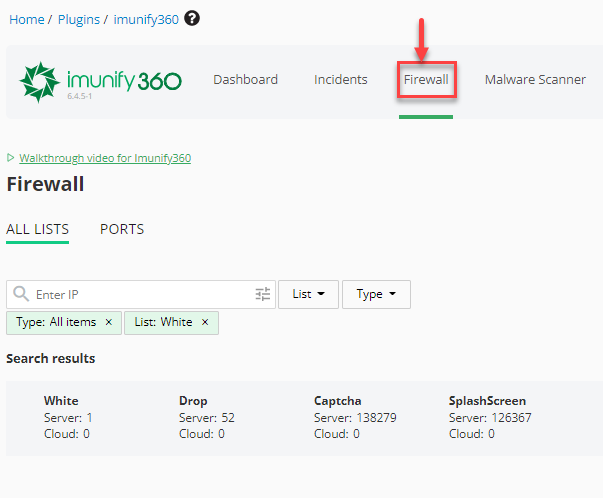
- On the right side of the screen you will find an “Add” option. Click on it.

- A small window will open up as shown below.
- Enter the “IP or subnet in CIDR notation” in the IP tab.
- Enter a comment.
- Enter “TTL” and select “Days or Hours” from the drop-down menu.
- Select the “Whitelist” selection.
- Tick on the “Full access” option.
- Finally, click on the “ADD IP” option.


This is how you can add an IP to CloudLinux’s whitelist. You can reach out to our support team whenever you have a problem. Don’t forget to look at our most recent web hosting options right now as well.