This guide shows how to add an email filter using Webmail via cPanel or the Webmail interface to organize emails and declutter your Inbox.
Follow the steps to create or use email filter in webmail:
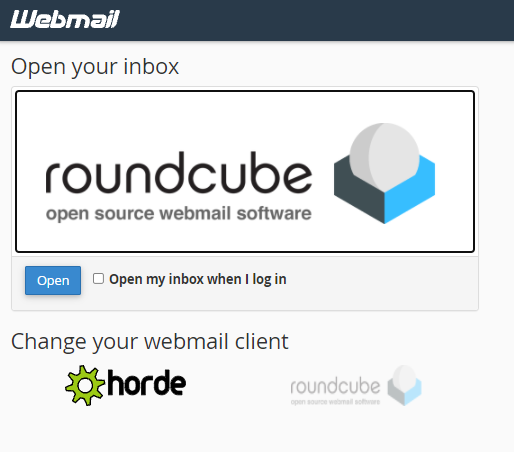
- To use your Webmail account, first log in to your account.
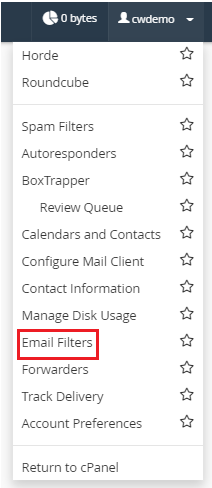
- In the top-right area of the screen, click on your username. It will present as a dropdown menu.

- Select Email Filters from the menu. The cPanel interface will open with the Email Filters feature.
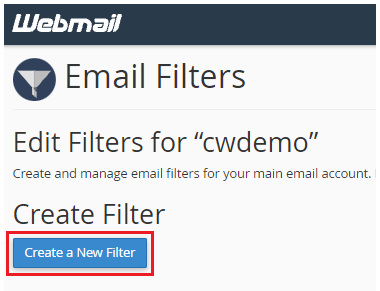
- Create a new filter by clicking the Create a New Filter button.
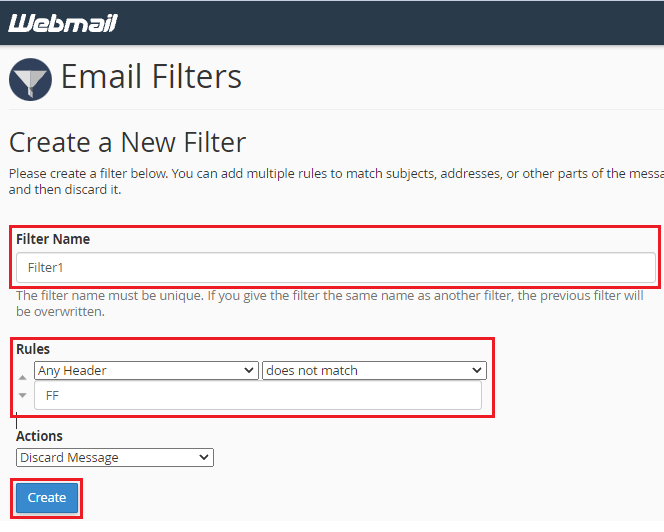
To create a new filter:
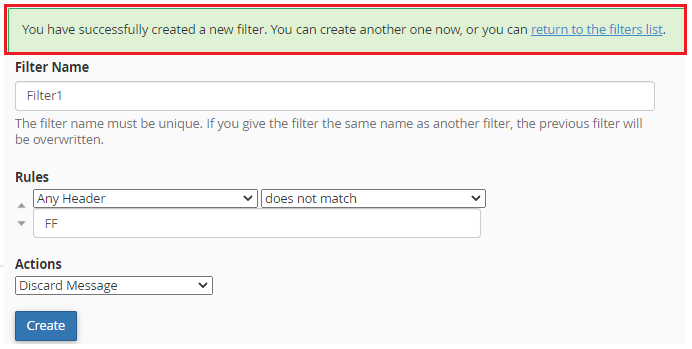
The previous filter will be replaced if you input a filter name that is identical to the earlier filters.
- Give your filter name.
- Choose and modify the rules.
- Make a choice on which actions to take.
- When you’re ready, click Create.
- After completing the process, you will receive a success message.
In this way, you can use Webmail to create email filters. Wasn’t it simple? Visit our site on a regular basis for more articles like this. And, if you require any further assistance, kindly contact Webhosting UK (WHUK) support team, which is available 24 hours a day, seven days a week.