In this article, we explain how to configure WHM to set the default TTL (Time To Live) value for DNS records.
What Is TTL (Time To Live)?
The TTL value, measured in seconds, determines how long DNS resolvers cache a DNS record before requesting updated information.
Why Adjust the Default TTL in WHM?
When your nameservers are managed by cPanel/WHM, adjusting the default TTL can influence how quickly DNS changes propagate.
- A lower TTL allows DNS updates to take effect sooner.
- A higher TTL improves caching efficiency and reduces DNS query load.
Important Notes About TTL Changes
These changes apply only when the cPanel server responds to DNS queries for a domain.
- Updated TTL values affect newly created or regenerated DNS records.
- Existing records already cached by external DNS resolvers will not be updated immediately.
Let us follow the steps:
- Log in to WHM.
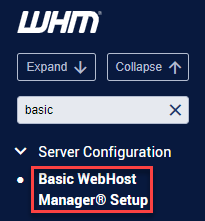
- Search for the “Basic Webhost Manager Setup” option from the left menu and click on it.
- Click on the “Basic config” tab.
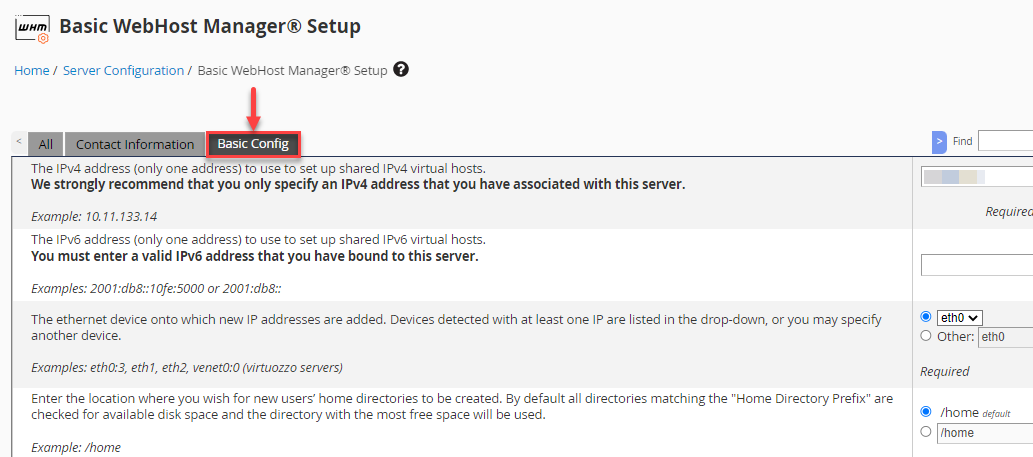
- Search for the “This value defines the caching time for hostname lookups for domains hosted on this server. When a caching nameserver queries the authoritative nameserver for a resource record, this value defines the number of seconds before the record will expire. Shorter TTL values can cause heavier loads on the nameserver, but can be useful for zones that contain frequently changing records. The range of values in seconds, as defined by RFC 2181, is 0 to 2147483647, option or you can directly search for the “TTL” in the search bar and get to the option.
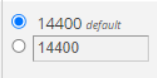
- You will find two options here, one is the default, and the other is custom.

- If you wish to set it as per your requirement, then you can select the custom option and set the value, or you can select the default option for the default value, i.e. 14400.
- Finally, click on the “Save Changes” button.
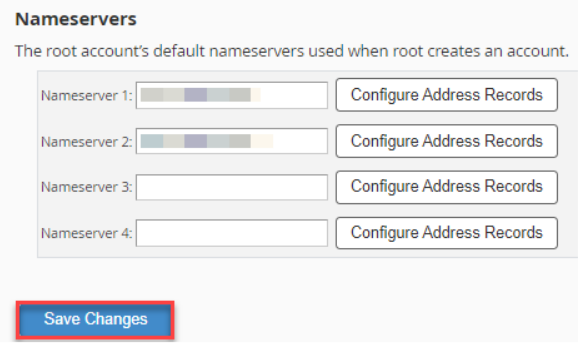
This way, you can set the DNS records’ default TTL value in WHM.
To ensure your DNS configurations are consistent, follow our guide on How to Synchronise DNS Records to All Servers Using WHM.
Hope this article has helped you a lot. For any queries, contact our support staff, who will surely help you out at any point.