In this article, you will learn how to use cPanel to set up a signature for your Webmail Account. The email signature functions as an electronic business card. It connects with your email recipients while giving a professional touch. Although cPanel does not offer a setting for assigning a signature to your email account, you will have to use Webmail to do so.
To log in to your Webmail Account, follow these steps:
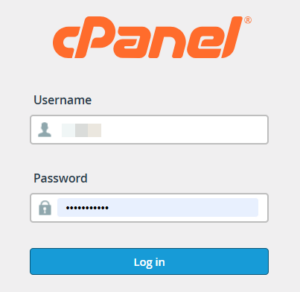
- Log in to your cPanel account.
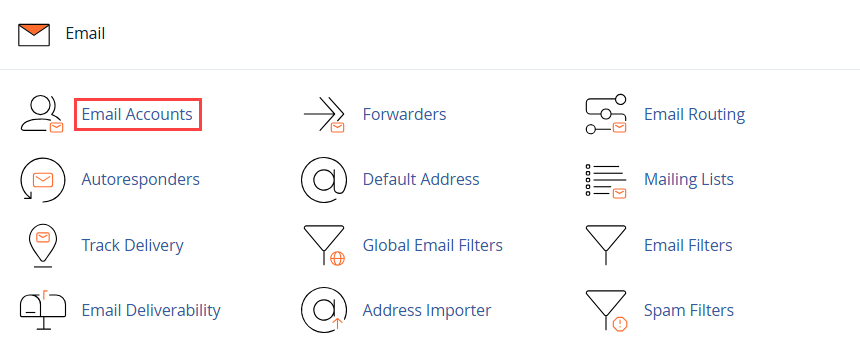
- In the Email section, select Email Accounts. A list of all active email accounts on your cPanel hosting will emerge.
- To add a signature to the email account, click on the Check Email option available on the right-hand side of the screen.

- The Webmail dashboard will open, where you can set up your signatures for Webmail clients.
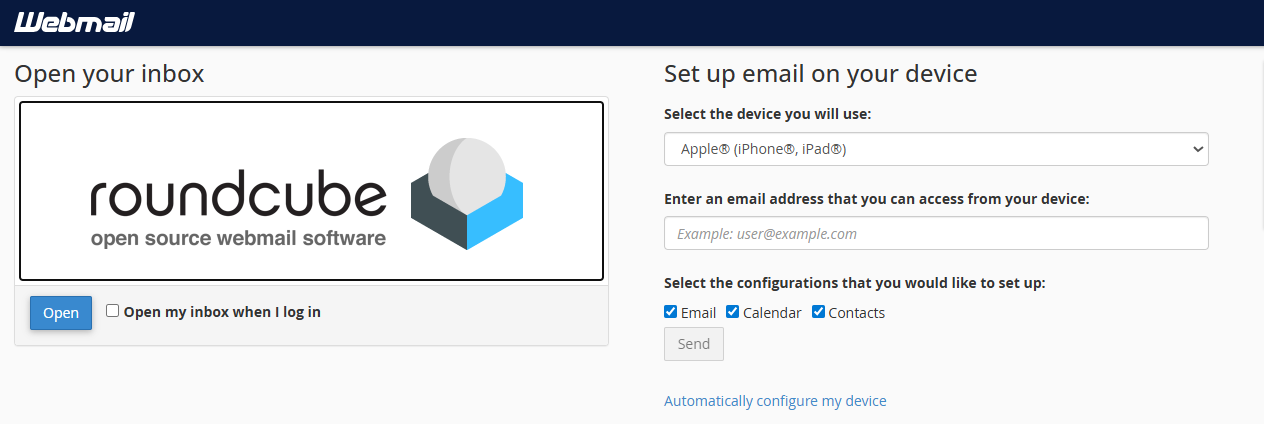
Once you have opened Roundcube Webmail, follow these steps to create your email signature:
- Open Roundcube.
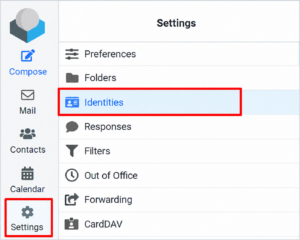
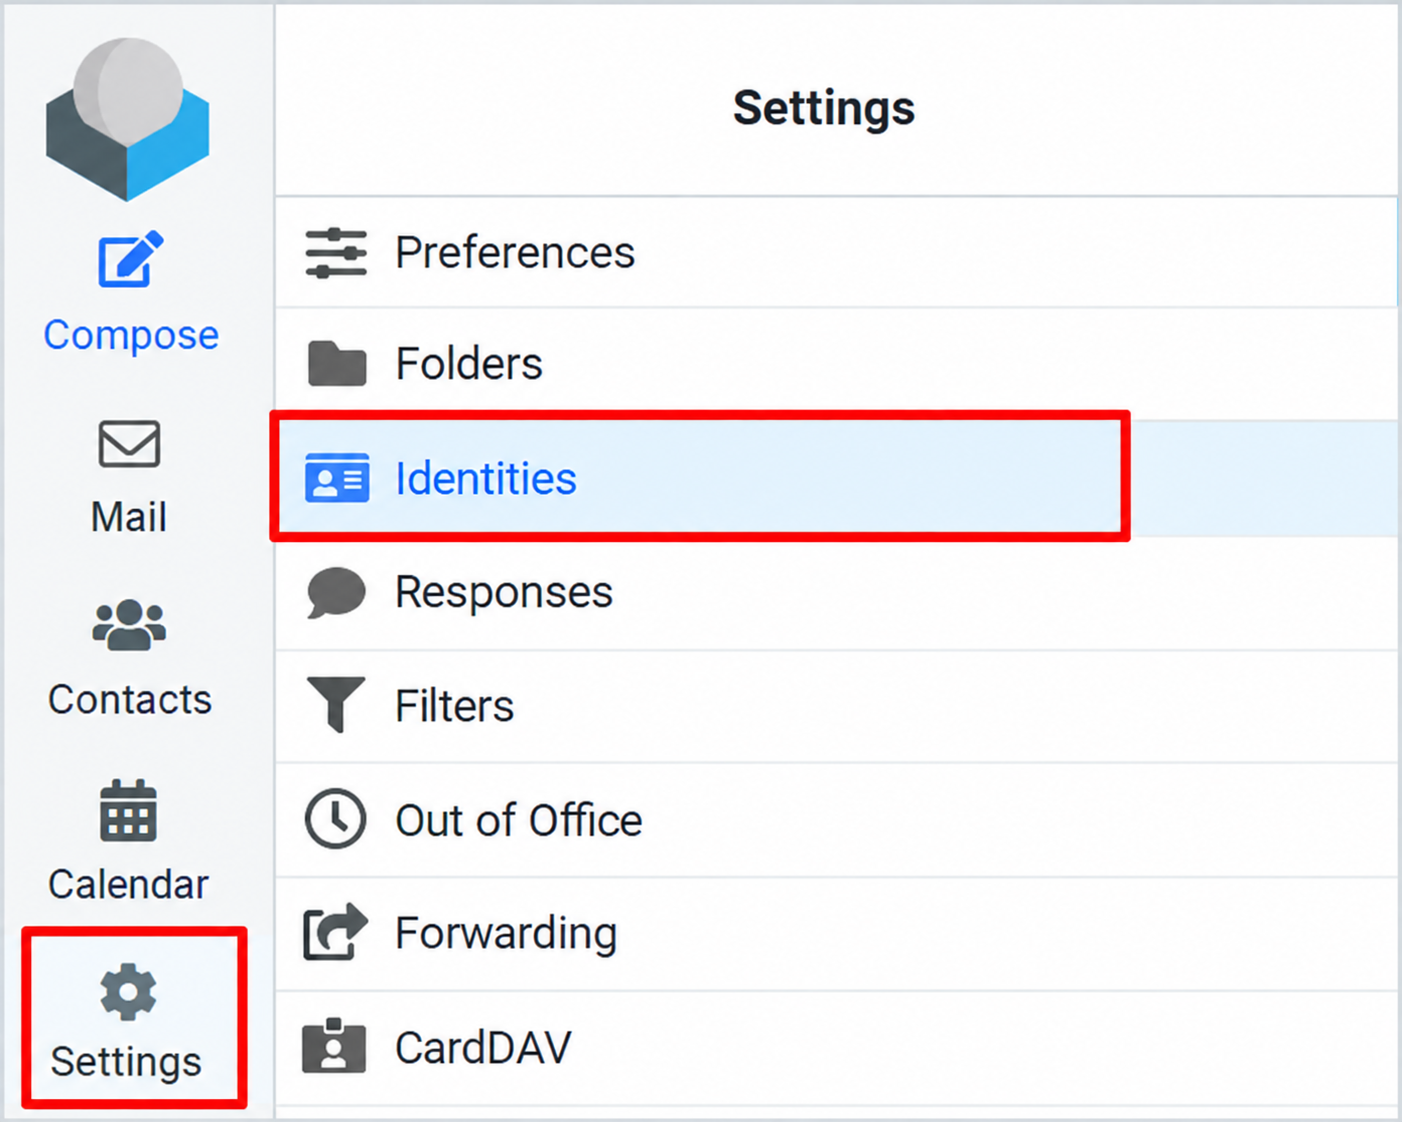
- Click Settings.
- Select Identities.
- Click your email address or identity.
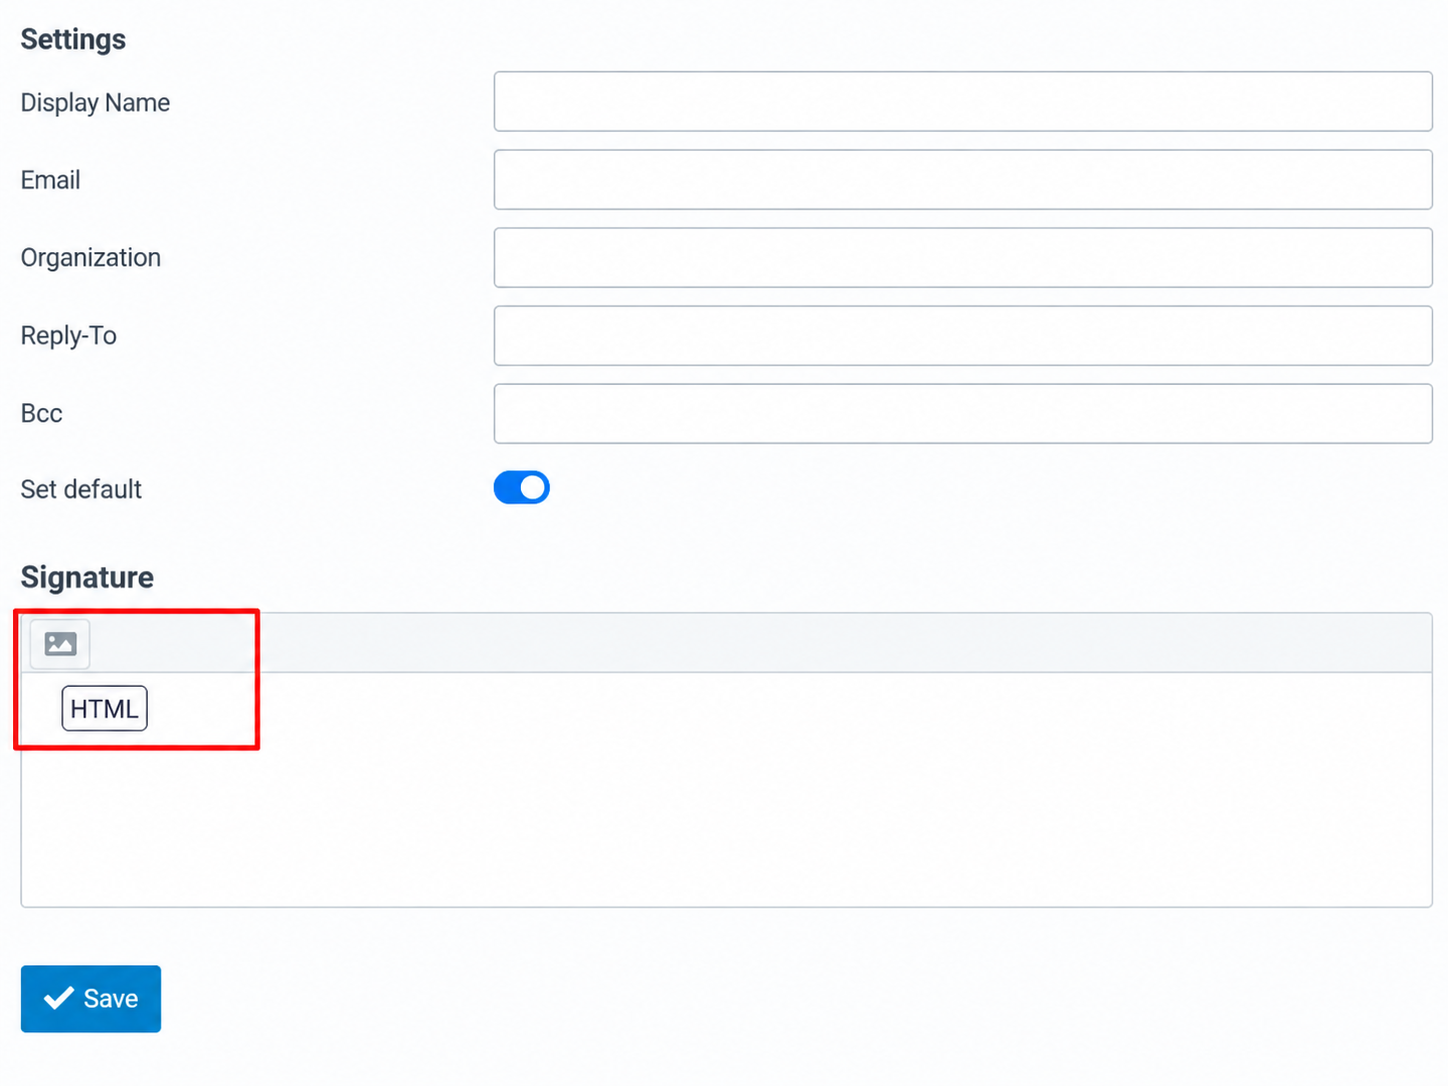
- Scroll down to the Signature section.
- Enter your signature text.
- (Optional) Enable HTML editing if you want to use formatted signatures.
- Click Save to apply the changes.
Your email signature is now configured. To automatically include it in new outgoing messages, ensure signature insertion is enabled in Roundcube’s message composition settings.
Conclusion
Setting up an email signature in Roundcube Webmail is a simple way to give your outgoing emails a professional appearance. By following the steps above, you can easily create and manage your email signature through cPanel Webmail.
We hope you have found this article helpful. For further assistance, please visit Webhosting UK (WHUK). Our support team is available 24/7.