The following post will help you in understanding how to use File Manager to upload content to a Plesk Server.
To upload the website content from your computer to the Plesk server with the help of File Manager, follow these steps:
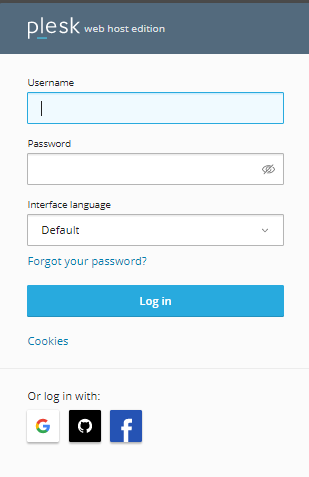
- Log in to Plesk.
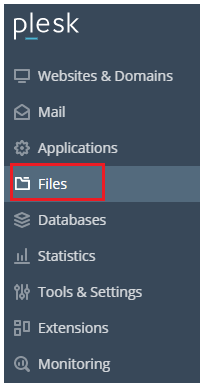
- Select the files option from the left menu bar.
- Select the domain name.
- You will enter into the File Manager for that Domain.
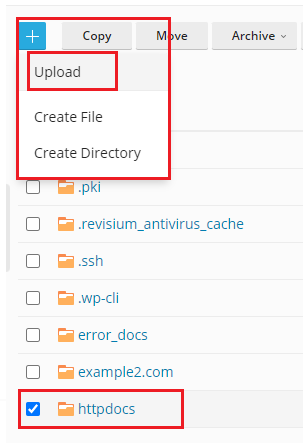
- Click on the “httpdocs” folder and then upload it using the “+” symbol at the top of the screen.

- After clicking on the “+” sign, you will get a drop-down list. Select the upload option and upload the file.
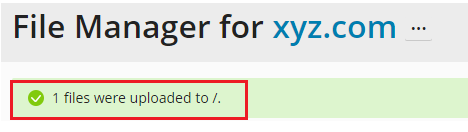
- You will get a message after uploading the file.
- Now, select the file and click on the Archive option from the top and click on “Add to archive”.
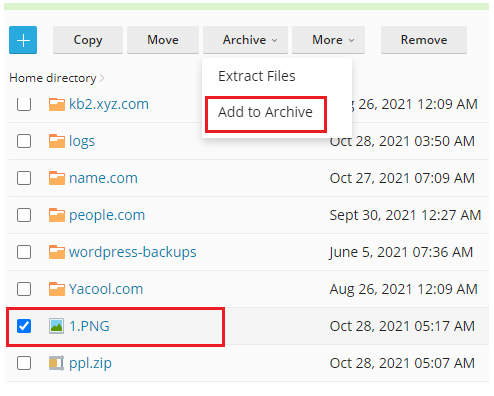
- Type the Archive file name, as shown in the image given below.

- Again you will get a message that the image1.zip file has been created successfully.

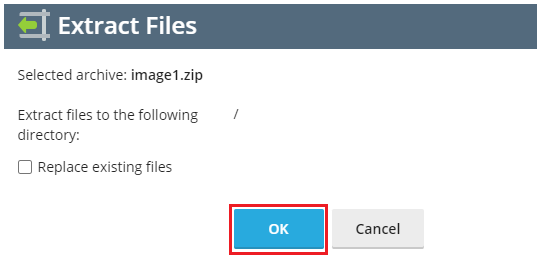
- Now, Select this zip file and select the archive option and select the “Extract” files option.

- Press the Ok button.
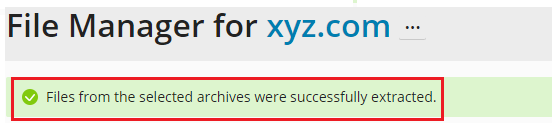
- You will get a message that the file selected is successfully extracted from the archives.
That’s it! Wasn’t it easy? If you liked this article then you will surely love to Host with our company. We are available for you 24×7, our experts will always assist you without any delay. And for more such knowledge visit our site daily.