Plesk provides a built-in WordPress Toolkit that allows server administrators to scan the server for WordPress installations. This scan helps detect all WordPress websites hosted on the server, including those installed manually or outside the default directory structure.
This guide explains why the scan is needed and how to perform it correctly.
What Is the WordPress Scan in Plesk?
The WordPress scan in Plesk is used to:
- Detect existing WordPress installations on the server.
- Add unmanaged or manually installed WordPress sites to WordPress Toolkit.
- Enable centralised management, security checks, and updates.
- Ensure all WordPress instances are visible in the Plesk dashboard.
Note: This scan does not check for malware or vulnerabilities. It only identifies WordPress installations.
When Should You Run This Scan?
- A WordPress site was installed manually.
- A website was migrated from another server.
- WordPress Toolkit does not show all WordPress sites.
- You want to manage all WordPress installations from one place.
Steps to scan WordPress websites using Plesk:
- Log in to Plesk.
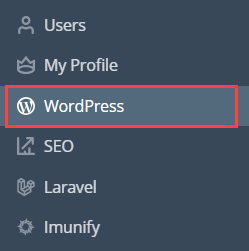
- Select WordPress or WordPress Toolkit.
- Inside WordPress Toolkit, click on WordPress Sites to view detected installations.
- Click on the Scan button.
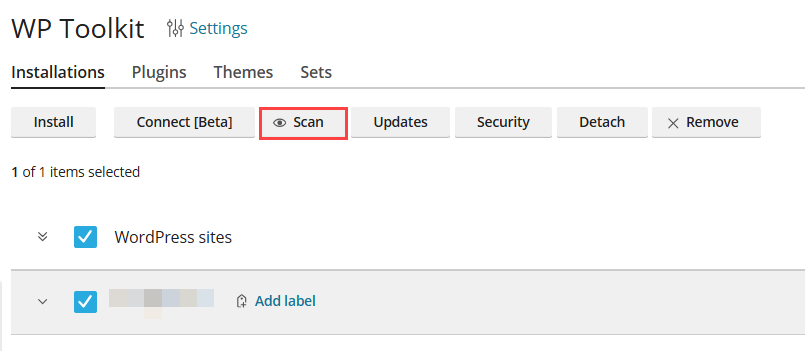
- It will start scanning as shown in the image given below.

- Once the scan is complete, you will see a confirmation message:
Scanning for WordPress websites was performed.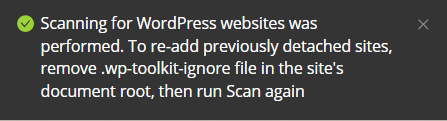
If the scan does not detect your WordPress installation or you require further assistance, contact our support team, available 24×7.