This guide explains how to import an existing WordPress installation into the Softaculous Apps Installer. After importing, you can manage WordPress updates, backups, cloning, and other features directly from Softaculous.
Let us follow the steps:
- Log in to your cPanel account.
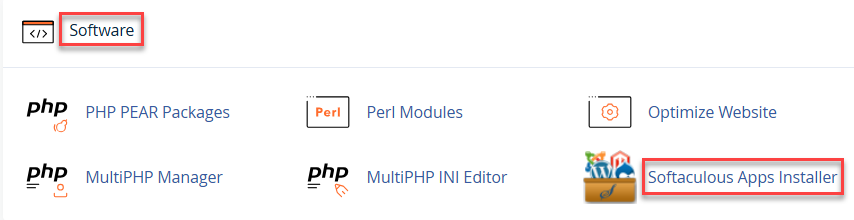
- Under the Software section, click on Softaculous Apps Installer.
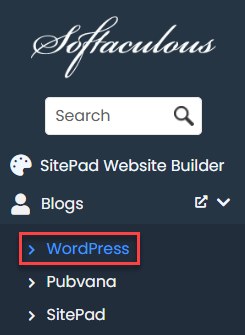
- From the left-hand menu, click on WordPress.
- Click on the Import tab.
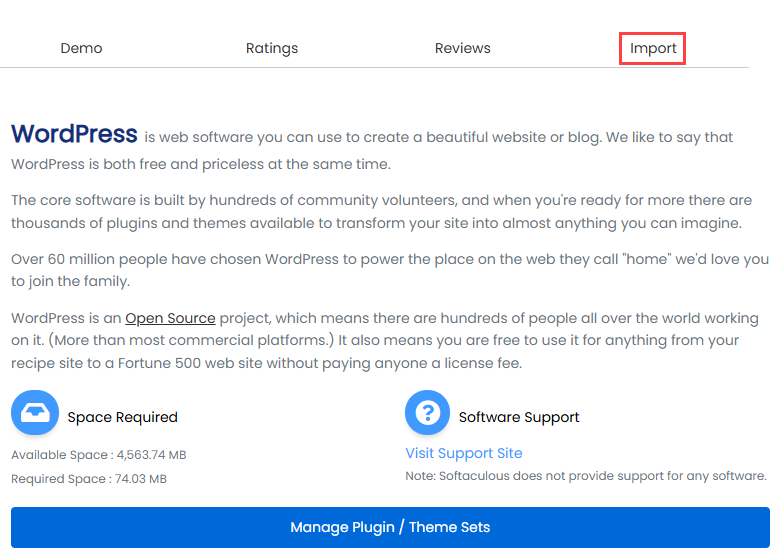
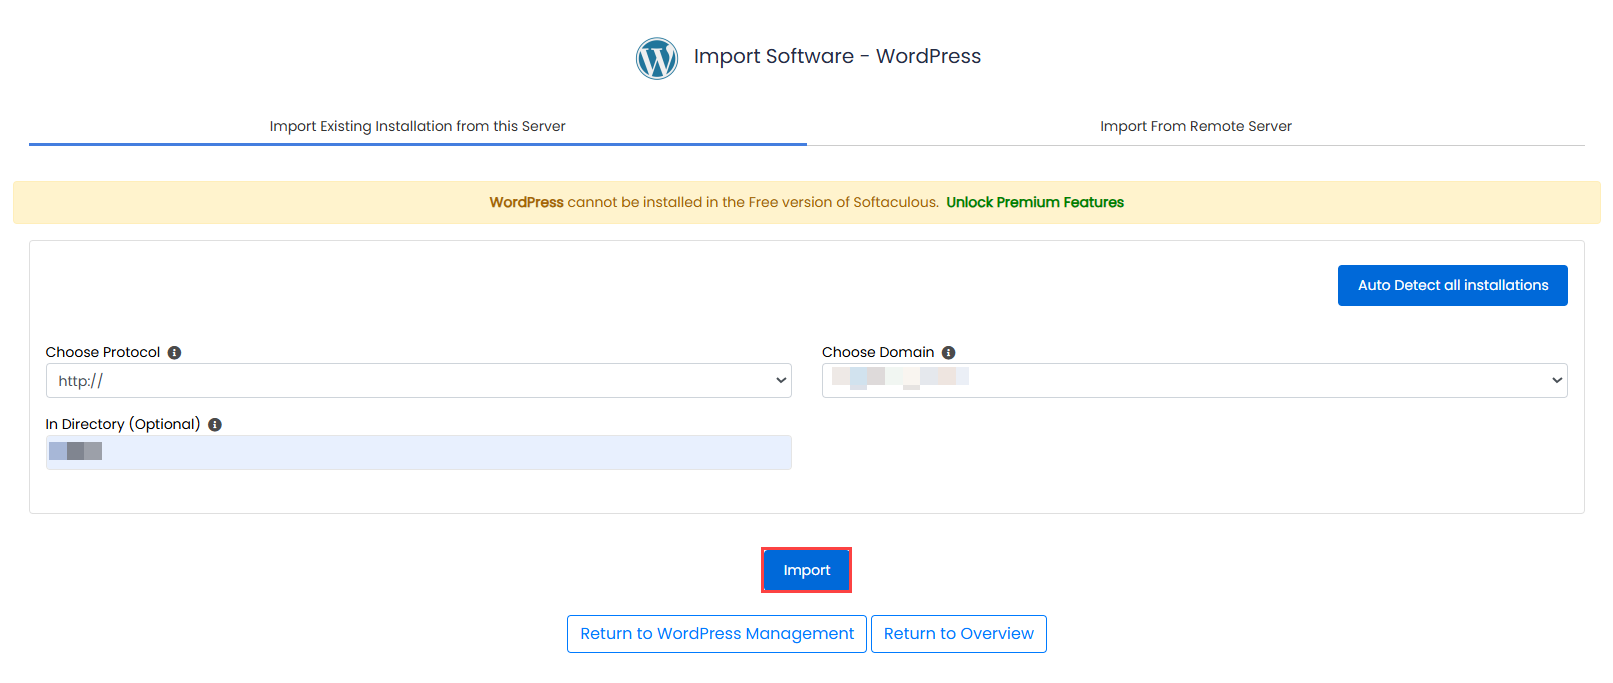
(Alternatively, you may also access the Import option from All Installations, depending on the Softaculous version.) - On the Import screen, configure the following details:
- Choose Protocol: Select http:// or https:// (recommended if SSL is enabled).
- Choose Domain: Select the domain where WordPress is installed.
- In Directory(Optional):
- Leave this field blank if WordPress is installed in the root directory.
- Enter the folder name if WordPress is installed in a subdirectory.
- If prompted, verify the database details. These can be found in the wp-config.php file:
- Database name
- Database user
- Database password
- Table prefix
- Click on the Import button to begin the process.
- Once the import is completed, go to Softaculous > All Installations to confirm that the WordPress installation appears in the list.

Your existing WordPress installation will now be successfully imported into Softaculous. You can manage upgrades, backups, cloning, and other WordPress-related tasks directly from the Softaculous interface.
We hope you found this tutorial helpful. If you require further assistance, please feel free to contact our support staff.
Once you’ve imported your WordPress site into Softaculous, you can add custom JavaScript to enhance its functionality. This will help you customise your site’s features and improve its performance.
Hope you liked our article. Feel free to contact Webhosting UK.