In this article, you will be explained how to import email accounts in cPanel. Instead of individually creating each account or forwarder, you can save time by importing.
Note: Verify the data is in a format that cPanel understands. To import data, you can utilise Microsoft® Excel® spreadsheet files (.xls) or comma-separated values sheet (.csv) files.
Let us find out how to import email accounts in cPanel:
- Log in to your cPanel account.
- Find the “Email” section and select it.
- Click on the “Address Importer” sub-option under it.

- You will find 2 steps.
- Select the “Email Accounts” option.
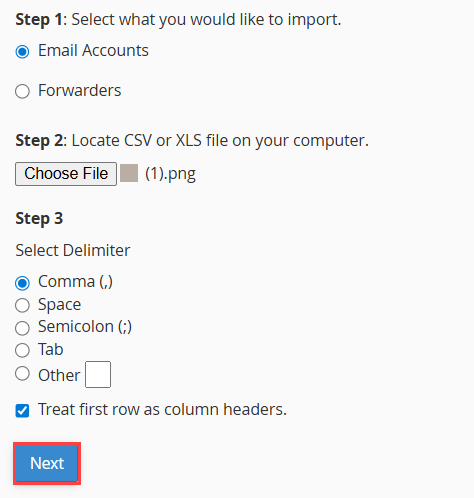
- Choose a CSV or XLS file on your computer.
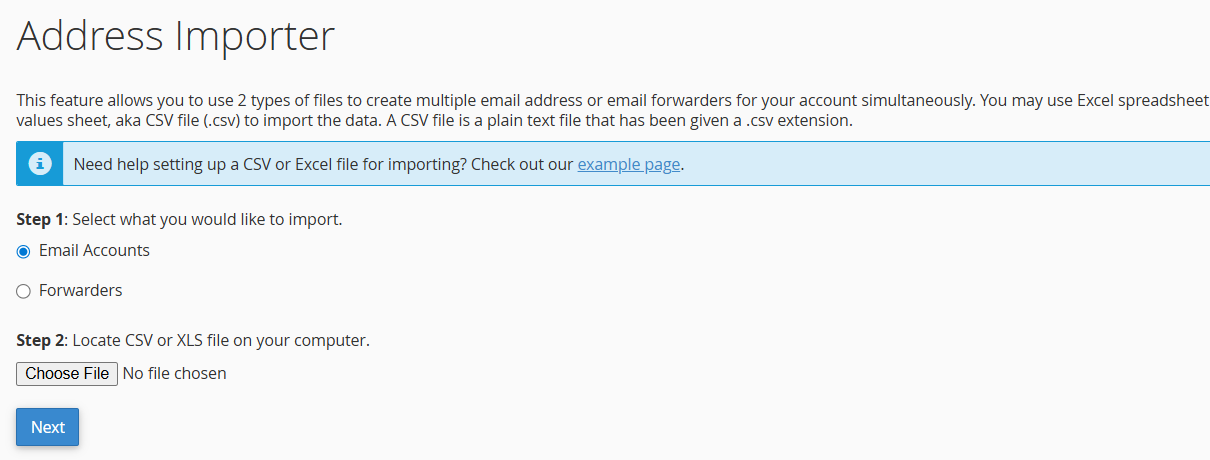
- Tick the box “Treat the first row as column headers” if you ever wish cPanel to ignore the first row of your file’s data.
- Click on the “Next” button.
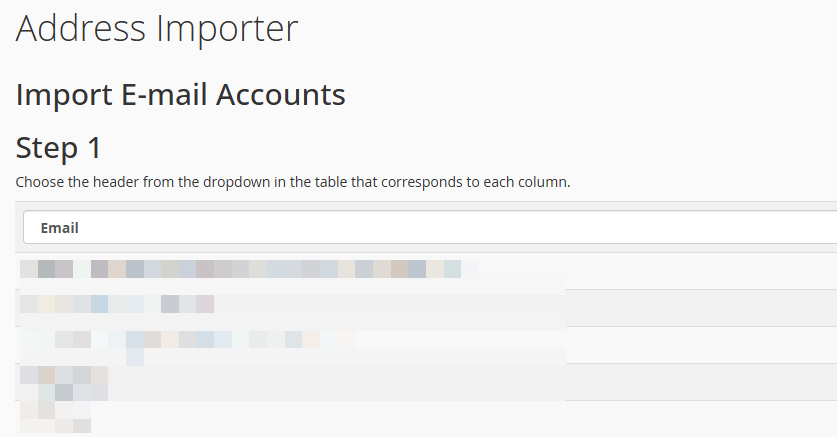
- You will be directed to a new page.
- Choose the header for each column from the dropdown menu in the table.
- Select the domain for the email accounts.
- Click on the “Next” button.

- Choose the header for each column from the dropdown menu in the table.
- Click on the “Finish” button.

- You will get a message “Performing Import, please be patient”.
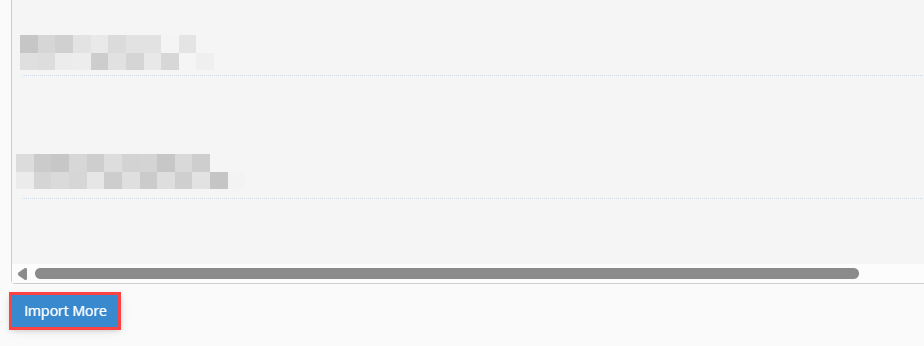
- You can check the accounts added to your Email Accounts.
In this way, you can easily import email accounts in cPanel. For a successful website migration, you may also need to import a MySQL database. To make this process easier, check out our comprehensive guide on how to import a MySQL database into cPanel. With this, you can easily manage your data migration and ensure a seamless transition to a new hosting environment.