cPanel is the leading control panel in the market. Designed for use on Linux operating systems, used to manage the hosting of WordPress, Magento, Drupal, Joomla and similar websites.
The File Manager feature in cPanel makes managing your files easier than using FTP. You don’t need to make a TP connection, use an FTP program, or create additional usernames and passwords. It enables you to create, upload, modify or remove files.
Follow the steps to upload or import a new file in cPanel:
Accessing File Manager
- Log in to the cPanel account.
- Under the Files section, click on File Manager.
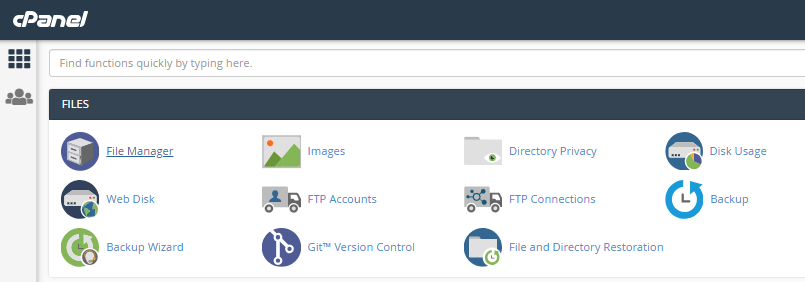
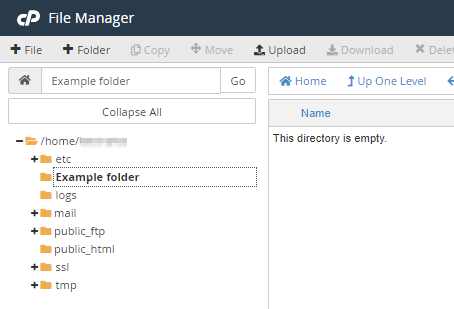
- This will open the File Manager, where you will be shown a hierarchical list of your main files and folders. It is similar to the file manager used in Windows

- When you want to upload a new file, you first need to select the folder where you want the file. For this, click on it.
- Now, click on the Upload button at the top of the page.
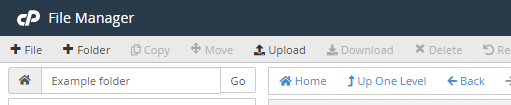
- This will open a new tab in your browser.
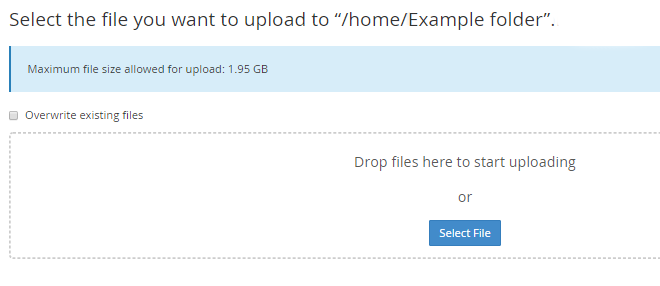
- Since you have already clicked on Destination Folder in the left-hand menu, the details of where to create the folder will be automatically filled in for you, eg, Home/Example folder.
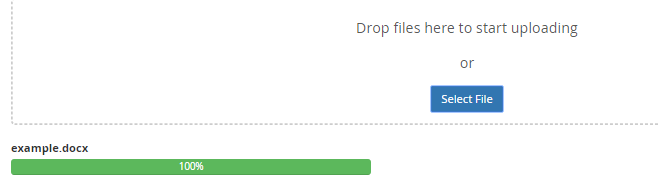
- If you’re uploading a new version of an existing file, decide if you want to overwrite the original file. If so, check the Overwrite existing files box.
- Next, either drag the file you want to import into the dotted box or click the Select button and select the file from your computer’s hard drive. Once you do this, the file will be uploaded. The upload progress will be shown as a green bar below the dotted box.
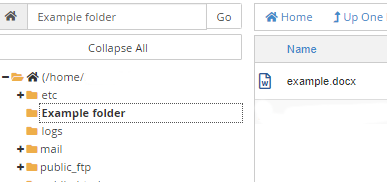
- Once the file is fully uploaded, it will be shown in the folder you imported it to.
Done!! It’s very simple. With these simple steps, you can easily upload files in cPanel.
Also Read: How to enable two-factor authentication (2FA) in cPanel