In this post, we will show you how to set up a cron job and create a task in the panel.
How to create a Cron Job in Plesk?
You should be searching for a way to set up a scheduled job or a Cron in the Plesk interface. Adding a Cron (scheduled job) to Plesk has many speed and accessibility advantages. If you are not sure how to add up the scheduled tasks correctly, here is a comprehensive step-by-step tutorial to creating a Cron Job in Plesk Panel.
A systematic guide on creating a Cron task in Plesk Panel:
You may notice some variations in building up Cron Jobs depending on the version of Plesk you are running. With a few little design changes, however, the following advice may be very useful for you. If you follow the steps carefully, you will be able to set up a Cron Job with ease.
Follow the steps:
- Log into your “Plesk Panel”.
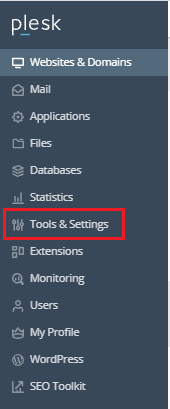
- Go to the “Tools & Settings” panels once you’ve signed in.
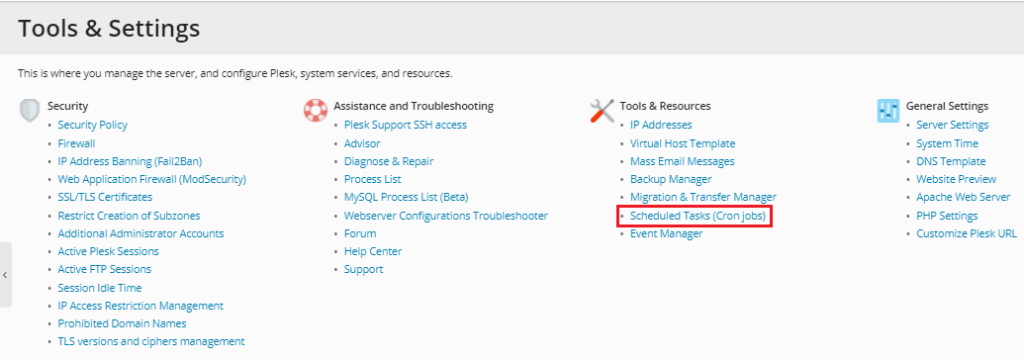
- Click on the “Scheduled Tasks”.
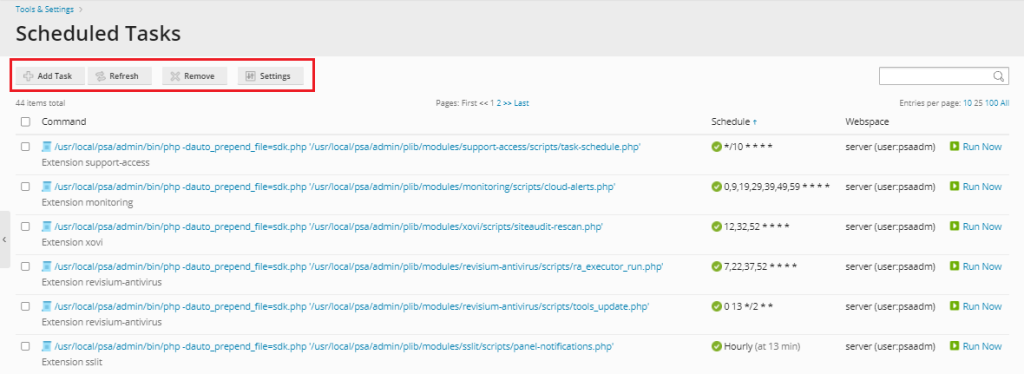
- You’ll find options like “Add Task,” “Refresh,” “Remove,” and “Settings”.
- Click on “Add Task” and fill in the following details.
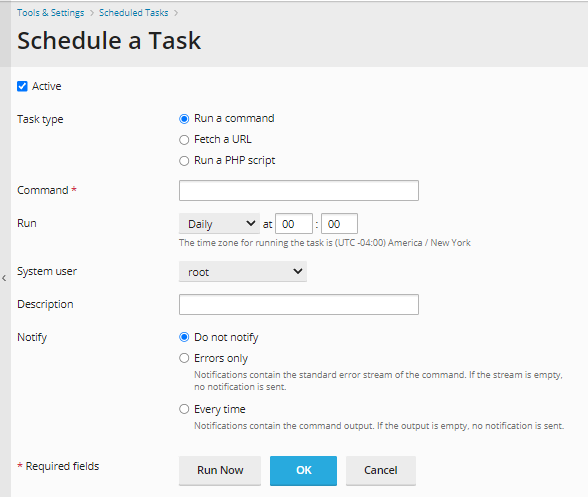
- “Command,” “Fetch a URL,” and “Run a PHP Script” are the four types of tasks you may put here.
- Select the appropriate work type and then fill in all of the tasks; you can also choose an email address to receive job alerts.
- After that, click “OK” to finish adding the Cron Task.
The Scheduled task/Cron was successfully updated after a successful Cron task setup.
Also Read : How to Set Up a Cron Job in cPanel