This article will walk you through the process of customising WordPress maintenance mode in Plesk. It allows you to create a more professional and branded experience for visitors while your site is temporarily offline.
Follow the simple steps outlined below:
- Log in to Plesk.
- Select WordPress from the side menu.

- Select the WordPress installation whose maintenance page you wish to customise.
- Click the adjustments icon next to the maintenance mode.

- As soon as you click on the adjustments icon, a form will appear on the left side of the screen.
- In the Screen Text section, you can customise the displayed text using HTML tags for formatting.
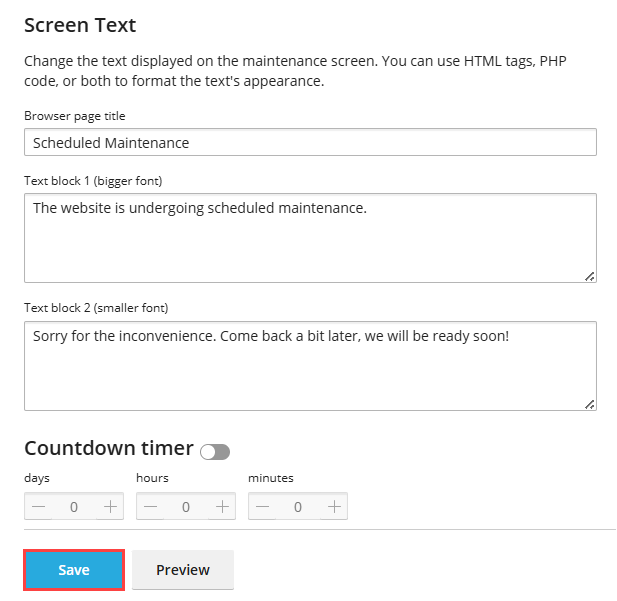
- In the Timer section, you can set up a countdown timer to inform visitors about the estimated duration of the downtime.
Note: The timer is for informational purposes only, and your website will not automatically exit maintenance mode when the countdown ends; you must do this manually.
- In the Social Network Links section, you can add or remove links to social media pages (Facebook, Twitter, and Instagram).
- Click on the Save button to save your changes.

In this manner, you can customise WordPress maintenance mode in Plesk.
That’s it! Customising this gives you the flexibility to manage your site’s downtime more effectively. If you are looking for another method to enable maintenance mode, check out our guide on how to enable WordPress maintenance mode using an .htaccess file for more details. This can be especially helpful if you are good at managing your website with file edits.