Inside this tutorial, you’ll learn how to create a zip file for Plesk in the client area.
Let us see the steps for creating a zip file:
- Log in to the Plesk Control Panel.
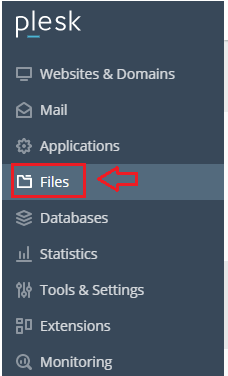
- Select the “Files” option from the left-hand side menu.
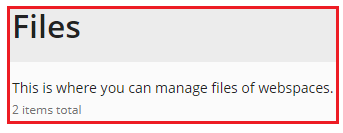
- Select the Domain from the list. And you will enter into the File Manager.
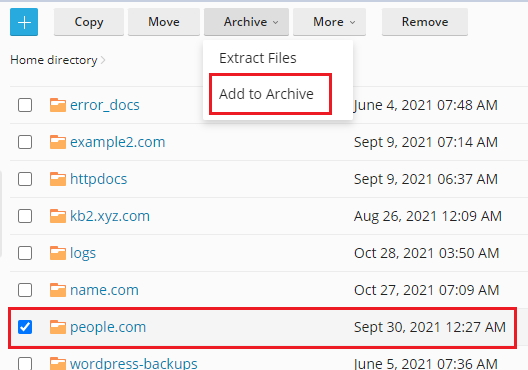
- Now pick the file and click the down arrow next to the archive choice, then choose “Add to Archive” from the drop-down menu.
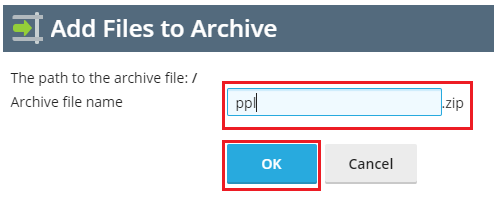
- Write down the name of the archived file and click on the Ok button.
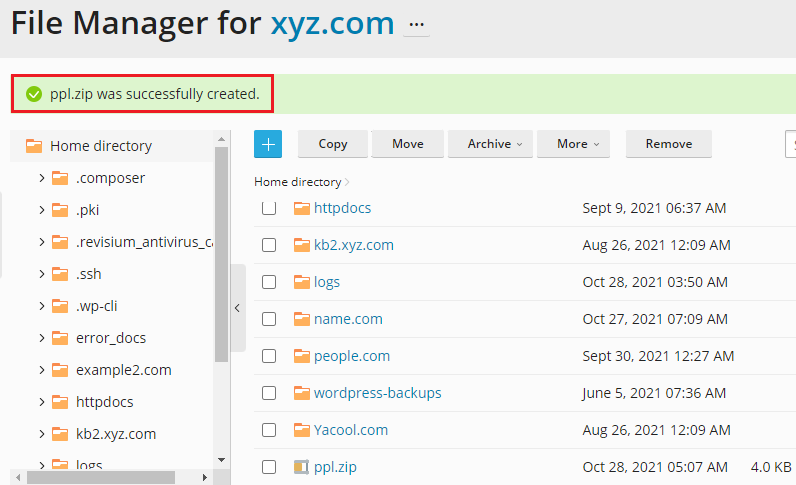
- And here comes the success message for the file you have archived. You can see the ppl.zip archived file at the bottom.
- Finally you can see the ppl.zip file created successfully.
We hope, you liked this article. If you liked this article, then you will surely love our support. For regular updates, visit our site.