This guide will teach you how to control Shell Access with WHM.
Overview:
- To connect to Linux servers over the internet SSH is used.
- It provides a text-based interface by creating a remote shell.
- After you connect, all commands you write in your local terminal are sent to the remote server and implemented.
Let us see the procedure:
You can enable or disable shell access using Manage Shell Access:
- With root access, log in to your WHM account.
- From the drop-down menu on the left-hand side of the screen, select “Account Functions” and then “Manage Shell Access”.
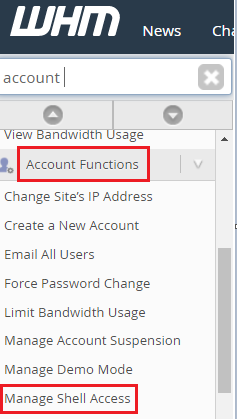
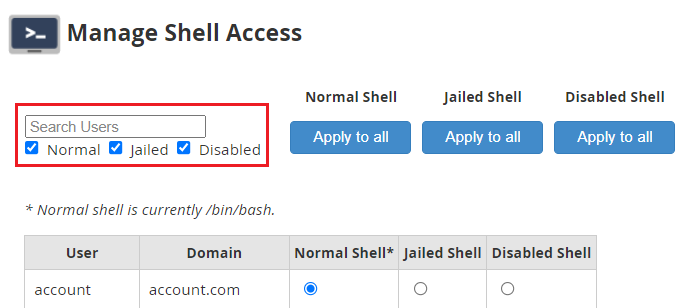
- Manage Shell Access is a tool that lets you offer different levels of shell access to different users.
Normal Shell, Jailed Shell, and Disabled Shell are the three types of shell access. - You can also enable or disable shell access for all accounts at the same time. Click the “Apply to All” button under the shell access authority you want to grant.
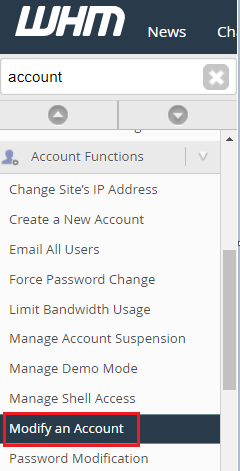
To Manage Shell Access, use Modify an account:
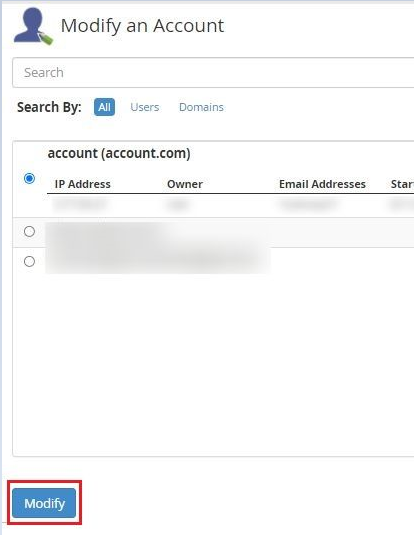
- Select “Account Functions” and then click “Modify an Account”.
- The account’s Basic Information, Resource Limits, Privileges, and DNS Settings will be offered on a form.
- You’ll be able to modify the information on your user account and customize settings here.
- For multi-user WHM account holders, the Modify an Account utility application will display a list of all cPanel accounts.
- Select the user and then the “Modify” option to provide shell access to the account.
- In the Privileges section, tick the box next to” Shell Access”. After that, save your work by using the “Save” button.
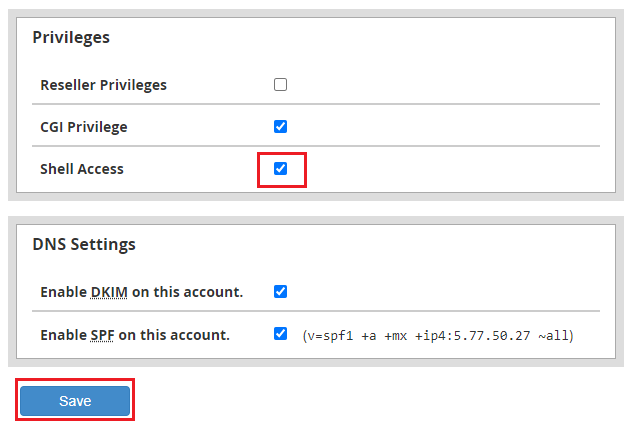
- It will offer the cPanel account shell access.

In WHM, you can use this way to enable, disable, and modify shell access.
For affordable web hosting plans, you can visit Webhosting UK and initiate a live chat.