This guide provides step-by-step instructions to set up private name servers on a VPS or dedicated server using WHM.
Steps to configure private name servers for VPS and Dedicated Servers:
- Get Name Server IP Addresses
- Use the dedicated IP addresses assigned to your VPS or dedicated server.
- If IPs are not available, contact WHUK support.
- Register Name Servers with Domain Registrar
- Log in to your domain registrar panel.
- Register private name servers (example):
- ns1.yourdomain.com > Server IP
- ns2.yourdomain.com > Server IP
- Save the changes.
If your domain is registered with another company, contact them for name server registration.
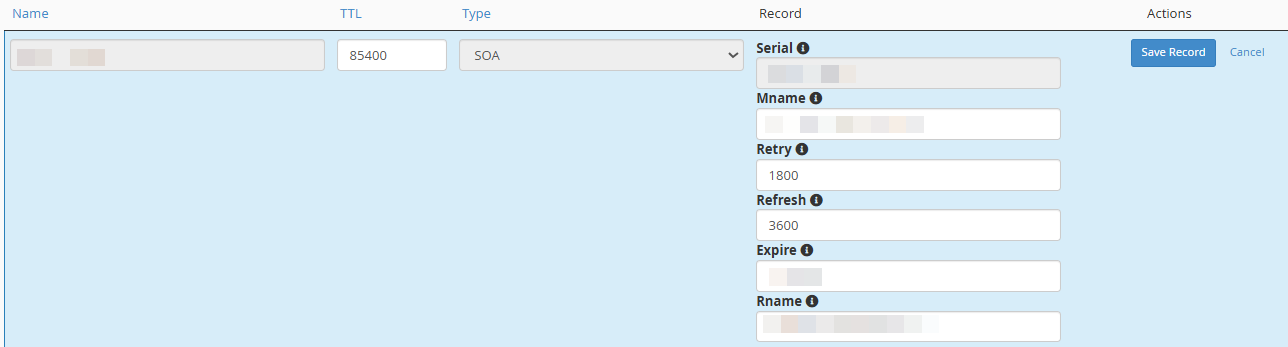
- Configure DNS Zone in WHM
- Log in to WHM.
- Go to DNS Functions > DNS Zone Manager.

- Select the domain and click Manage.

- Update the SOA record:
- Primary Name Server: ns1.yourdomain.com
- Email Address: valid admin email
- Add A records:
- yourdomain.com > Server IP
- yourdomain.com > Server IP
- Save the record.
- Update NS Records in WHM
- In the same DNS Zone:
Update NS records to:- ns1.yourdomain.com
- ns2.yourdomain.com
- Save the zone file.
- In the same DNS Zone:
- Set Default Name Servers for New Accounts (Optional)
- In WHM, go to Basic WebHost Manager Setup > Basic Config
- Add:
- yourdomain.com
- yourdomain.com
- Save settings.
- Wait for DNS Propagation
DNS changes may take 24–72 hours to propagate globally.
That’s it. Private name servers are now configured for your VPS or dedicated server.