The Apache web server is one of the most widely used open-source web servers on Linux systems. While Apache is reliable, its performance can be further optimised using WHM’s built-in configuration options.
In this guide, we’ll show you how to improve Apache web server performance via WHM.
Let us find out how to improve the Apache web server with WHM:
- Log in to WHM.

- Select the “Apache Configuration” sub-option under the “Service Configuration” option.
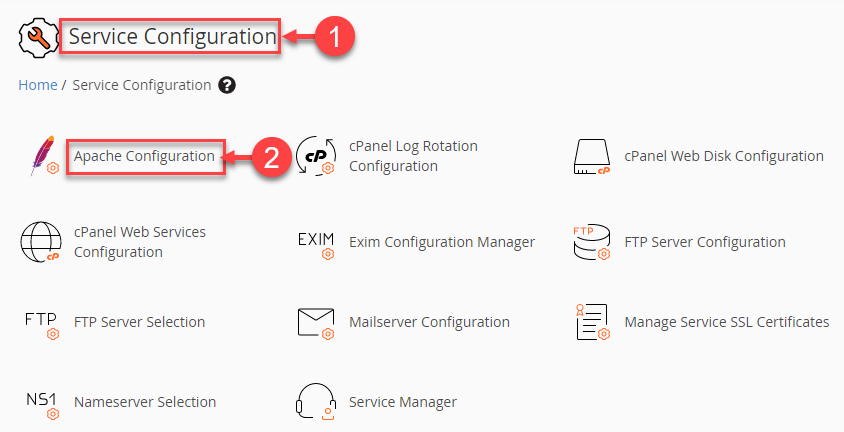
- Click on the “Global Configuration” option from the Apache configurations available.
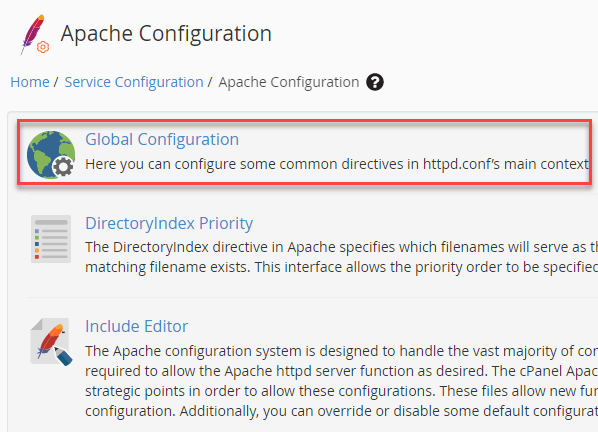
- A new page will appear where you can set the values.
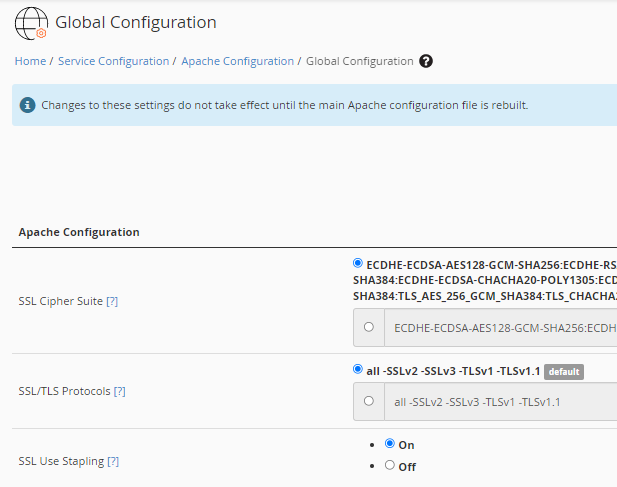
- If you are unsure, it’s best to use the default values recommended by WHM, as incorrect changes may affect server performance or availability.
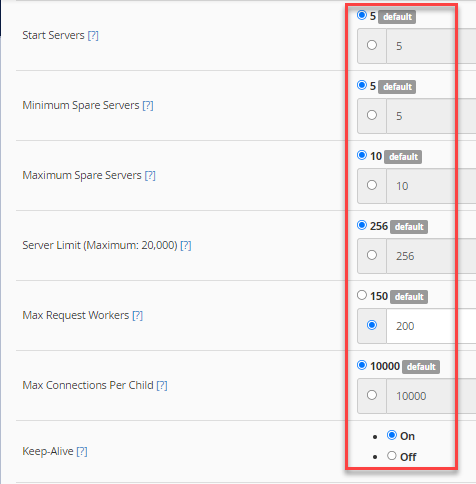
- Scroll down the page and click on the “Save” button.

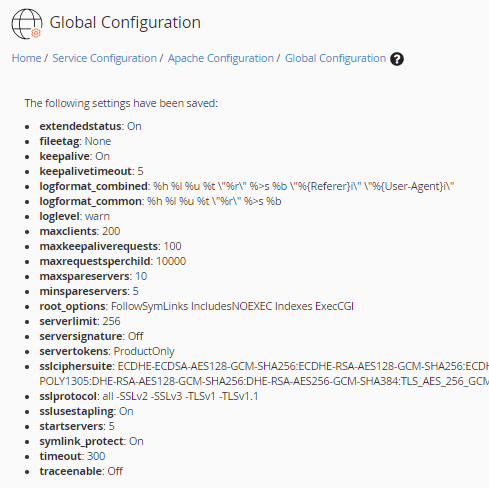
- The system will save all the settings and display the set values. You can recheck them.
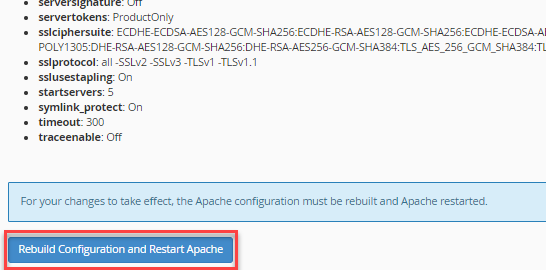
- Click the “Rebuild Configuration and Restart Apache” option to bring the changes into effect.
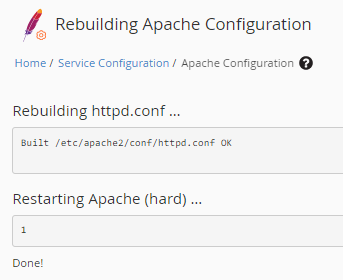
- The Apache server will be rebuilt and restarted.
By optimising Apache through WHM, you can ensure better performance, stability, and faster response times for your websites. If you need to rebuild Apache, refer to our detailed guide: How to Rebuild Apache Using cPanel.