This article explains how to create a manual backup of your website using the Plesk control panel. Backups help protect your website data and allow you to restore it in case of data loss, errors, or unexpected issues.
Steps to Back Up Your Site in Plesk:
- Log in to Plesk.
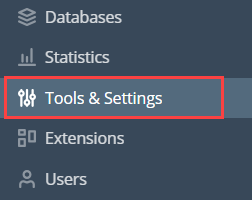
- From the left-hand menu, click Tools & Settings.
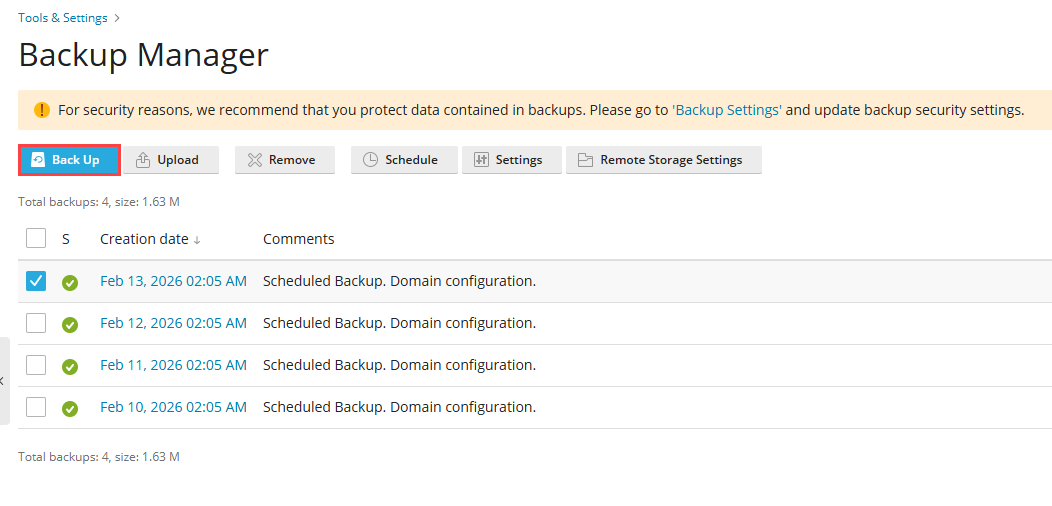
- Under the Tools & Resources section, click Backup Manager.

- Start a New Backup by selecting the items you want to back up (website files, databases, mail, etc.).
- Click the Back Up button.
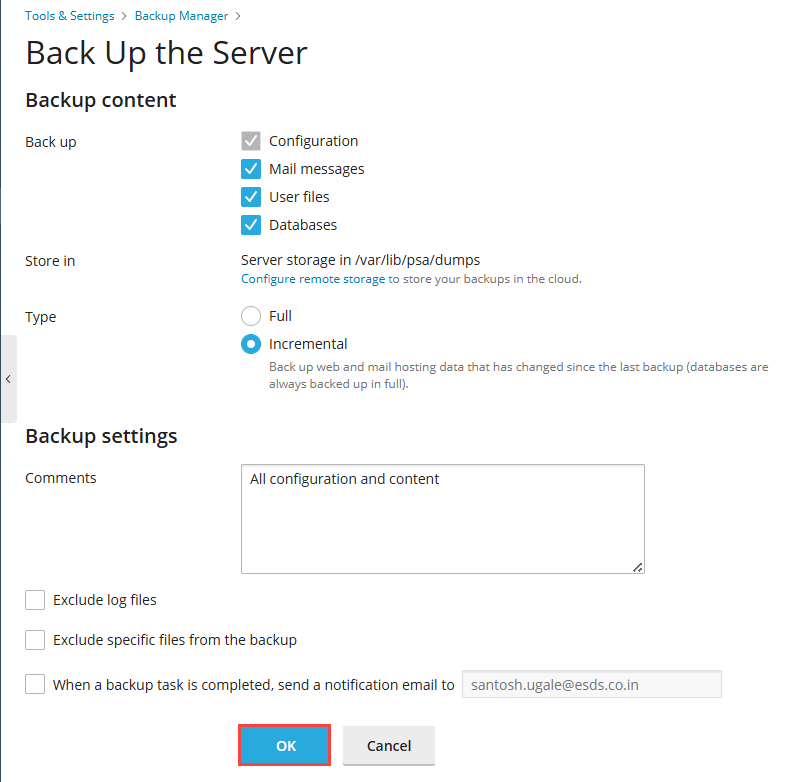
- Under Backup Content, choose what you want to include in the backup.
- Select where to store the backup and choose the backup type (full or incremental).
- Adjust Backup Settings (Optional):
- Add comments for reference, if required.
- Select Exclude log files if you do not want logs included.
- Select Exclude specific files if needed.
- Enter an email address to receive a notification once the backup is complete.
- Click OK to start the backup process.
By following the steps above, you can successfully back up your site using Plesk. Regular backups are recommended to ensure your website data remains safe and recoverable.
If you need further assistance, please contact our support team or explore other articles in the Plesk section of our Knowledge Base.