This article will explain to you how to add a hosting subscription using Plesk. Customers subscribe to a hosting plan to get hosting services.
Follow the steps to add a hosting subscription using Plesk:
- Log in to Plesk.
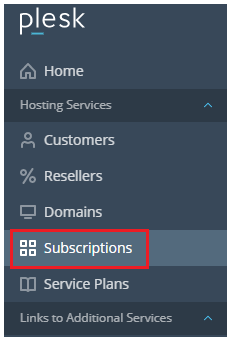
- Select the “Subscriptions” tab from the left-hand side of the screen.
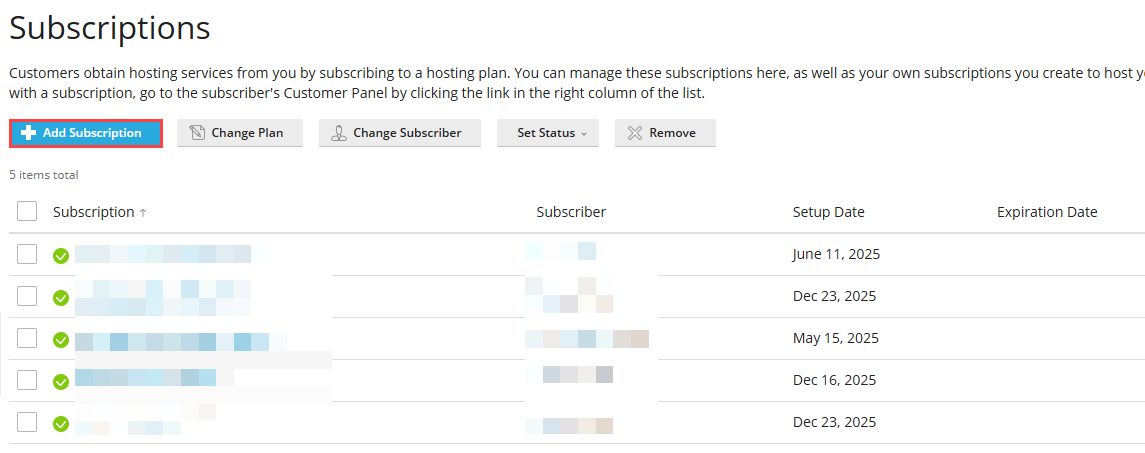
- Click on the “Add Subscription” button.
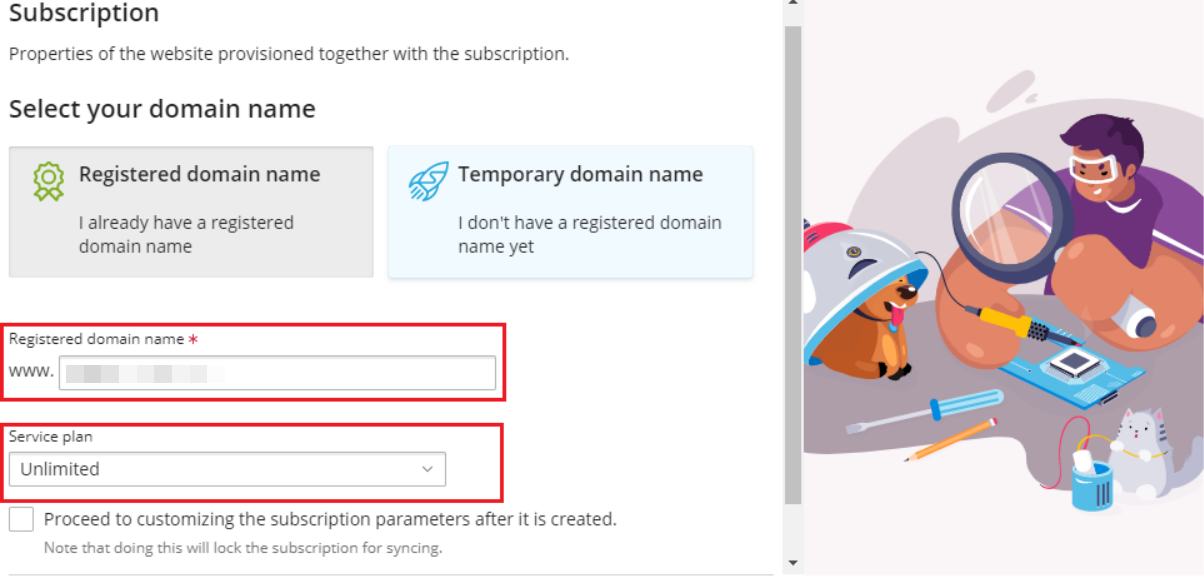
- Enter the “Registered domain name”.
- Select the “Service plan”.
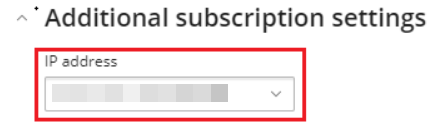
- Click on the drop-down arrow of the “Additional subscription settings” option.

- Add the additional settings-
- IP address: Select the IP address.
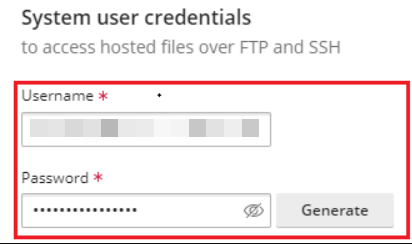
- Username: Enter the username.
- Password: Generate or enter the password.
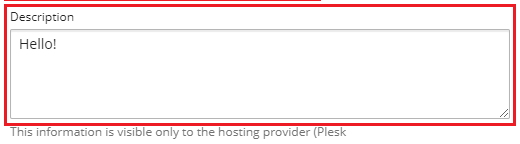
- Description: Enter the description. Only the hosting provider has access to this information (Plesk administrator or reseller).
- IP address: Select the IP address.
- Hit the “Add Subscription” button.

- As soon as you click on the add subscription button, it will start creating the subscription.

- You will receive a message that the subscription has been created.

- You can see the new subscription in the subscription list, as shown below.

Now you will be easily able to create a subscription using Plesk. For more information, visit the Webhosting UK site regularly, and for any doubt contact our support staff at any moment.