If the AutoSSL option to replace invalid or expiring non-AutoSSL certificates is enabled, expired certificates are replaced automatically, and no manual steps are required. Note that this may replace EV or OV certificates with a DV certificate.
This guide explains how to add a certificate using AutoSSL when manual action is needed.
Steps to add a certificate using AutoSSL:
- Log in to cPanel.
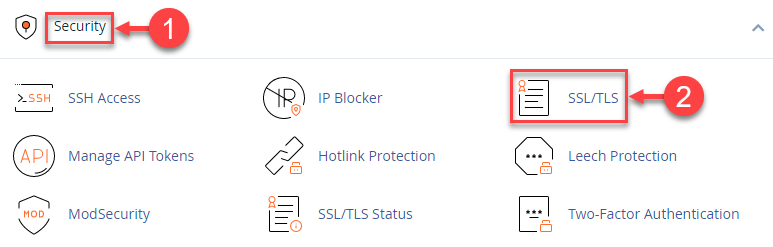
- Click on the “SSL/TLS” option under the “Security” category.
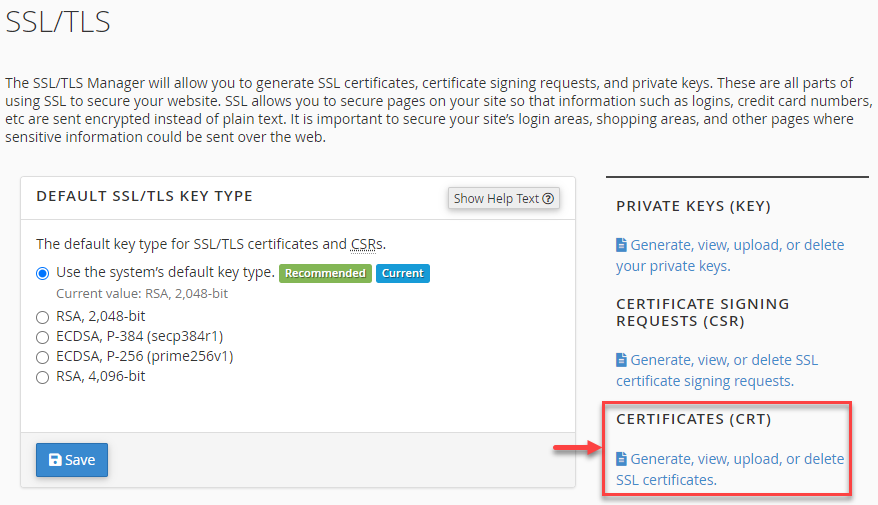
- Click the blue link written as “Generate, view, upload or delete SSL certificates” under the “Certificates (CRT)” option.
- Select the domain whose certificate is to be installed. Click on the “Install” button.

- When the setup is finished, scroll down until you find the link to the SSL Manager. Select the link.
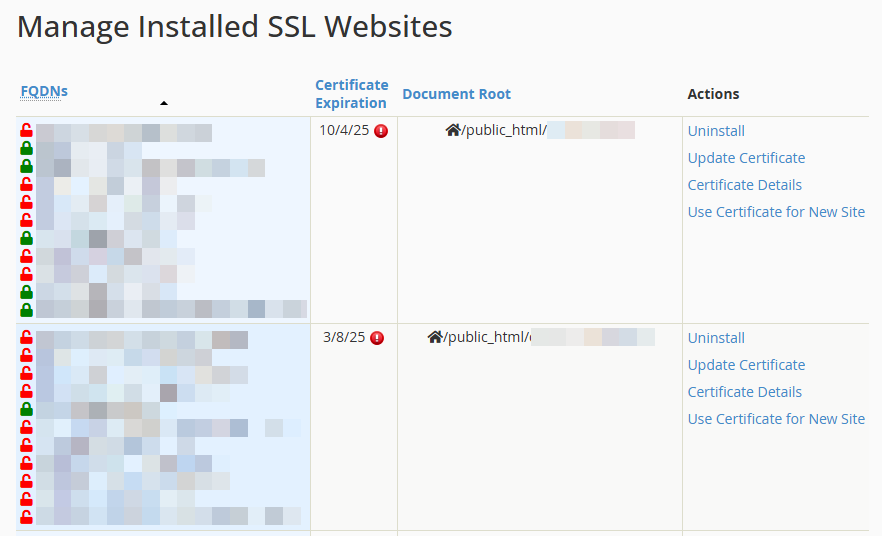
- You can click on Manage SSL sites to discover if the certificate has been used.
- You can check to see if a green padlock has been placed on the URL where the certificate was installed by scrolling down.
This way, you can add certificates using AutoSSL. For any query, contact our support staff and don’t forget to check our latest KBs in our KB section.