This article explains how to create a new service plan in the Plesk control panel.
- Open Plesk and log in.
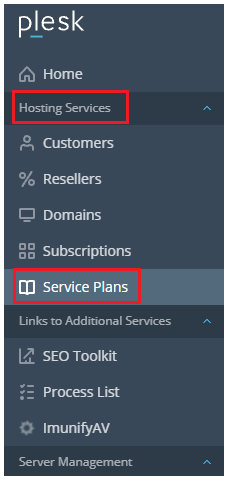
- On the left sidebar, under Hosting Services, click on Service Plans.
- The default service plan is visible here.
- Click Add a Plan to create a new service plan.

- Enter the name of your service plan in the Service plan name textbox.
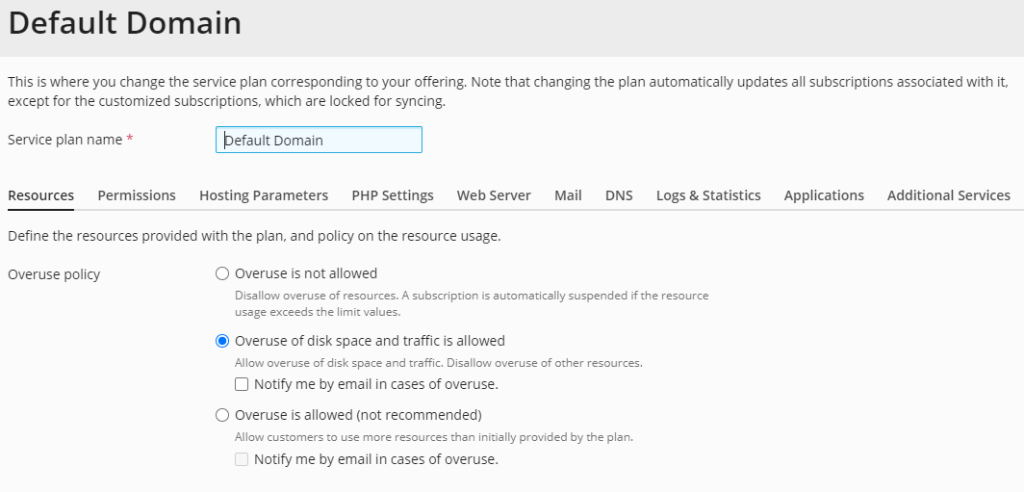
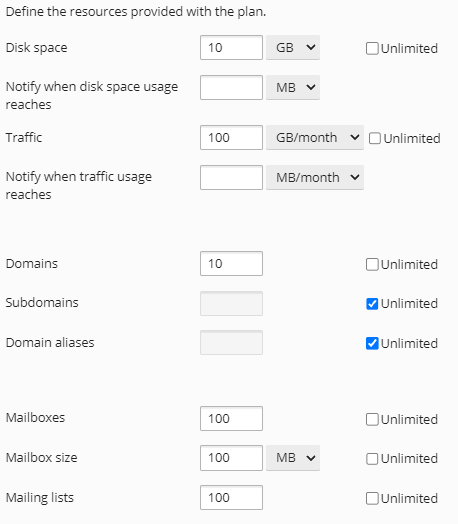
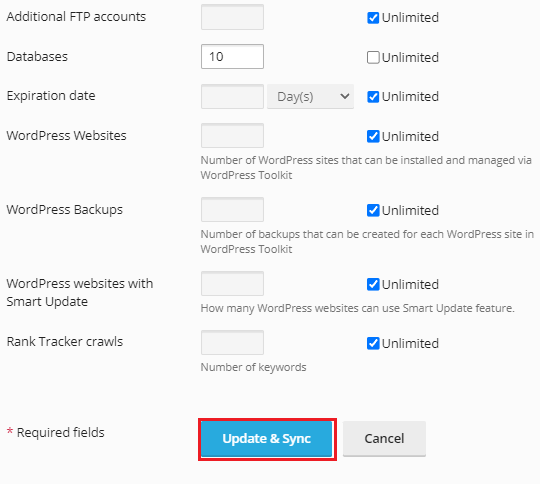
- These options on the Resources tab allow you to create quotas and limits based on your requirements. You can set certain limitations manually or go with the unlimited option.
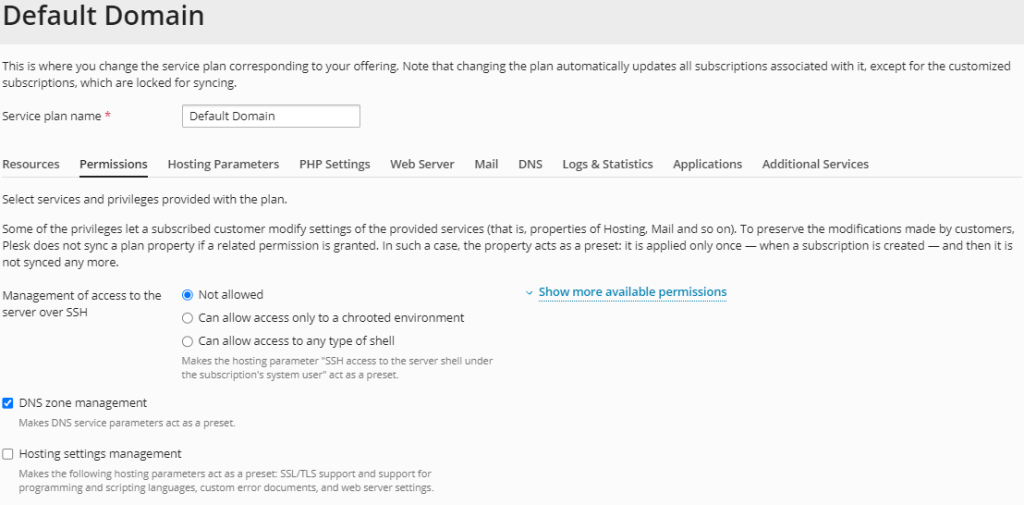
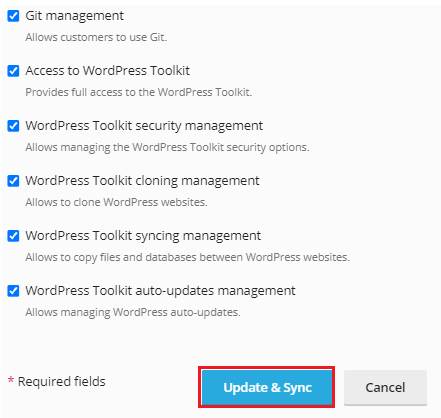
- Select the checkboxes for the services and rights you want to enable in the Permissions tab. Some of the checkboxes are selected by default. You can uncheck this box if you don’t want to provide specific permission.
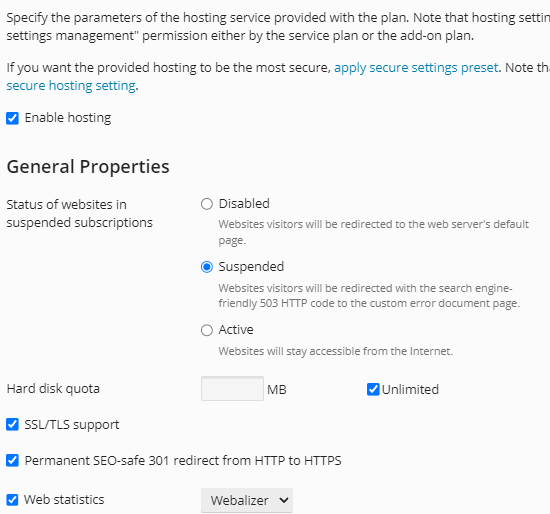
- Select the checkboxes for the hosting options you want to enable in the Hosting Parameters tab.
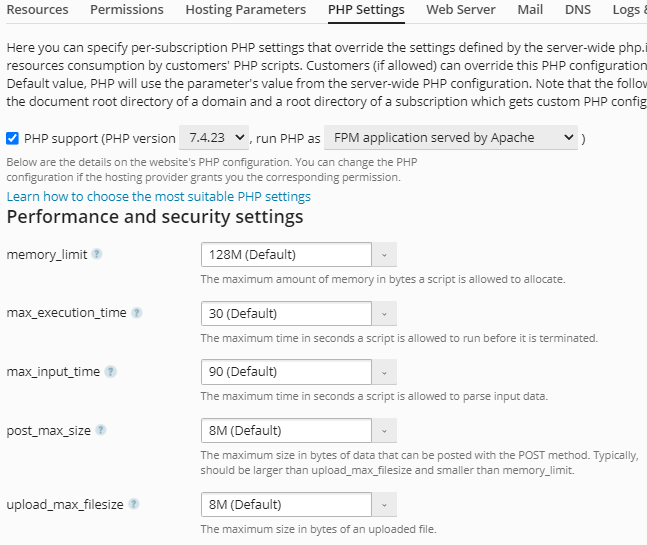
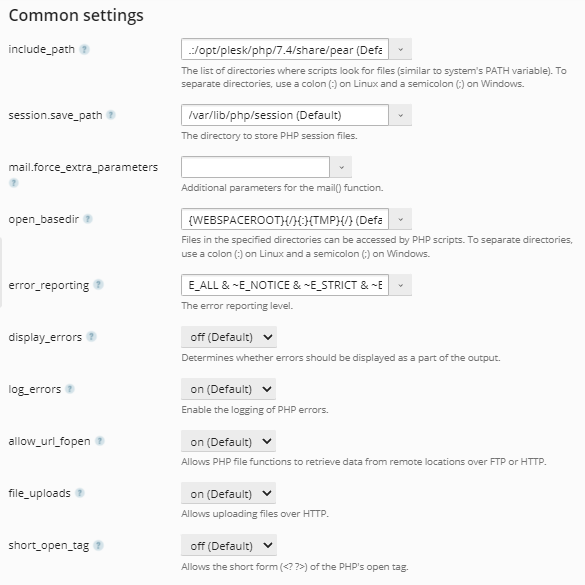
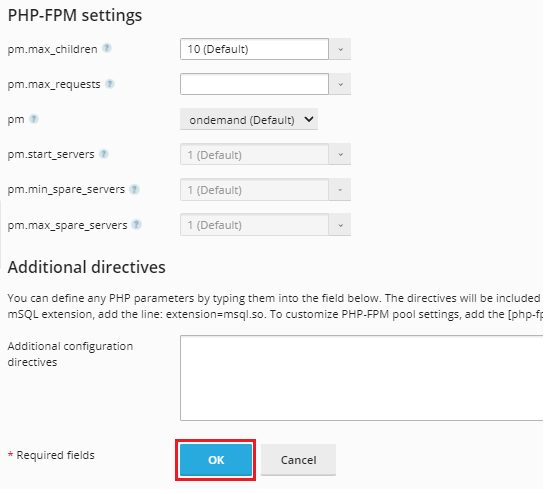
- By clicking on these drop-downs under the PHP Settings tab, you can alter the PHP version and other settings, or keep them as it is.
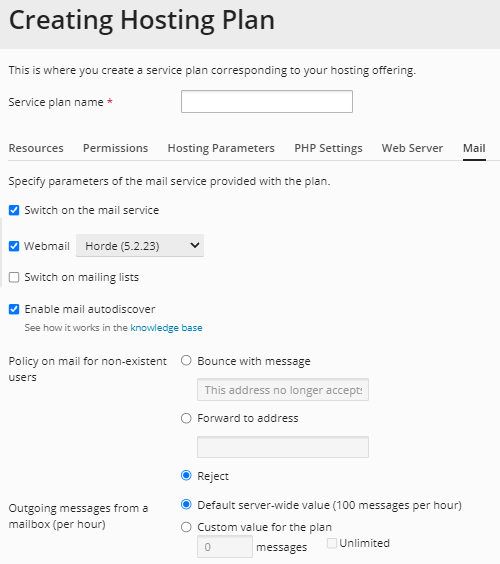
- Select the e-mail options that you want to enable under the Mail tab.

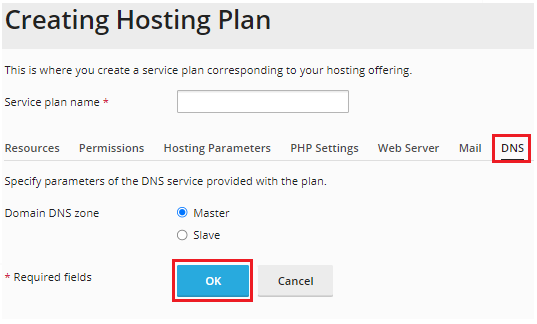
- Select the DNS zone setting that you’ll get in the DNS tab.
- By selecting these choices on the Performance tab, you may define the quotas and limitations.
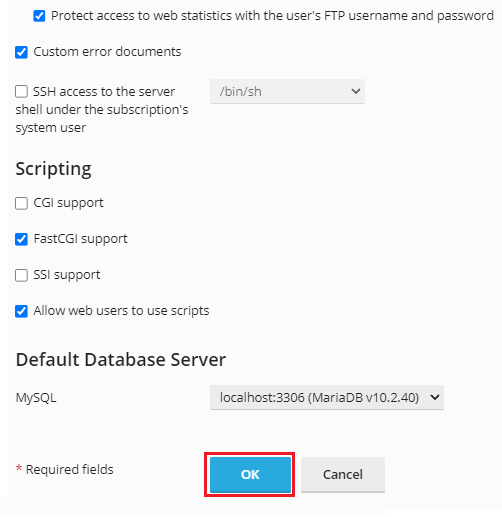
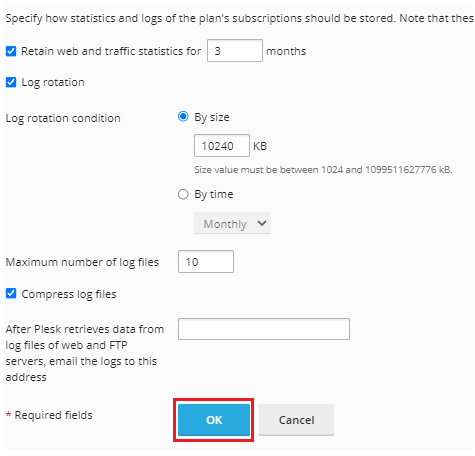
- To enable these settings, tick the checkboxes and fill in the relevant information in the text boxes on the Logs & Statistics tab.
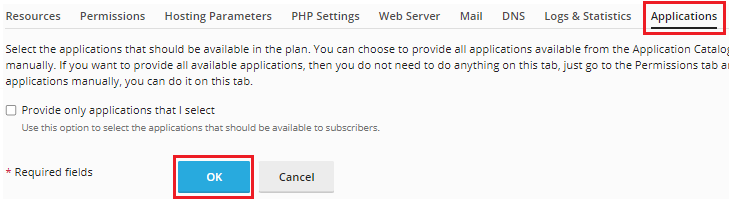
- Select this checkbox on the Applications tab to pick which applications are exposed to your customers, or deselect it to make all applications available to your customers.
- To enable Let’s Encrypt and WordPress Toolkit, go to the Additional Services tab and select the appropriate option from the drop-down menus.
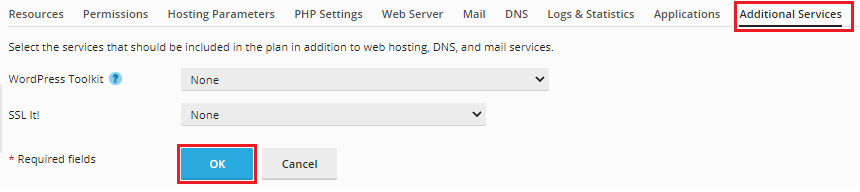
- Click OK to save the desired changes for all tabs.
- When you’re finished, you’ll see a success message.

In Plesk, this is how you can easily create a new service plan in the Plesk. Hope you have understood each and every step clearly. For more assistance contact our Webhosting UK (WHUK) support team anytime you need help.