The following article illustrates how to activate Symlink Protection using WHM. Symlink Protection software automatically lowers a Linux kernel’s vulnerabilities.
Let us follow the steps to activate Symlink protection:
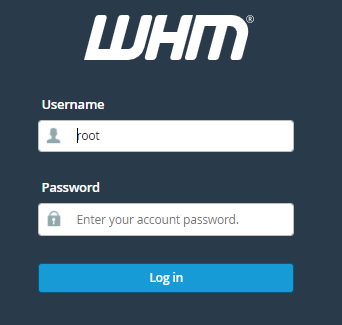
- Log in to WHM.
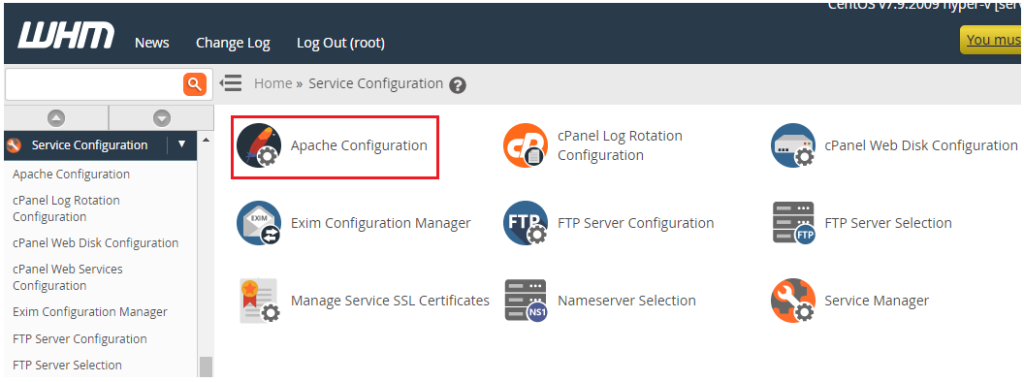
- Select the “Apache Configuration” from the “Service Configuration”.
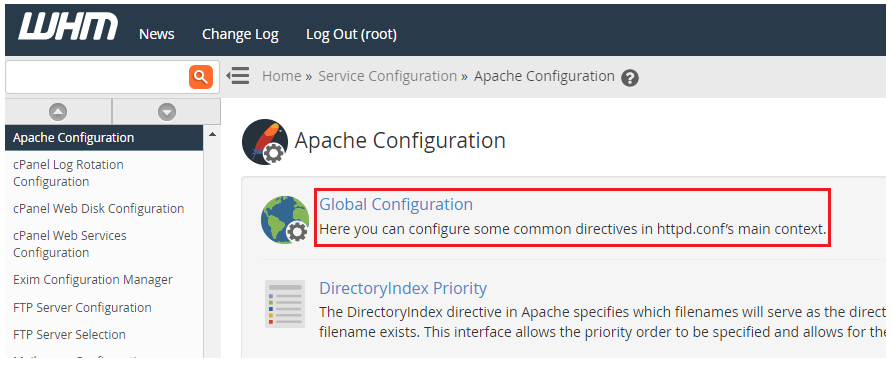
- Click on the “Global Configuration” from the “Apache Configuration” list.
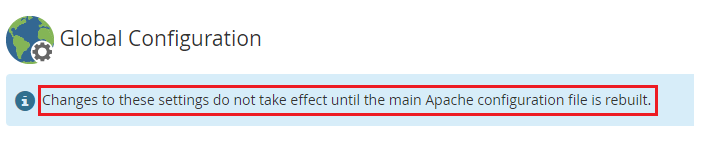
- You will enter the Global Configuration page.
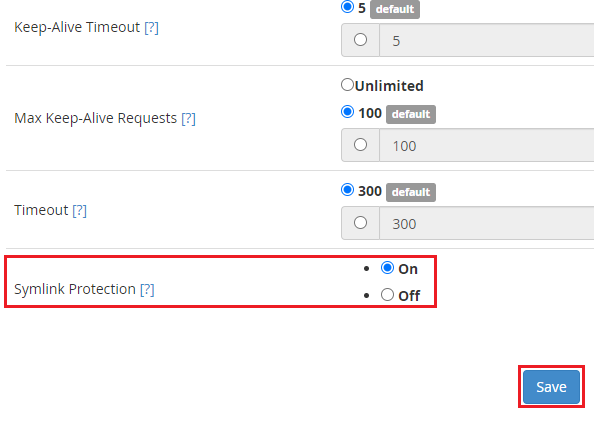
- Scroll down the page until “Symlink Protection” appears.
- Tick the “On” button.
- Click on the “Save” button.
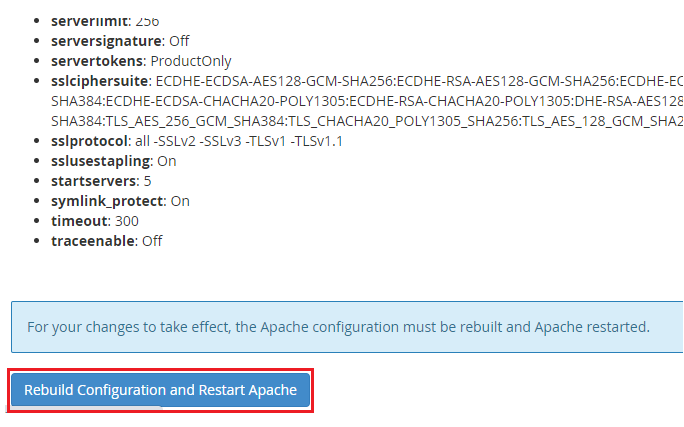
- The configurations have been saved. Click the “Rebuild Configuration and Restart Apache” button at the bottom of the page.
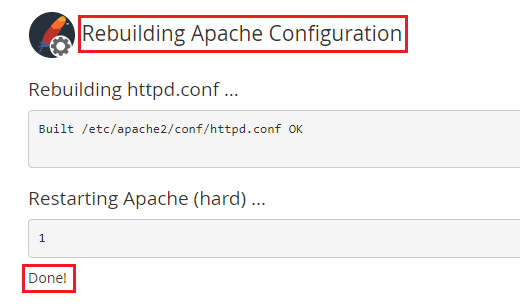
- You will get a final message as shown below.
So, wasn’t it useful to you? You can contact our customer service team at any time. They are available to you 24/7. Don’t forget to have a look at our most recent web hosting options.