In this article, we will show you how to create SPF, DKIM, and DMARC records in the Plesk panel. These records are used for email authentication and security, helping protect against spam, spoofing, and phishing attacks.
Let’s begin with the SPF record.
- Log in to Plesk.
- Click on the DNS Settings.
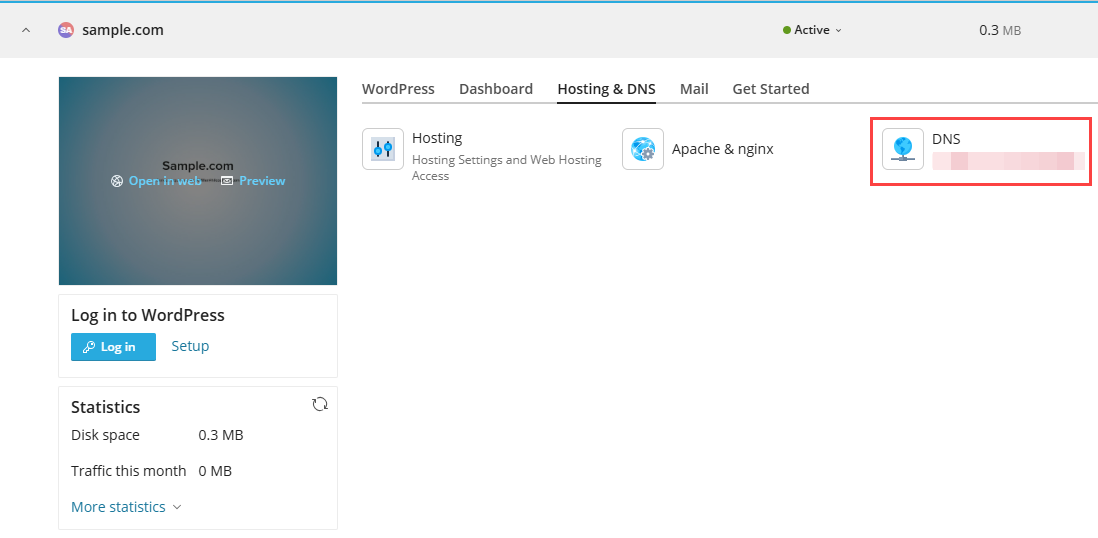
- Now, Click on the Host Name.
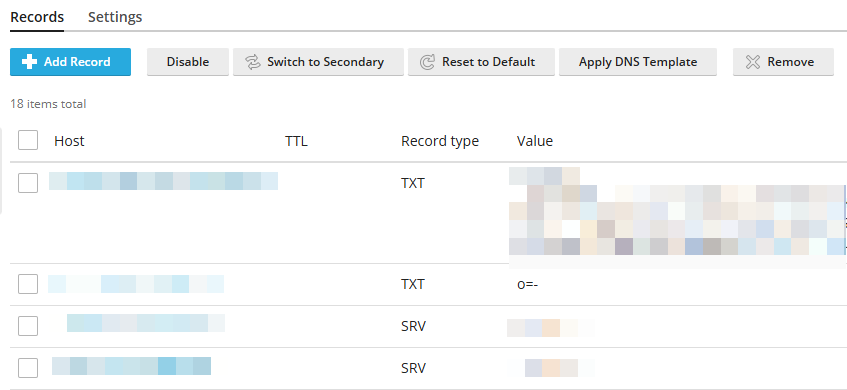
- Change the Record Type to TXT.
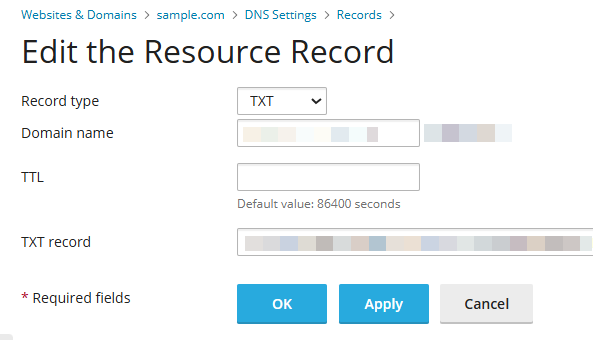
Now you can create a DMARC record
Next, you must generate a DKIM record (which is done with just one click when setting up mail server settings in Plesk) or activate this option.DKIM Configuration
DKIM (DomainKeys Identified Mail) is not configured by DNS records alone. You must first enable DKIM signing in Plesk so outgoing messages are signed. Plesk then generates the required DNS records that recipients use to validate those signatures.
Step 1: Enable DKIM Signing
Go to Websites & Domains ? your domain ? Mail ? Mail Settings.
Select Use DKIM spam protection system to sign outgoing email messages.
Click Apply.
Step 2: Publish the DKIM DNS Records
If your domain uses the Plesk DNS server, Plesk automatically creates the required DKIM DNS records.
If your DNS is hosted externally, copy the DKIM records displayed by Plesk and add them at your DNS provider.
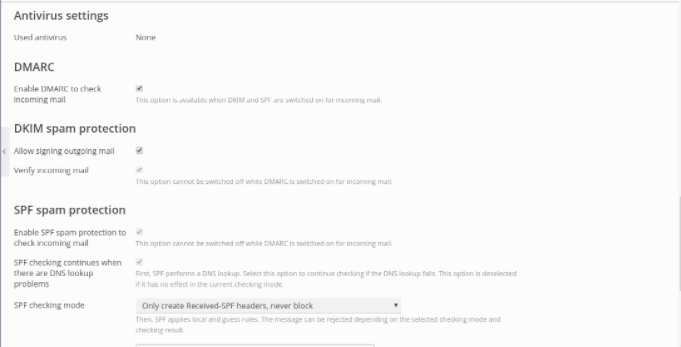
All mail service needs records are generated successfully.
We hope that you now have a good understanding of how to add SPF, DKIM, and DMARC Records to the Plesk Control Panel. If you continue to have problems with the protocol outlined above, please contact the WHUK Team for constructive assistance 24×7.