In this article, we have explained how to use WHM to manually check for server and system software updates. One thing to keep in mind is that every time the cPanel update script runs, updates should be executed automatically.
Follow the steps to check for server and system updates:
- Log in to WHM.
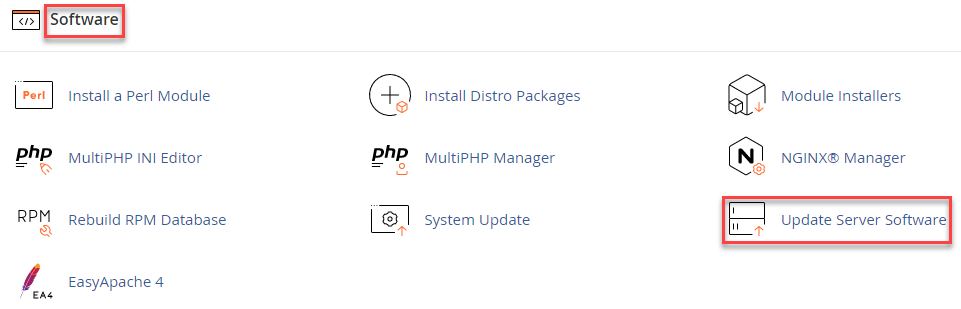
- Select the “Software” section.
- Update server software:
- Click on the “Update server software” sub-option.
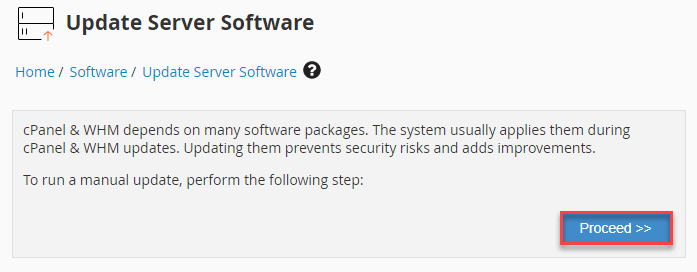
- It will check for updates for all the server software.
- The system will determine the versions of the installed applications before carrying out any upgrades, so that you can avoid updating the software that is not necessary.
- Finally, click on the “Proceed” button.
- You will get a success message that the upgrade has been completed.

- Click on the “Update server software” sub-option.
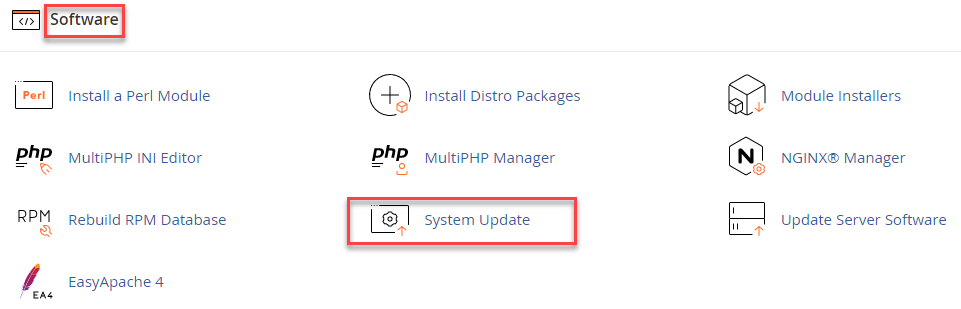
- System Update:
- Click on the “System Update” option under the “Software” section.
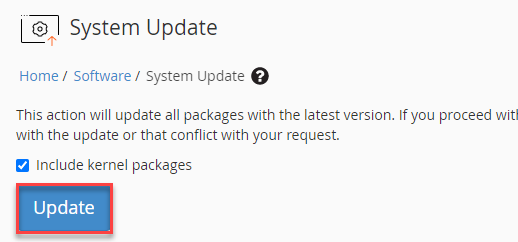
- All packages will be updated with the most recent version after this action.
- If you continue with this update, the system could ask you to remove unused packages related to it or that disagree with your request.
- Click on the “Update” button.
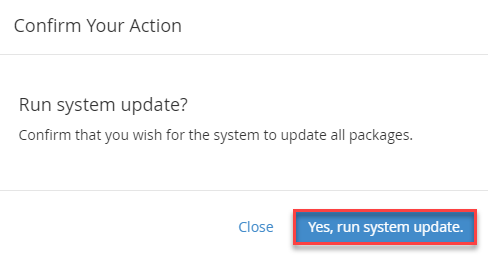
- You will be prompted to confirm that you want the system to update every package.
- If yes, click on the “Yes, run system update” option or else click on the “Close” button.
- You will get a success message as shown below.

- Click on the “System Update” option under the “Software” section.
If you choose yes, the system update starts, and you get a success message.
This concludes the article. As of right now, you are aware of how to manually check WHM for server and system software upgrades.