In this article, we will describe how to manage the Mail Exchanger (MX) records.
Talking about the cPanel, it manages your email using its own mail server. As you can modify Mail Exchanger (MX) DNS entries to route your website’s e-mail to other mail servers if necessary.
Add an MX record entry
Steps to add an MX entry in cPanel.
- Log into cPanel account.
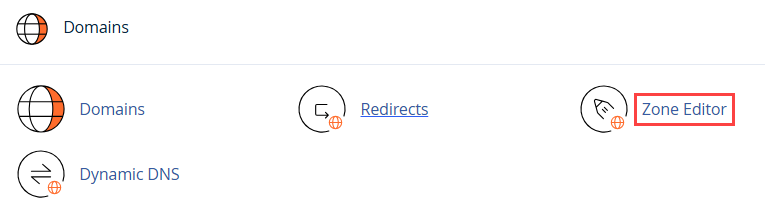
- From the Search Tool, click on the Zone Editor.
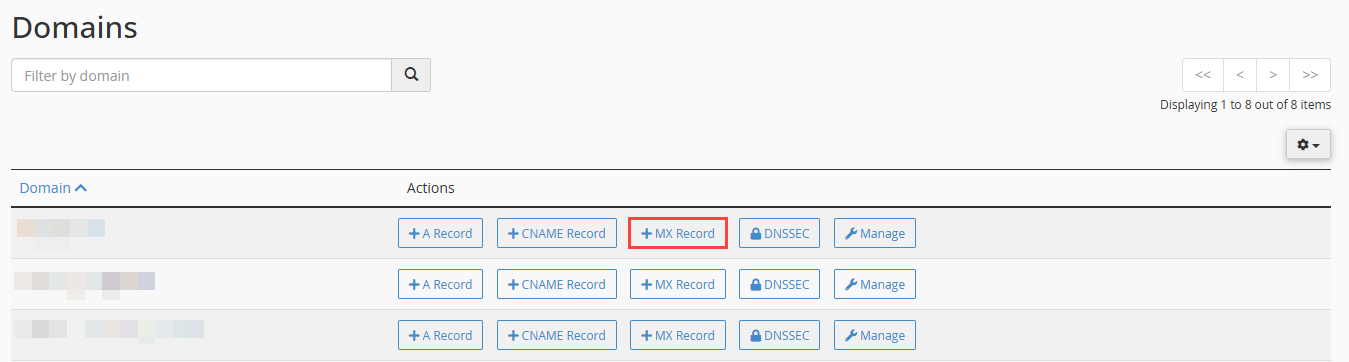
- Find out the domain for which you want to add an MX record and click on the MX Record.
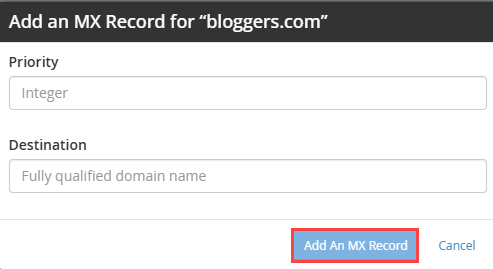
- In the Add an MX Record dialogue box, type a priority under the Priority heading.
- In the Destination text box, type the fully-qualified domain name (FQDN) of the mail server.
- Now, click Add an MX Record. cPanel adds the MX record.
Edit an MX record entry
Steps to edit an MX entry in cPanel.
- Log into cPanel account.
- Open the Zone Editor from the Search Tool.
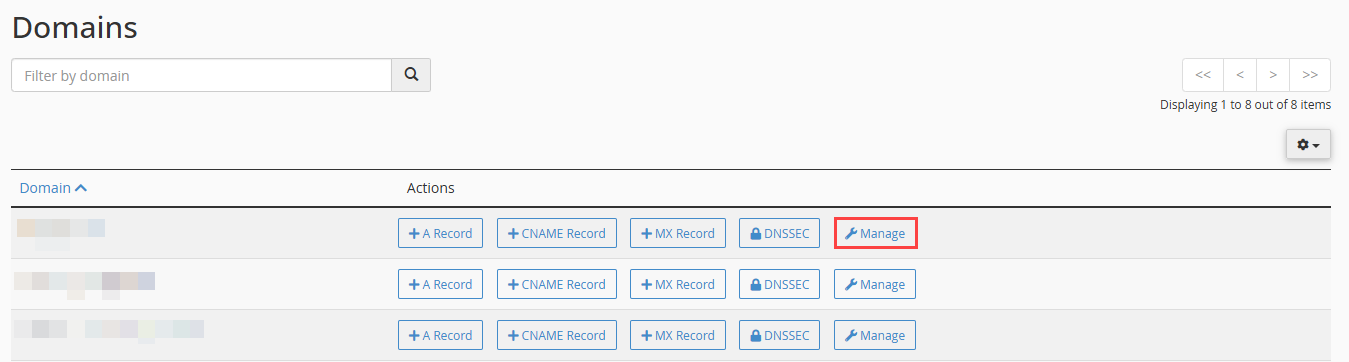
- Search the domain you want to modify, and click on Manage.
- Find the MX record entry you want to change and select Edit.
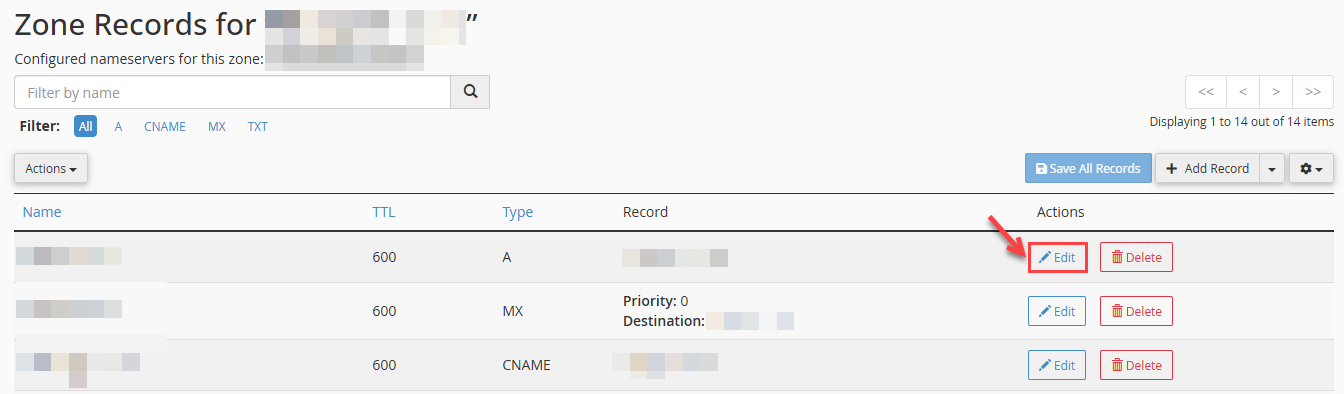
- Fill out the Priority text box with the priority. In the Destination text box, enter the mail server’s fully-qualified domain name (FQDN). Hit Save Record.

Delete an MX record entry
Steps to delete an MX entry in cPanel.
- Log into cPanel account.
- Click on the Zone Editor from the Search Tool.
- Find the domain you want to change, then select “Manage”.
- Find the MX record entry you want to remove and click Delete.

- Click Continue to confirm the deletion.
In this way, you can manage cPanel mail exchanger (MX) records.