To install a social media plugin on WordPress, follow these steps:
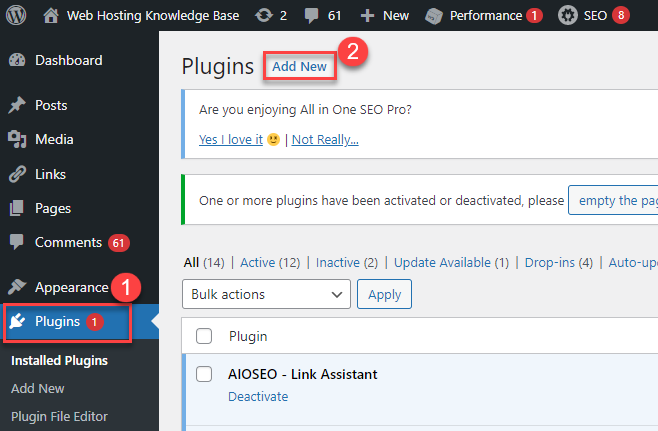
- Log in to your WordPress dashboard.

- Navigate to the “Plugins” section and click on “Add New”.
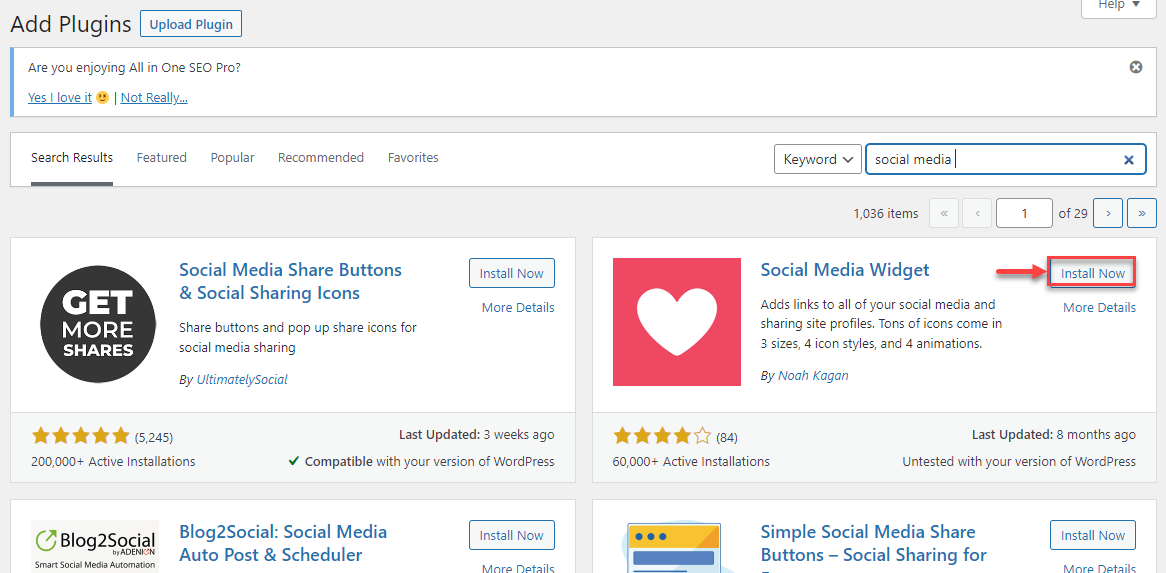
- In the search bar, type in the name of the social media plugin you want to install (e.g. “Social Media Widget”).

- Once you find the plugin, click on “Install Now”.
- After the installation is complete, click on “Activate”.
- Configure the plugin settings to your liking by going to the plugin’s settings page.
You can also manually install a social media plugin by downloading the plugin’s files from its official website, unzipping the contents, and then FTP-uploading the folder to your WordPress website /wp-content/plugins/ directory. Once it has been uploaded, you may activate the plugin in your WordPress dashboard’s “Plugins” section. The built-in plugin installer should always be used because manually installing plugins might be more difficult and time-consuming.
For more such informative articles do visit our KB section and contact our support staff if you have any queries.
