The extended Exim logs in a cPanel server are invaluable for troubleshooting Exim issues, as they provide additional logging information to the exim_mainlog (/var/log/exim_mainlog) file, aiding in identifying the source and sender of messages.
Follow the steps to enable the extended logging in WHM-
- Log in to WHM.
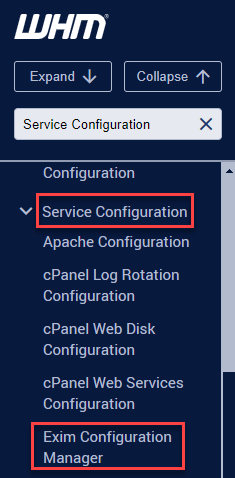
- Select the “Service Configuration” tool and click on the “Exim Configuration Manager” sub-option.
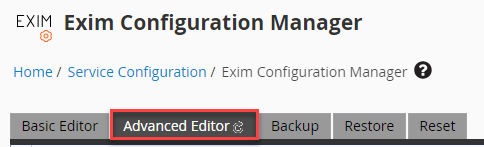
- Select the “Advanced Editor” tab.
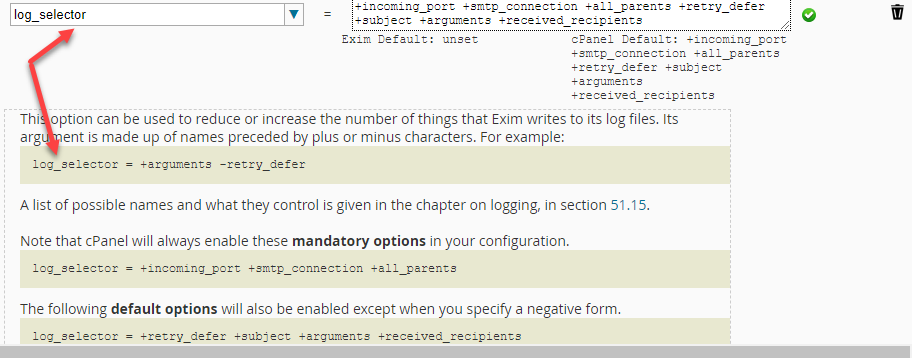
- Edit the Exim configuration file exim.conf by modifying the log_selector option, which controls the amount of information Exim writes to its log files.The following options are recommended-log_selector = +addressrewrite +all_parents +arguments +subject
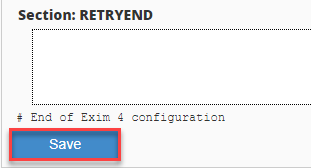
- Scroll down and click “Save” at the bottom of the page. You can now keep an eye on the Exim log at /var/log/exim_mainlog for any additional details.
That concludes our KB. By enabling extended logging you can perform comprehensive tracking of your website’s performance and improve insights.
To further enhance email management, you can implement advanced email filtering rules using Exim on the cPanel server, increasing email security, productivity, compliance and user experience while improving email management efficiency.