In this article, we have explained how to configure WHM to set the account disk quota “Critical” percentage.
To set the account disk quota “Critical” percentage, follow the steps:
- Log in to WHM.
- Select the “Server Configuration” option from the left menu.
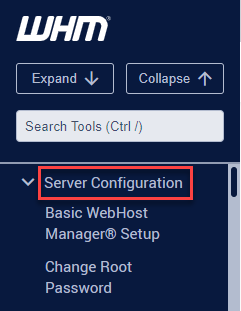
- Then select the “Tweak Settings” sub-option.

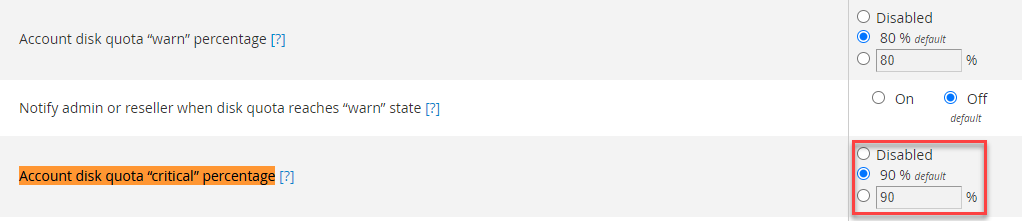
- Find the “Account disk quota “Critical” percentage” option and set the value. If you want the default value then select the default option, if you wish to disable the quota then select the “Disable” option or you can directly specify the value in percentage.
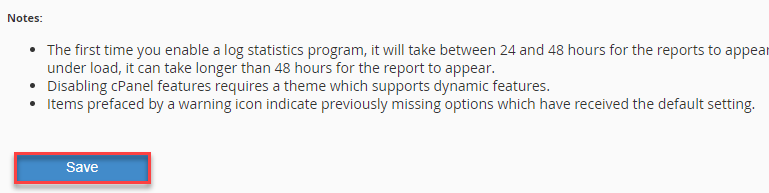
- Scroll down and click on the “Save” button.
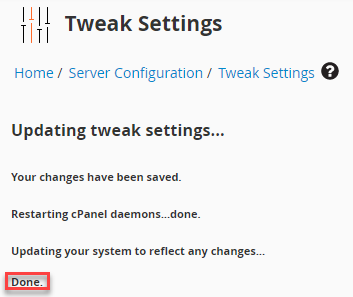
- You will receive a success message as shown below.
That is it! Hope you liked our article. For latest KBs visit our Kb section and for any help do reach out our WHUK’s technical team.