This article outlines the process of configuring scheduled task in Plesk.
- Follow these steps to add a new scheduled task in Plesk:
- Log into your “Plesk account”.
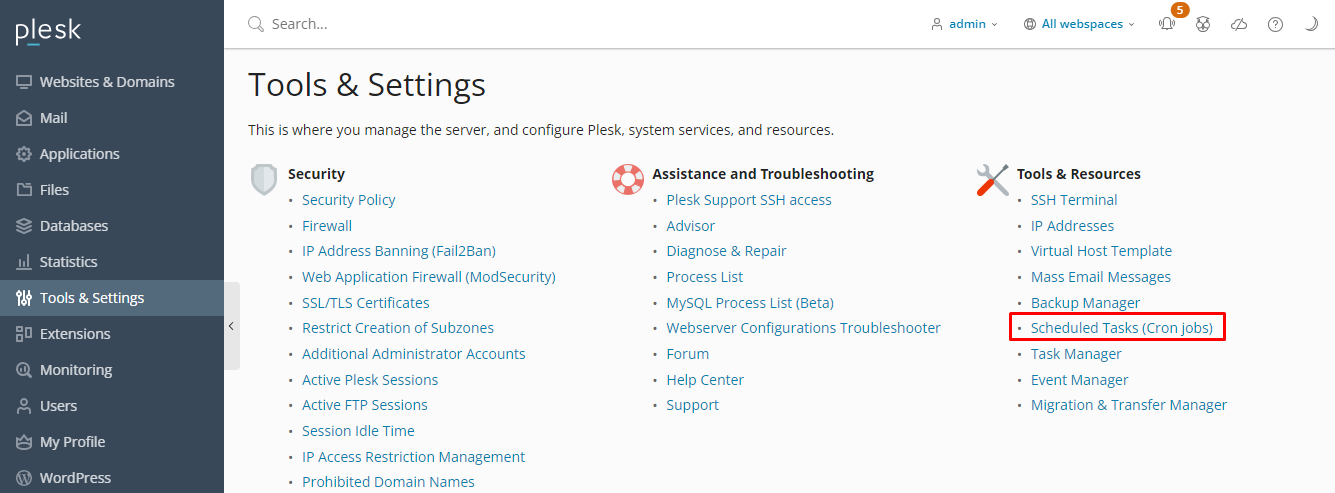
- Search for “Tools & Settings” and click on “Scheduled Tasks (Cron jobs)”.
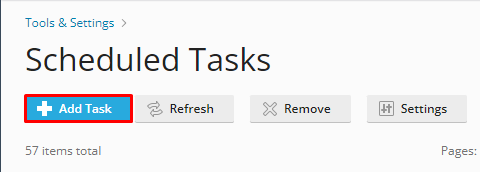
- Click on “Add Task”.
- Upon executing this action, a form will be displayed. Proceed to complete the form with your designated task details. Once finished, click on the “OK” button to preserve your modifications.
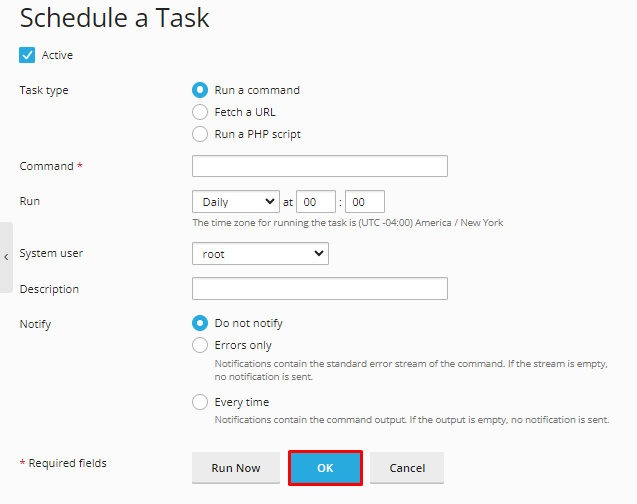
Subsequently, you will be redirected to the “Scheduled Tasks” page, where your recently added task will be enlisted.In this way, you can add new scheduled tasks in Plesk.
- Log into your “Plesk account”.
- Follow these steps to remove a new scheduled task in Plesk:
- Log into your “Plesk Panel”.
- Look for “Tools & Settings” and select Scheduled Tasks (Cron jobs).
- Search the “Scheduled Tasks” from the search bar and click on the “Remove” button.
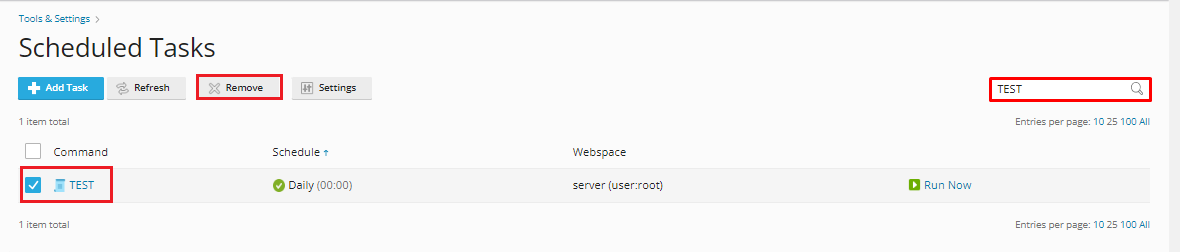
- Clicking on “Yes, I remove” will confirm the deletion. Plesk will proceed to eliminate the selected task.

In this way, you can remove the new scheduled tasks in Plesk.
- Log into your “Plesk Panel”.

This method allows you to both add and remove new scheduled tasks within Plesk. For more information on Plesk, visit our knowledge base section.