Plugins are used in every WordPress website. Although plugins are easy to use, they can create security issues for your website. If this happens, you may need to disable them one at a time until you find the cause of the problem.
There are three ways to disable your WordPress plugins. We will show you how to disable WordPress plugins in this article. Complete the procedure as instructed.
- Disable Plugin from Dashboard
- Deactivate via FTP
- Deactivate through SSH
Note: Before making any modifications to your website, we strongly advise you to back it up completely. It will enable you to reconsider the changes you intend to make to the website.
Deactivate WordPress Plugins via Dashboard
- Log in to WordPress and go to your WordPress dashboard.
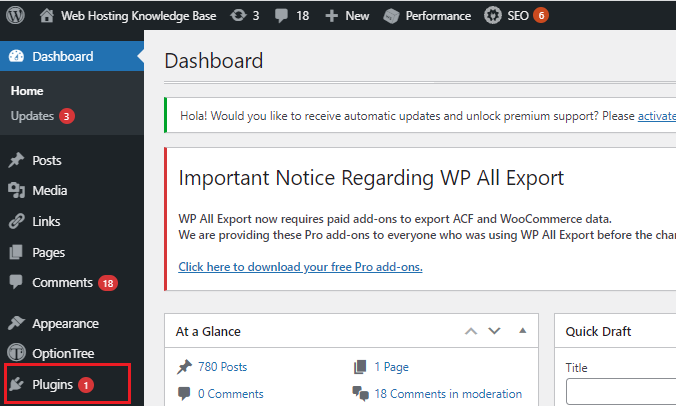
- Select Installed Plugins from the navigation menu under Plugins.
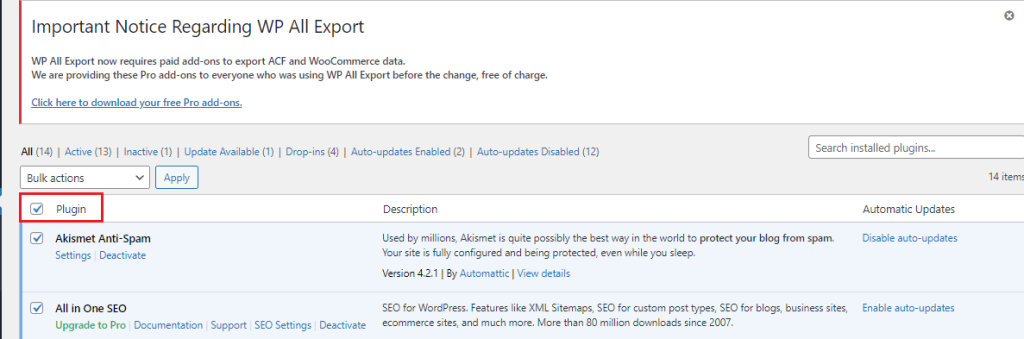
The plugins that are currently installed on your WordPress account will be listed. You may also check their statuses to see which ones are active right now. - The Deactivate button is located next to the active plugins. To disable the plugin, click on it.
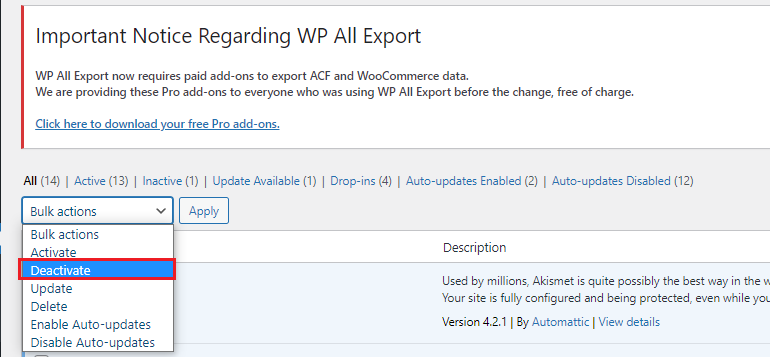
All of your plugins will be deactivated once the page is refreshed.
Deactivate WordPress Plugins through FTP
- First, you need to connect to your server via FTP (We’ll use FileZilla in this example)
- Go to the root folder of your website.
- Go to the /wp-content directory.
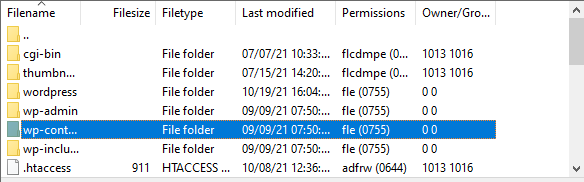
- Choose the /plugins directory. Then, rename it to plugins or something like that, and disable it.
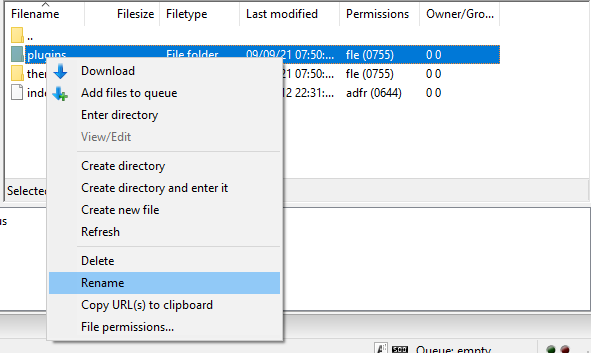
- All of your plugins will now be turned off.
Deactivate WordPress Plugins via SSH
- Connect to your server using SSH.
- Navigate to your website’s root directory.
- Move to the wp-content directory using the command:
cd wp-content
- Rename the plugins folder using the following command:
mv plugins plugins_disabled
All WordPress plugins will now be deactivated.
Was this article useful to you? Then you’ll appreciate our assistance. Get pre-secured, pre-optimised website hosting with 24/7 instant support.