To keep your account secure, we strongly recommend enabling Two-Factor Authentication (2FA) in your client portal. 2FA adds an extra layer of protection by requiring a one-time verification code during login, in addition to your password.
Before You Begin
Make sure you have an authenticator app installed on your smartphone, tablet, or PC. You can use any of the following free apps:
- Google Authenticator
- Microsoft Authenticator
These apps are available on Android, iOS, and Microsoft app stores.
How to Enable Two-Factor Authentication (2FA)
Follow the steps below to enable 2FA from your client portal:
- Log in to Your Client Portal
Log in to your client portal using your registered email address and password.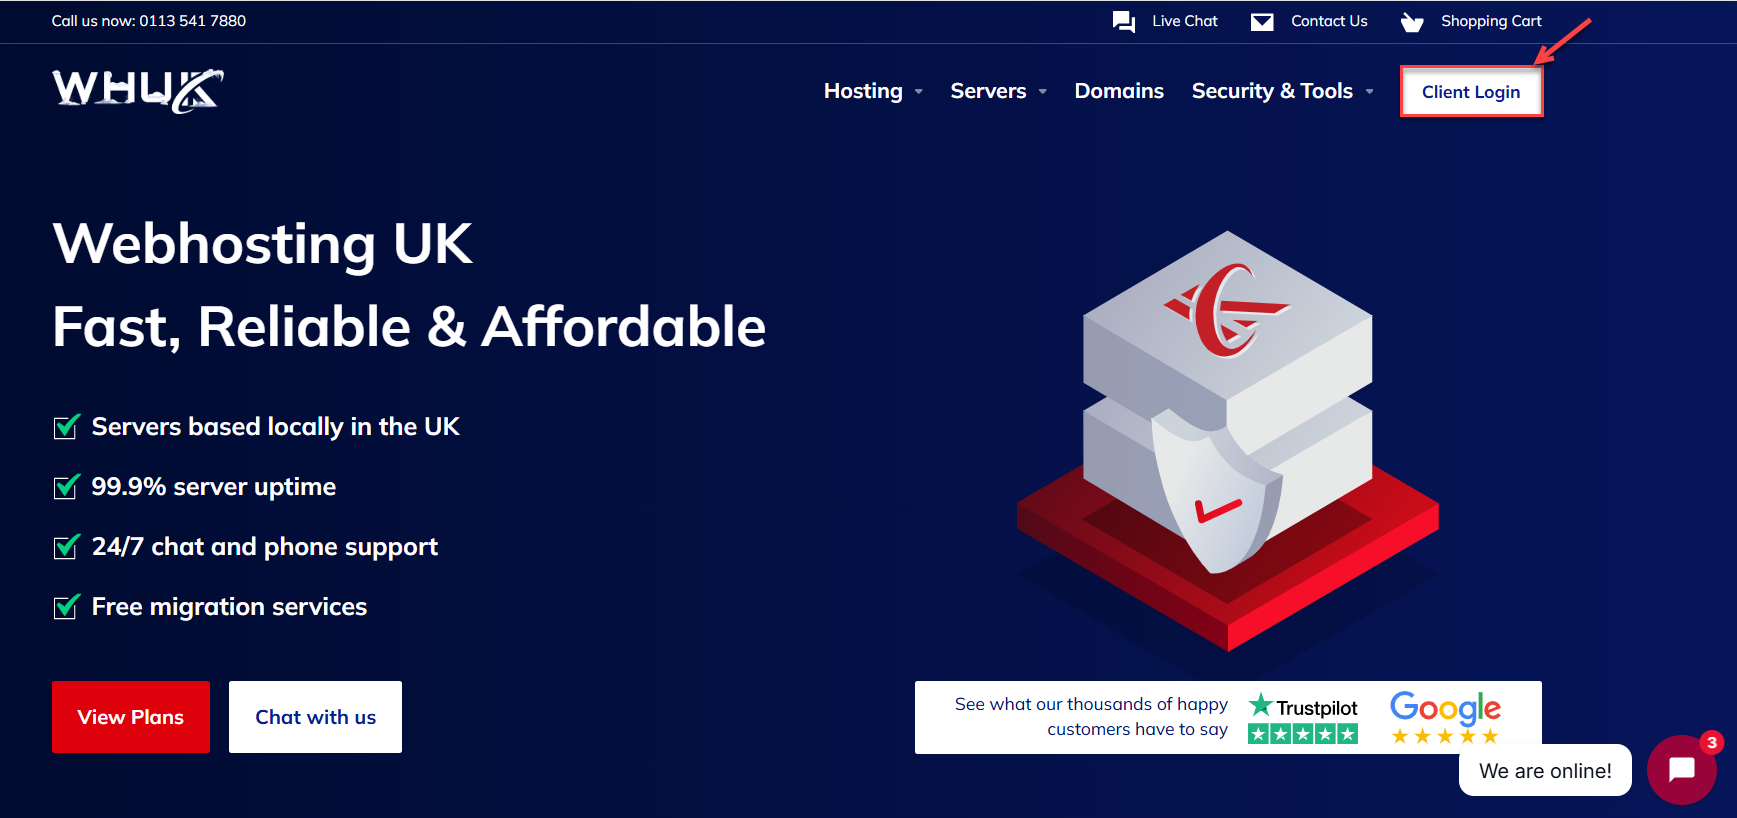
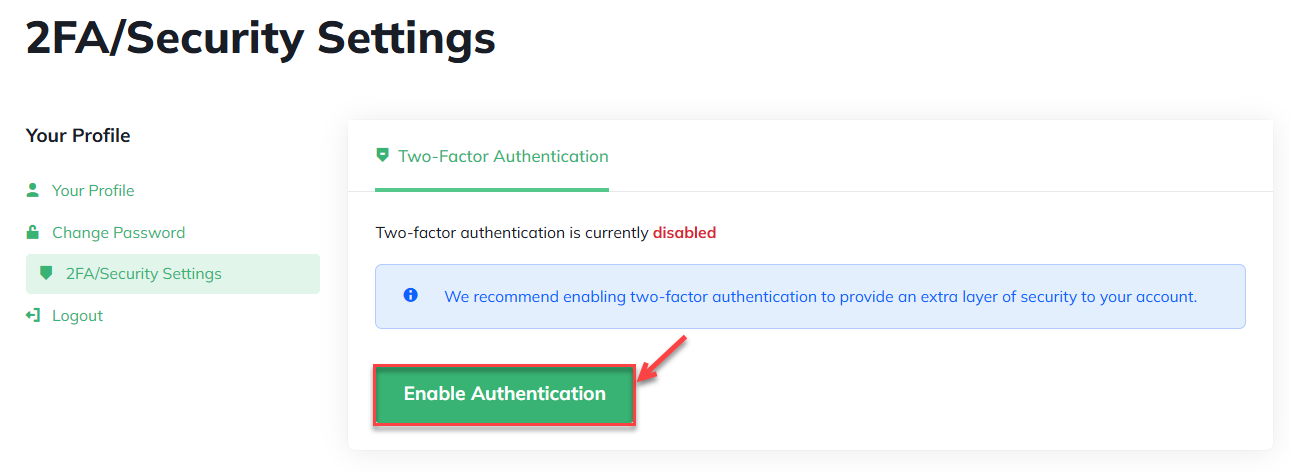
- Open 2FA / Security Settings
- Click on your profile name at the top-right corner of the portal.
- From the dropdown menu, select 2FA / Security Settings.
OR - You can find the 2FA / Security Settings option directly under ‘Your Profile’ on the main page.
You will be redirected to the Two-Factor Authentication settings page.
- Enable Two-Factor Authentication
- On the 2FA/Security Settings page, click on Enable Authentication.
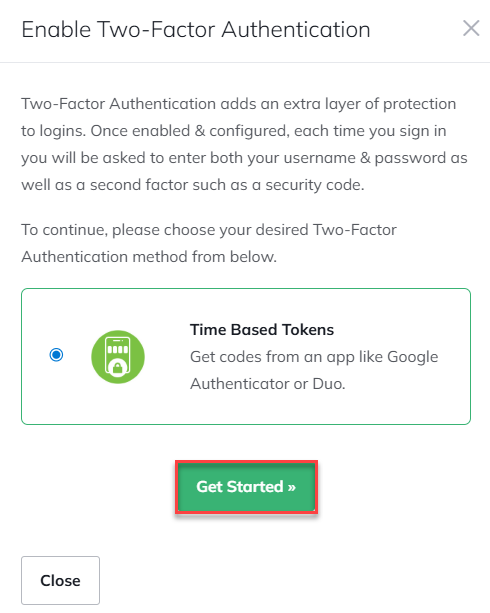
- Select your desired Two-Factor Authentication method and click on the Get Started button.
- On the 2FA/Security Settings page, click on Enable Authentication.
- Scan the QR Code
- A QR code will be generated on the screen.
- Open your chosen authenticator app on your device.
- Use the app to scan the QR code displayed in your client portal.
- The app will generate a 6-digit one-time password (OTP).
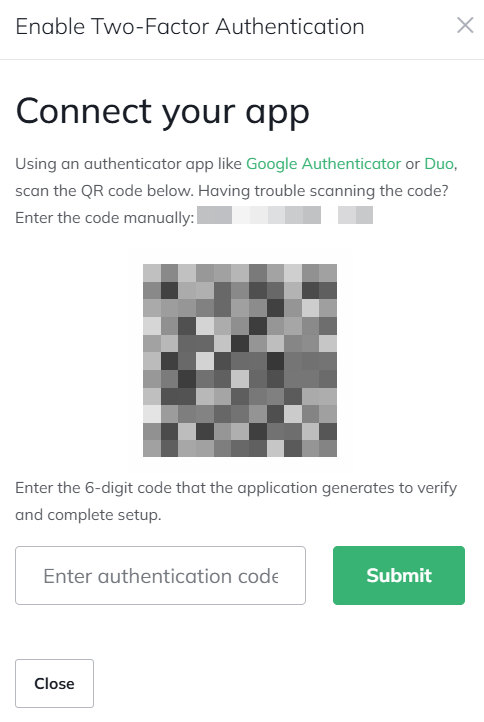
- Verify and Confirm
- Enter the one-time password generated by your authenticator app into the verification field.
- Click Submit to confirm.
Important: Make sure to save the backup/recovery code displayed on the screen in a secure location. This code can be used if you lose access to your authenticator app.
- Confirmation
Once enabled, you will see a confirmation message stating that Two-Factor Authentication is currently enabled.
From now on, every time you log in to your client portal, you will be prompted to enter the time-based security code generated by your authenticator app.
How to Disable Two-Factor Authentication (Optional)
If required, you can disable 2FA at any time:
- Go to Profile > 2FA / Security Settings.
- Click on Disable Authentication.
- Confirm your action when prompted.
This way, you have successfully enabled Two-Factor Authentication and added an extra layer of security to your account. We highly recommend keeping 2FA enabled to protect your services and personal information.
If you use WHM and want to add an extra layer of security to your server, then take a look at our guide on How to enable two-factor authentication (2FA) in WHM