If you are looking to install Node.js on a cPanel server, you are in the right place! In this guide, we will walk you through two simple methods: using the command line and the WHM interface. Whether you are an experienced developer or new to web hosting, these steps will help you quickly set up Node.js on your server.
- How to install Node.js via the command line:
- Log into SSH as “root user”.
- Run the following command.
yum install ea-nodejs16
- Use the following command to make sure that it has been installed:
correctly./opt/cpanel/ea-nodejs16/bin/node -v
- How to install Node.js via the WHM interface:
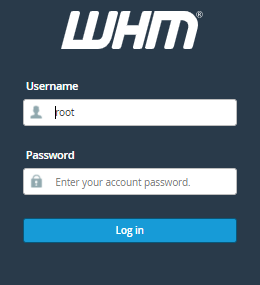
- Log into your WHM as a “root user”.
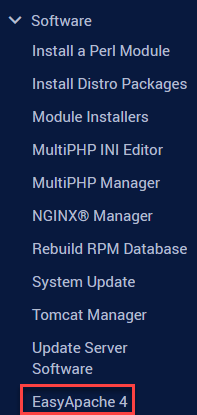
- Navigate to » Software » EasyApache 4.
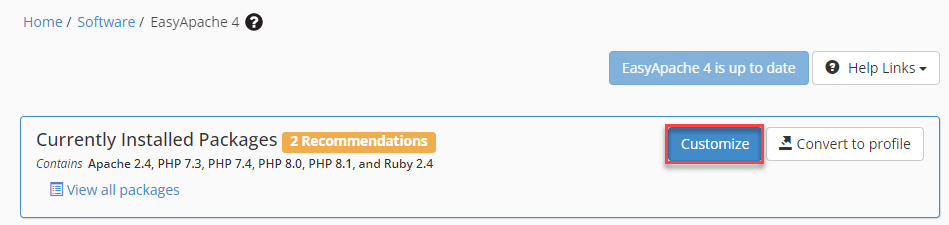
- Click on the “Customize” button.
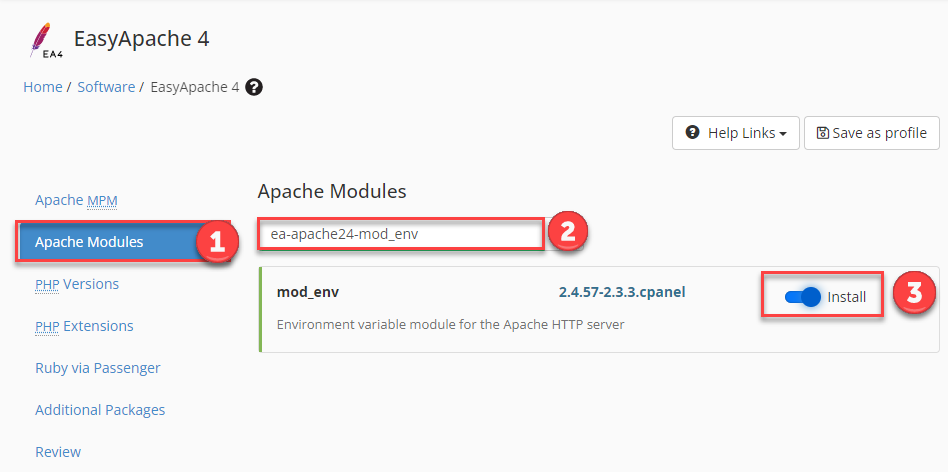
- Search for the “Apache Modules”, type “ea-apache24-mod_env” on the search bar, and swipe the toggle to “Install”.
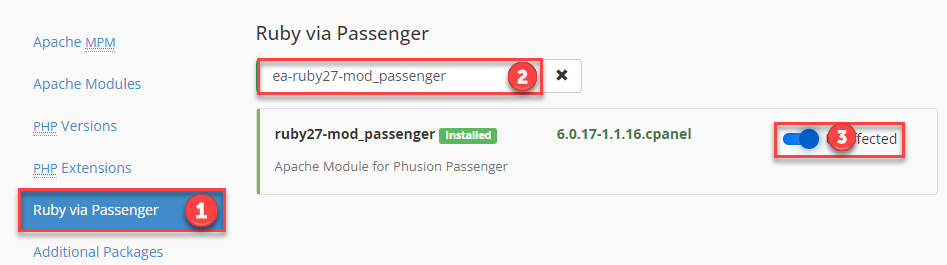
- Navigate to “Ruby via Passenger”, type ” ea-ruby27-mod_passenger” on the search bar, and swipe the toggle to “Install”.
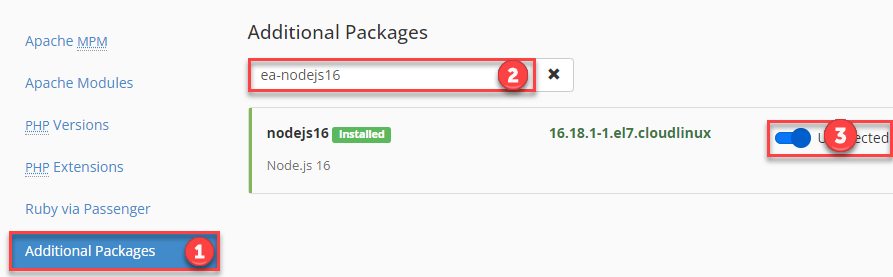
- Find out “Additional Packages”, type “ea-nodejs16” on the search bar, and swipe the toggle to “Install”.
- After completing the provision, click “Next” to continue.
- Log into your WHM as a “root user”.
By following either the command line or WHM interface method, you can successfully install Node.js on your cPanel-enabled server. Whether you are hosting applications or running scripts, Node.js is a powerful addition to your server’s capabilities.
For further assistance, feel free to reach out to our support team, available 24/7 to help you with your hosting needs.
Also Read: How to Fix the Node.js Application error: “Cannot GET” URL