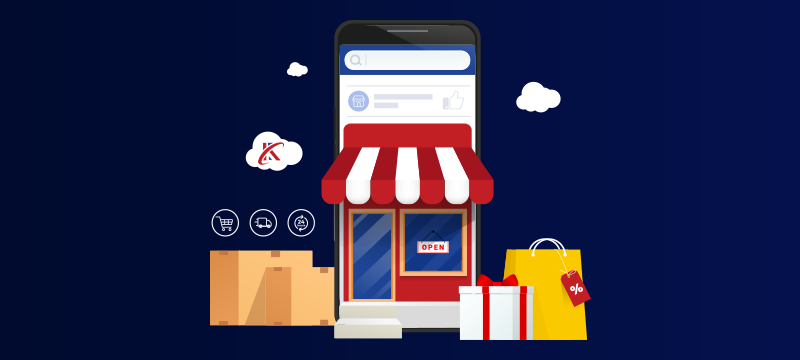
Setting up an online store might seem like a mammoth task, but with the latest software, it’s much easier than most people think. Using a free tool like WordPress to create a site and then installing WooCommerce, which is also free, to turn it into an online store is one of the most popular and simplest ways to get your shop up and running – and you won’t need any coding skills. To show you how straightforward it can be, here is our 10-step guide to setting up an online store.
Content
1. Find the right WordPress hosting solution
Before you can start creating your online store, the first and one of the most crucial steps is to choose a WordPress hosting solution. While you’ll find these available from a wide variety of web hosts, no two solutions will be the same, so it’s important to spend some time looking at what’s on offer.
Ideally, you should choose a provider that offers reliable hosting, with uptimes of 99.9% or more so that your site stays online, and around-the-clock technical support so help is at hand if there is ever a problem. Additionally, check that the hosting plan is optimised for WordPress as this will improve your site’s performance and security. Features to look for include high-performance servers, anti-hacking technology and built-in caching.
For ease of management, a user-friendly control panel, like WordPress Toolkit, is specifically designed to make the management of WordPress stores easier, streamlining everything from installation and email admin to security and file management. A good web host will also offer free daily backups which are essential to help you recover quickly from a disaster.
2. Register a domain name
Registering a domain name, i.e., the name that appears on your website and email addresses, is a crucial step in creating an online store. It’s important that the first part of the domain name reflects your brand and is easy for customers to remember, while the second part, after the dot, best suits the type of business you are or your location. For example, do you need a .com or a .co.uk domain, or is one of the new options, like .cafe or .london a better choice?
What makes this process incredibly easy is that you can search for and register your domain through your WordPress hosting provider as you set up your WordPress hosting account.
For more information, read Domain Registration – A Beginners’ Guide
3. Install WordPress
With your domain name registered, the next step is to install WordPress, the website-building tool that will be the foundation of your online store. If you have chosen a WordPress hosting solution instead of a standard hosting plan, this step will most likely have already been done for you. If it hasn’t, you should be able to use a one-click installer that will carry out the process without the hassle of manual installation.
When first using WordPress, you’ll be required to enter some basic information, such as the site title and the username, password and email address of the administrator. Following this, you’ll have access to the WordPress dashboard, the easy-to-use interface from where you can manage all aspects of your website, e.g., installing plugins, customising the website’s look, and creating and editing pages, posts, products and images.
4. Install WooCommerce
WooCommerce is a popular plugin that enables you to turn your website into a fully featured online store. Installing WooCommerce is very easy to do. From the WordPress dashboard, navigate to Plugins, click Add New and type WooCommerce in the search bar. When the search results appear, click on WooCommerce and click Install Now. Following installation, activate the plugin and you are ready to go. It’s that simple.
Setting up an online store can be a long process as there are many different aspects you will need to address. However, to make things easier, WooCommerce has a setup wizard which will guide you through the process. This includes aspects such as setting your site’s currency, configuring payment and delivery options and tax settings, and creating the key pages that your store will need, such as the shop, shopping cart, checkout and user account page.
5. Choose a theme
A website theme is essentially a design template that ensures the design of your site is consistent over every page. Themes control things like the layouts of pages and posts, the site’s colour scheme, and the size and type of fonts. Your choice of theme doesn’t just affect how your store looks but also how it functions and how your users will interact with it. Thankfully, most themes offer a wide range of customisations, so you can usually tweak anything you are not happy with.
There are thousands of free themes available on WordPress and many paid versions available from online developers. The most important consideration is to choose one which is right for your store’s brand identity.
Many themes are designed for specific uses, such as for business sites, media, news or blogs, so not every theme will be suitable for building a store. Some are also not compatible with WooCommerce as it requires themes that will display store layouts, which not all themes are coded to provide. To overcome this, WooCommerce provides a range of its own themes, some of which are free.
6. Add your products
One of the most exciting parts of building a store is when you start adding your products. You’ll begin to see the site starting to look like a store as more products get added. The good news is that WooCommerce makes adding products straightforward regardless of whether you’re selling physical goods, services or even digital downloads.
To start the process, go to the WordPress dashboard, navigate to the Products section and click Add New. On the form that appears, enter the product name, write a detailed product description that highlights the product’s key features and benefits, and then add a short description giving an overview of the item. Additionally, you’ll need to add product details, such as the product’s name, size, colour, weight, brand, model number, etc. both for customers to read and to help them search for the products they are looking for.
High-quality images are an essential part of online retail and WooCommerce gives you the option to upload not just a main product image but multiple additional images – which can be highly advantageous for generating sales.
The final thing you will need to do is create product categories and assign products to them so that customers can find items quickly and easily.
7. Set up payment options
Before you can sell anything on your online store, you must give customers a way to pay. One of the advantages of WooCommerce is that it offers a variety of payment gateways which means you can give your customers more choice in how they want to pay, for example, using services like PayPal and Stripe or options like BACs.
To set up your payment options, go to the WooCommerce settings in the WordPress dashboard, and navigate to the Payments section. Different payment methods may require slightly different setups. This can vary from simply adding your PayPal email address for PayPal payments to installing plugins for more advanced services. Many payment gateways will also require some kind of verification to ensure that your business is legitimate and that transactions are secure. Additionally, you may need to install an SSL certificate and ensure your site complies with the Payment Card Industry Data Security Standard (PCI DSS).
For more, read:8 Compliance Requirements for Website Owners
8. Delivery options
If you’re selling physical goods, WooCommerce allows you to set up a range of delivery options that suit your business needs and provide customers with greater choice, such as next-day, standard and international shipping.
To set up delivery options, navigate to Shipping in the WooCommerce settings. From here you can configure geographic shipping zones and offer options based on delivery time or cost. You can even offer collection or local pickup. You’ll need to input the shipping costs and delivery conditions (e.g. minimum order to get free delivery) to configure this element correctly, so make sure you have worked out the details beforehand.
If you have any specific terms and conditions, such as requiring customers to check packages for damage on delivery, make sure these are clearly stated.
9. Add functionality
While WordPress and WooCommerce are great out of the box, there are thousands of free plugins you can install to enhance the store’s functionality and many of these are specifically designed for WooCommerce. These can include product recommendation engines, advanced product search and product comparison features and personalisation tools – all of which can improve user experience and help boost sales. Additionally, there are plugins for almost everything else you can think of – automated emails, SEO, security, visitor analytics, live chat and much more.
For more, read:5 Indispensable WooCommerce Plugins
10. Site testing
Before you open your online store, it is essential that you know everything works as it should. This needs to be a rigorous process that looks at every aspect of the website, especially from a user’s experience. Part of the testing should therefore require you to search for products, add them to basket, go to check out and complete the payment process. At the same time, you should check that any important email communications you send are received.
In addition, make sure the navigation works properly, including search tools, internal links and menus, and that products are in the correct categories. Other things to check are that the site functions correctly on different browsers and devices and that loading times are acceptable.
Finally, you should set up user accounts to make sure these parts of the site also operate as expected, and double-check that all legal and compliance requirements, e.g., privacy policy, terms and conditions, cookie notifications, etc., are in place.
Conclusion
While creating an online store requires a lot of work, the process itself is relatively straightforward, especially if using advanced tools like WordPress and WooCommerce. Together they streamline the process while providing all the features and functionality a professional store should possess. When combined with WordPress hosting, store owners have everything they need to ensure their sites are primed for success.
Looking for hosting designed specifically for WordPress? To give your store the best start and ensure long-term reliability, security and support, check out our WordPress Hosting plans.