In this tutorial, we will show how to enable/disable your demo mode in WHM.
cPanel is one of the most user-friendly control panels accessible. Allowing your customers to use cPanel even as a demo can help you close a deal. Simply activate the demo mode for an account in your WHM root and give it permission to use them.
Clients may try out all of the features of the control panel with a demo cPanel account. They do not, however, have the power to change files or directories.
Follow the Following Steps To Enable Demo Mode in WHM:
- Log into your “WHM root account”.
- Select “Account Functions” from the menu in the navigation bar
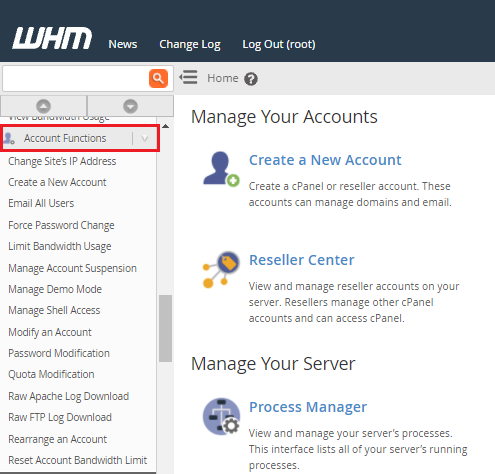
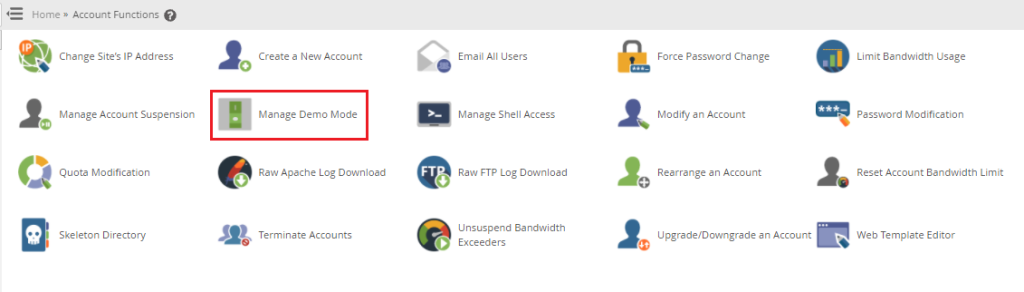
- Select “Manage Demo Mode”
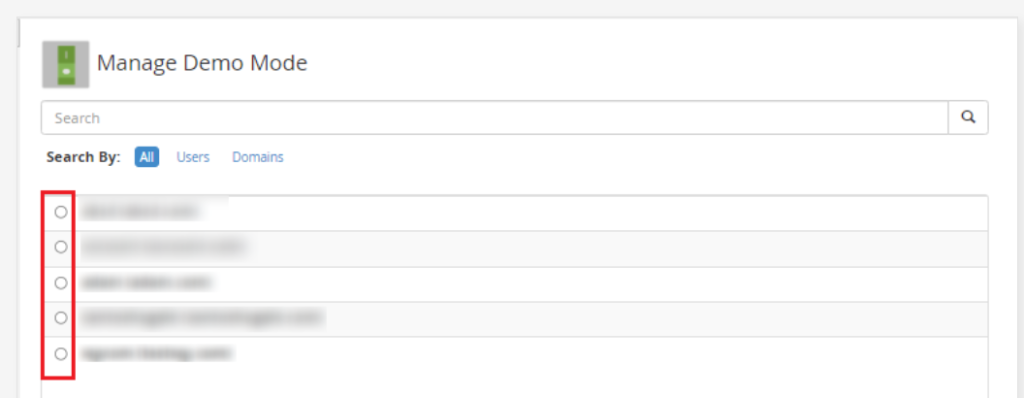
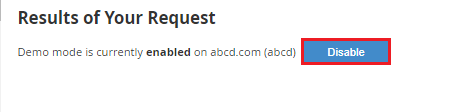
- Now, Select the Demo account you want to “Disable”
- Click on “Enable“
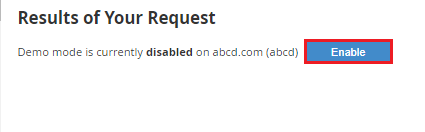
WHM will enable the account’s demo mode and adjust its settings accordingly.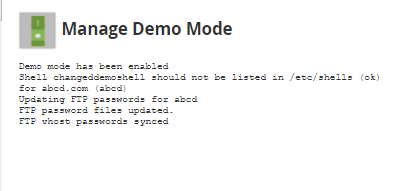
WHM will activate the account’s demo mode and modify the account’s settings as needed.
Follow the Following Steps To Disable Demo Mode:
- Select “Account Functions” from the navigation bar.
- Click on “Manage Demo Mode“
- Now, Select the Demo account you want to “Disable”
- Click on “Disable“
WHM will immediately deactivate or disable the account’s demo mode.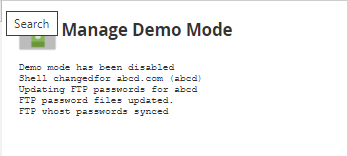
Naturally, it will also reassign all account privileges and configure the account, ensuring that it is fully functional.
We sincerely hope that you must now have a clear idea regarding how to Manage Demo Mode For WHM. However, if you are still facing any difficulty in the procedure mentioned above, feel free to reach out to the Webhosting UK (WHUK) for proactive support 24×7