In this article, we have explained how to select which Nameserver to use in WHM. At the start of setup of WHM, you should give the option to change your system’s Nameserver program.
Follow the steps:
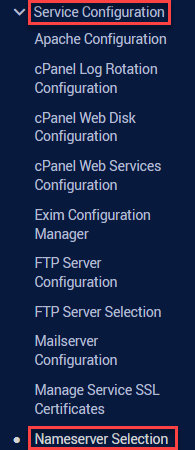
- Log in to WHM.
- Select the “Service Configuration” option and click on the “Nameserver Selection” sub-option.
- You will enter a new interface where you will find different types of Nameservers. Its advantages, disadvantages, and notes are given.
- Select the nameserver and click on the “Save” button.
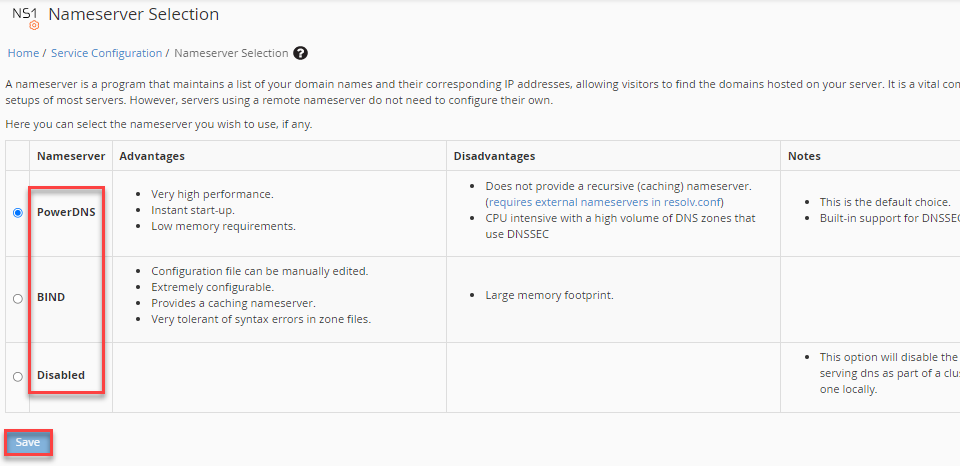
Note- “Bind” is the default Nameserver and it is suggested one. You might want to utilise NSD if your server has less RAM. Be aware that it does differ from BIND in a number of ways.
Thus, the tutorial is over. If you need extra help, do contact our WHUK’s support staff at your earliest.

Related Articles
Error: Permission denied: .htaccess pcfg_openfile: unable to check htaccess file, ensure it is reada...May 8, 2024
How to eliminate a WHM reseller without an associated domainApril 29, 2024
How to alter ownership of multiple accounts in WHMApril 24, 2024
How to manage external authentications in WHMMarch 8, 2024