In this article, we will explain to you how to view the history of a user in CloudLinux.
To view the history of a user in CloudLinux, follow the steps:
- Log in to WHM.
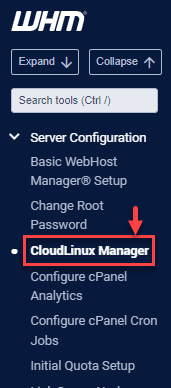
- Navigate to the “Server Configuration” option.
- Click on the “CloudLinux” sub-option.
- Select the “Users” tab.

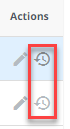
- Select the user whose history you wish to see.

- Click on the clock symbol on the right-hand side of the screen.
- A new window will open up and the history will be displayed in a graphical view.
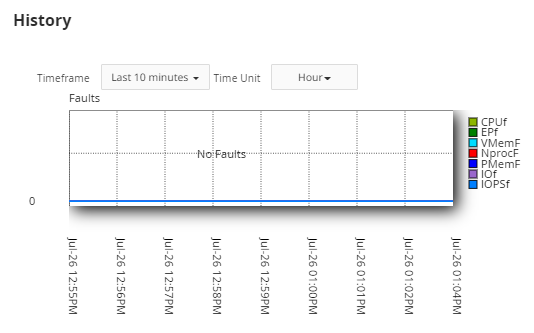
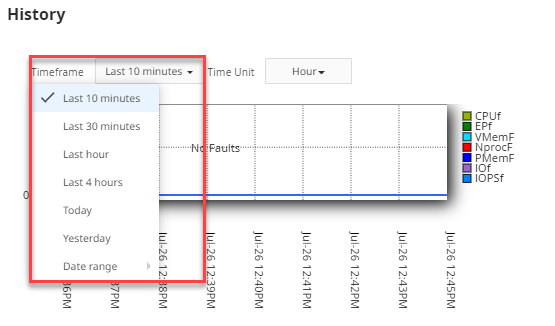
- You can select the “Timeframe” from the drop-down list.
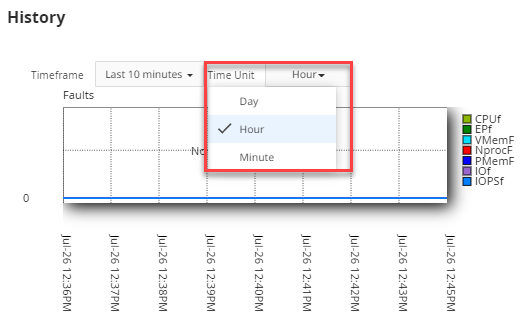
- Select the “Time unit” as shown below.
This way you can easily view the history of a user in CloudLinux. Get pre-secured, pre-optimized website hosting today with 24/7 instant technical assistance.
If you are looking for a reliable partner to deliver exceptional cloud solutions, visit our Cloud Hosting page.